Managing Fuel Records
In this user guide, we will walk you through the following:
Navigation;
Editing Fuel Records;
Bulk Upload; and
Important Notes.
Navigation
By default, the Fuel Records feature is not enabled. Please contact us via email at support@nuonic.com.au to have this feature enabled on your Prism account.
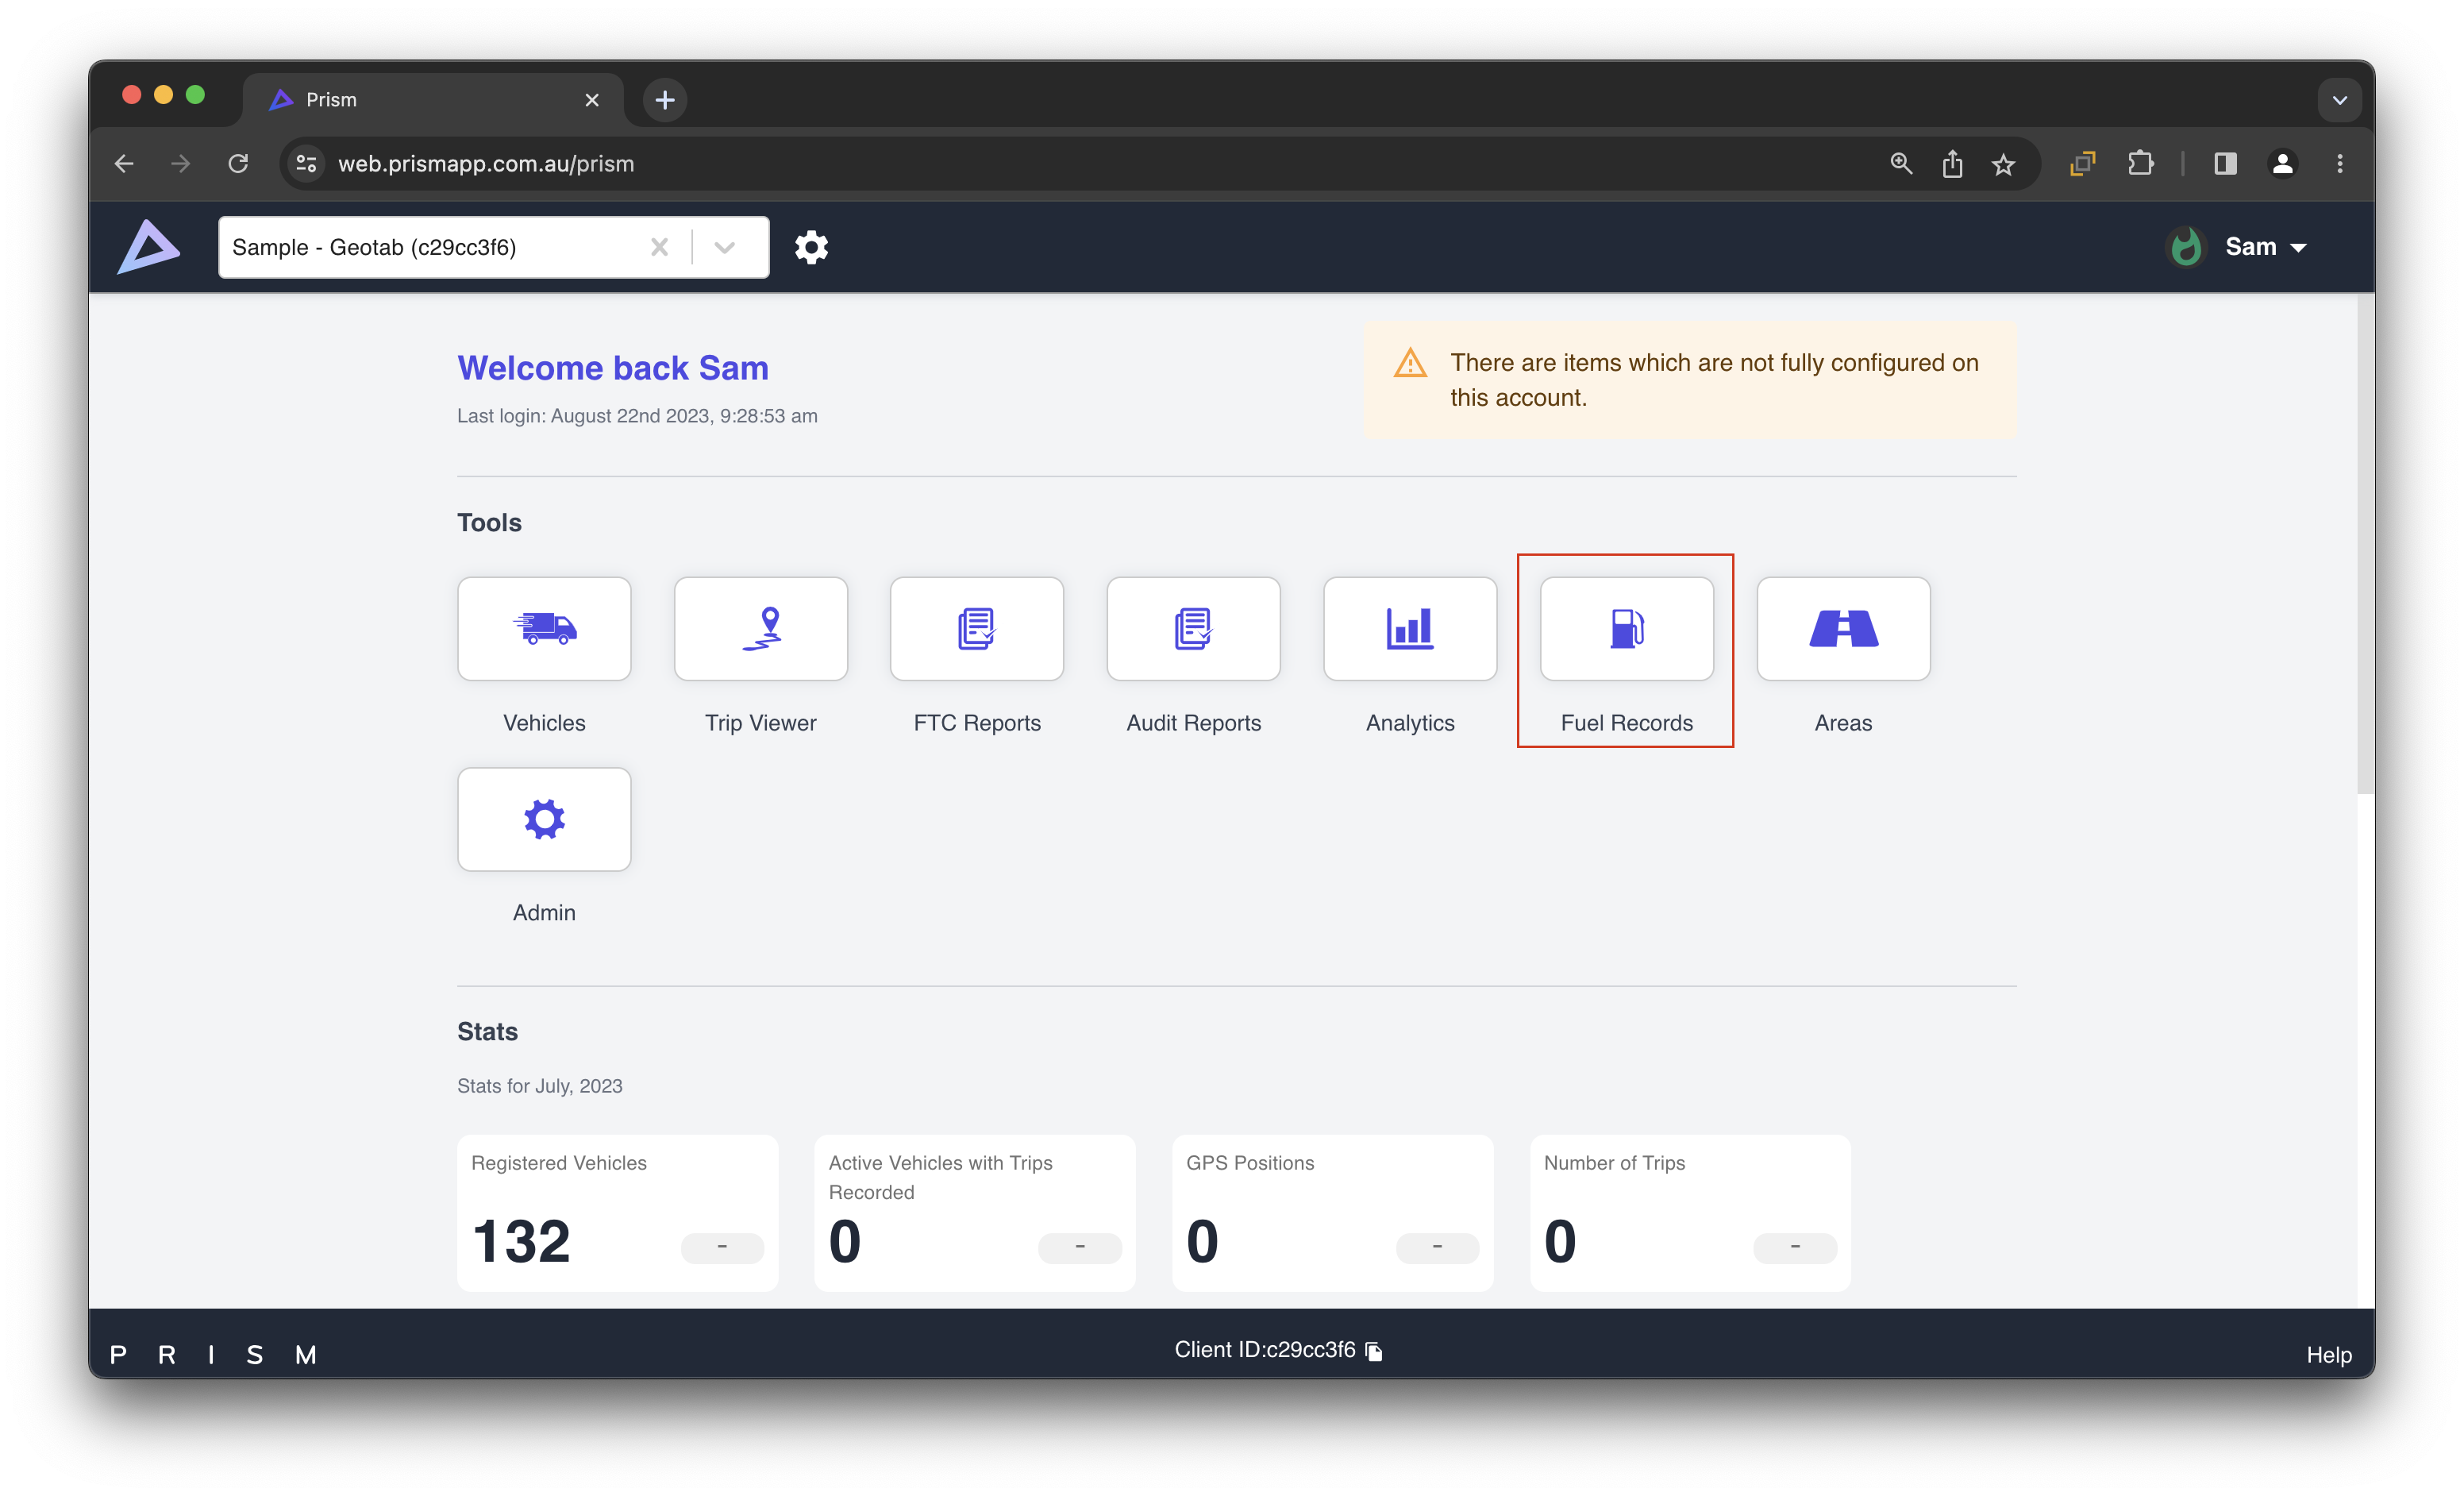
Once you have it enabled, you’ll then be able to access Fuel Records from the Prism home page:
Editing Fuel Records
Clicking on any line within the fuel record table will pull up an editable dashboard, where you can enter the fuel used against each vehicle within your register.
Please see screenshot below of the Fuel Records home page:
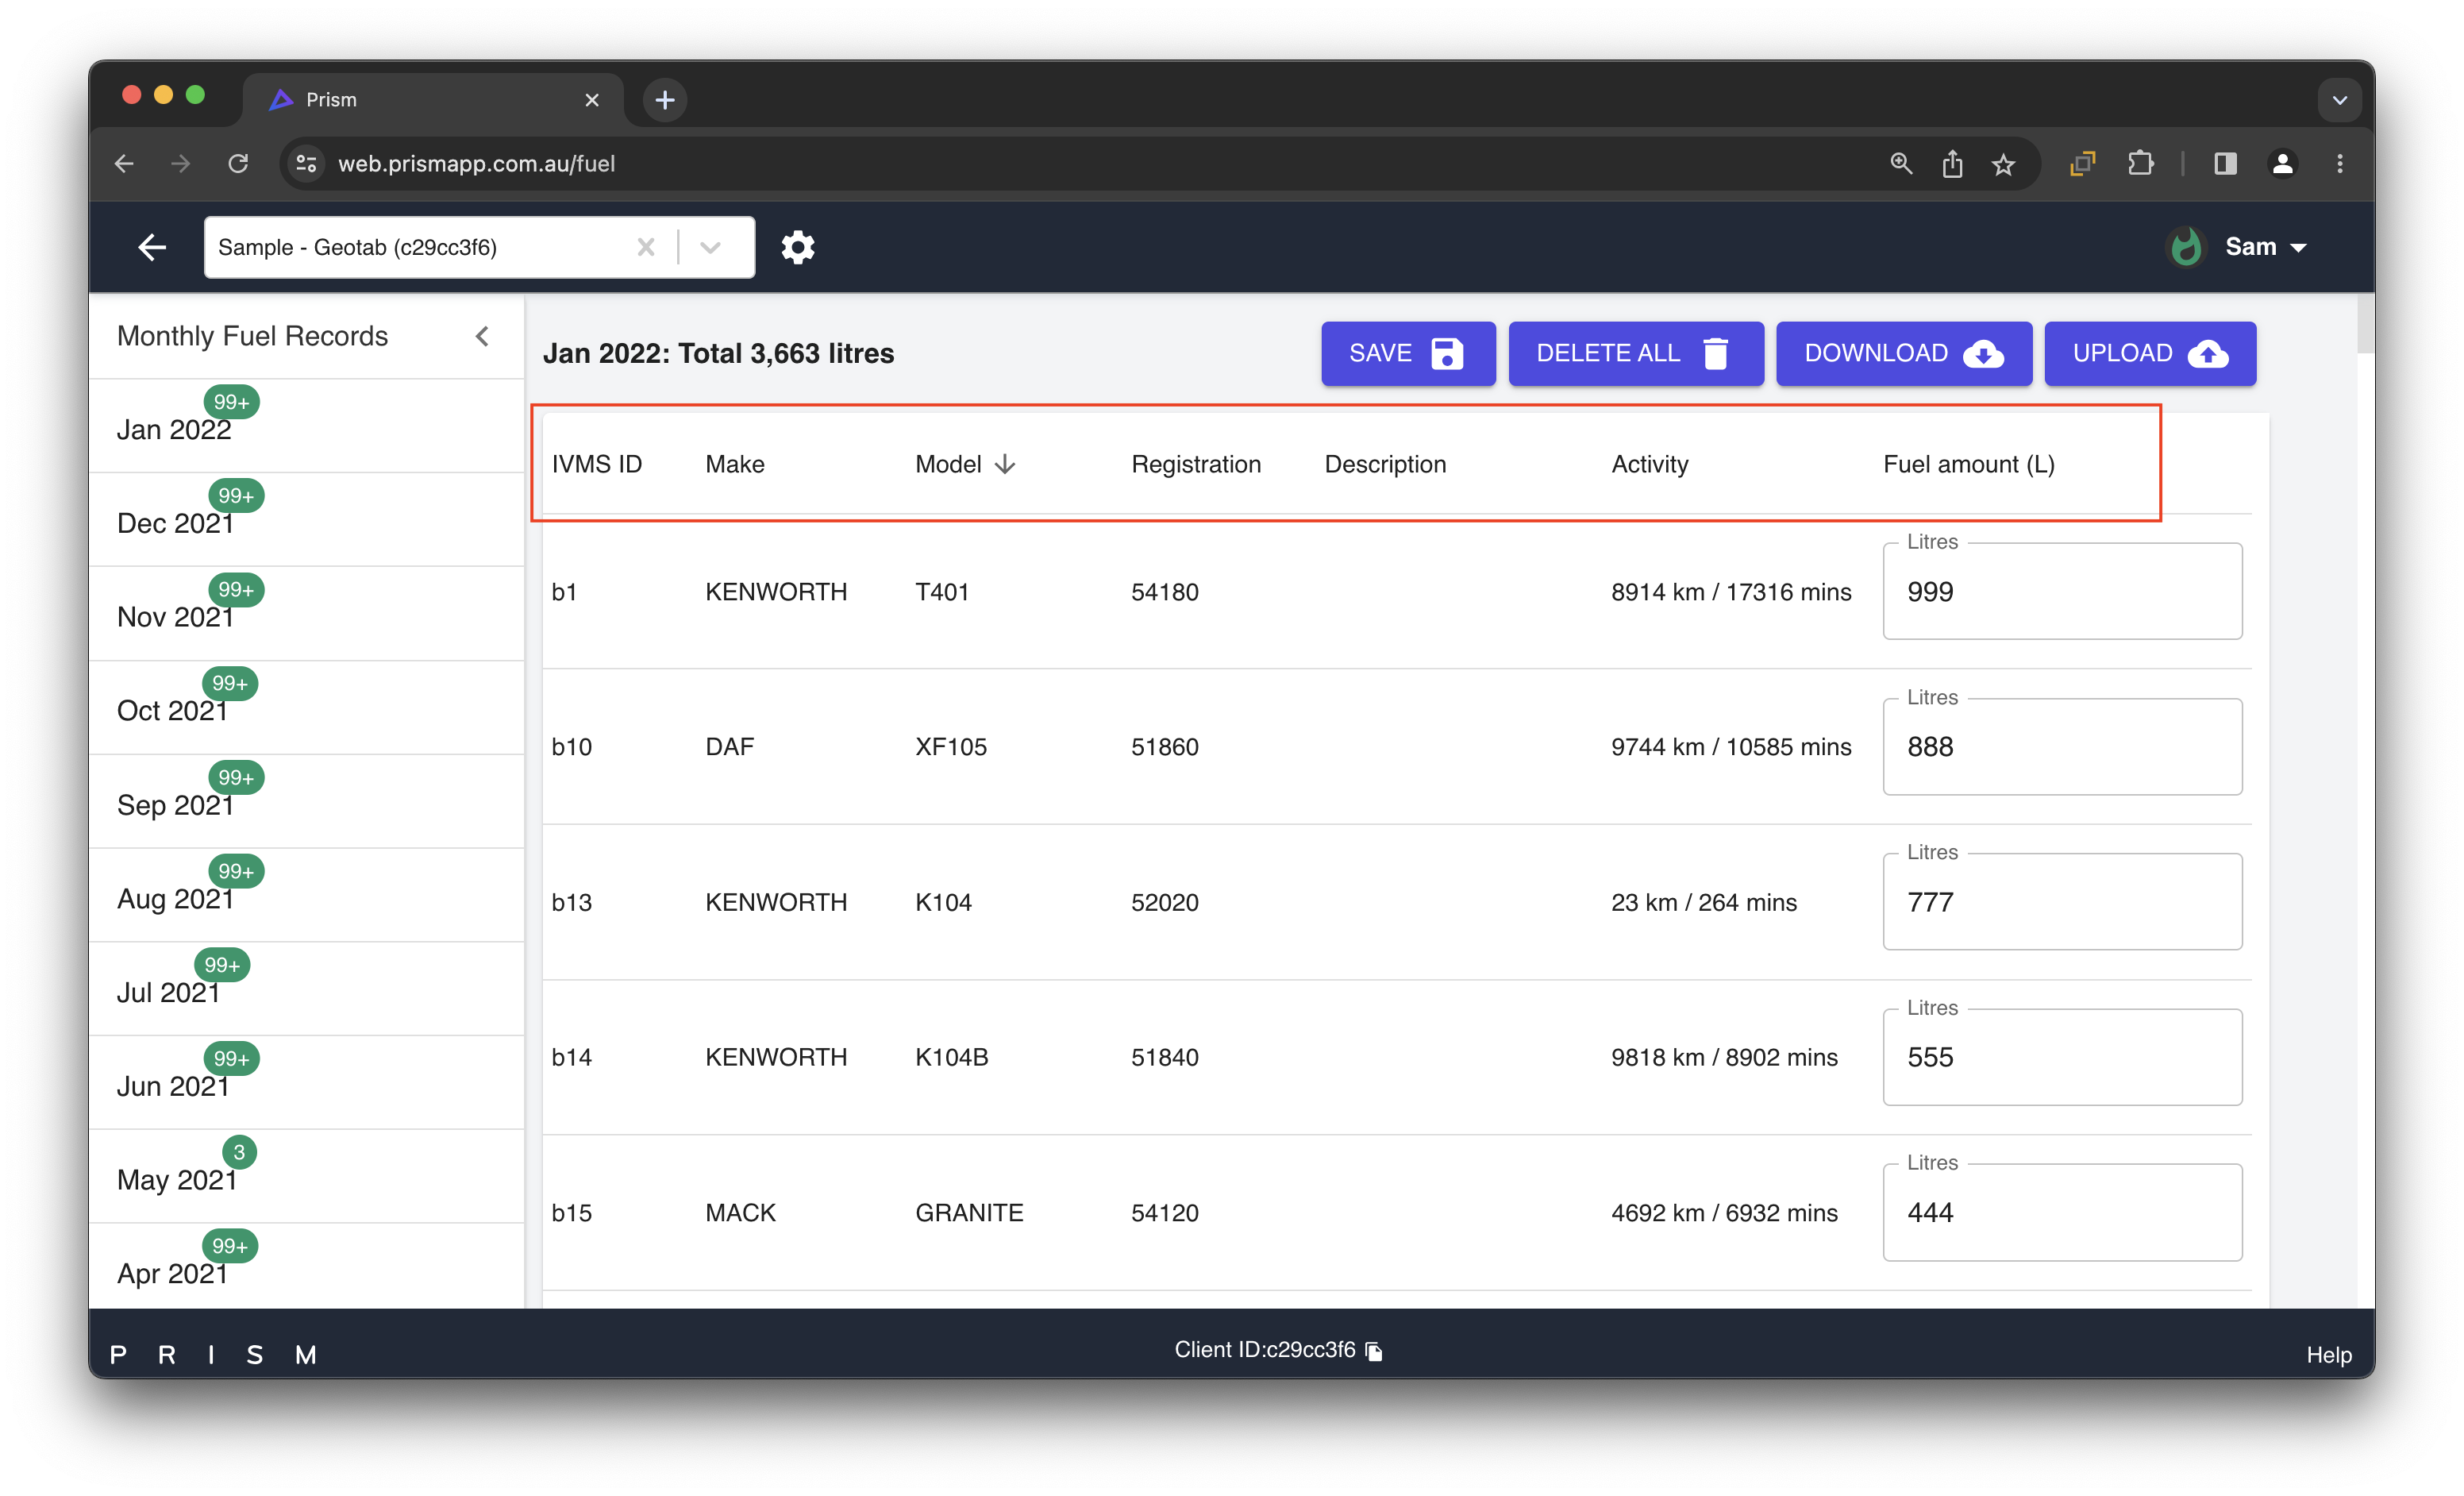
In the following below, we will walk you through the following features you can find in Fuel Records which will help you how to use or understand each accordingly:
Feature 1 - Sorting Feature

Click on any of the column headings to sort the fuel register alphabetically, or numerically.
Feature 2 - Total Fuel Entered
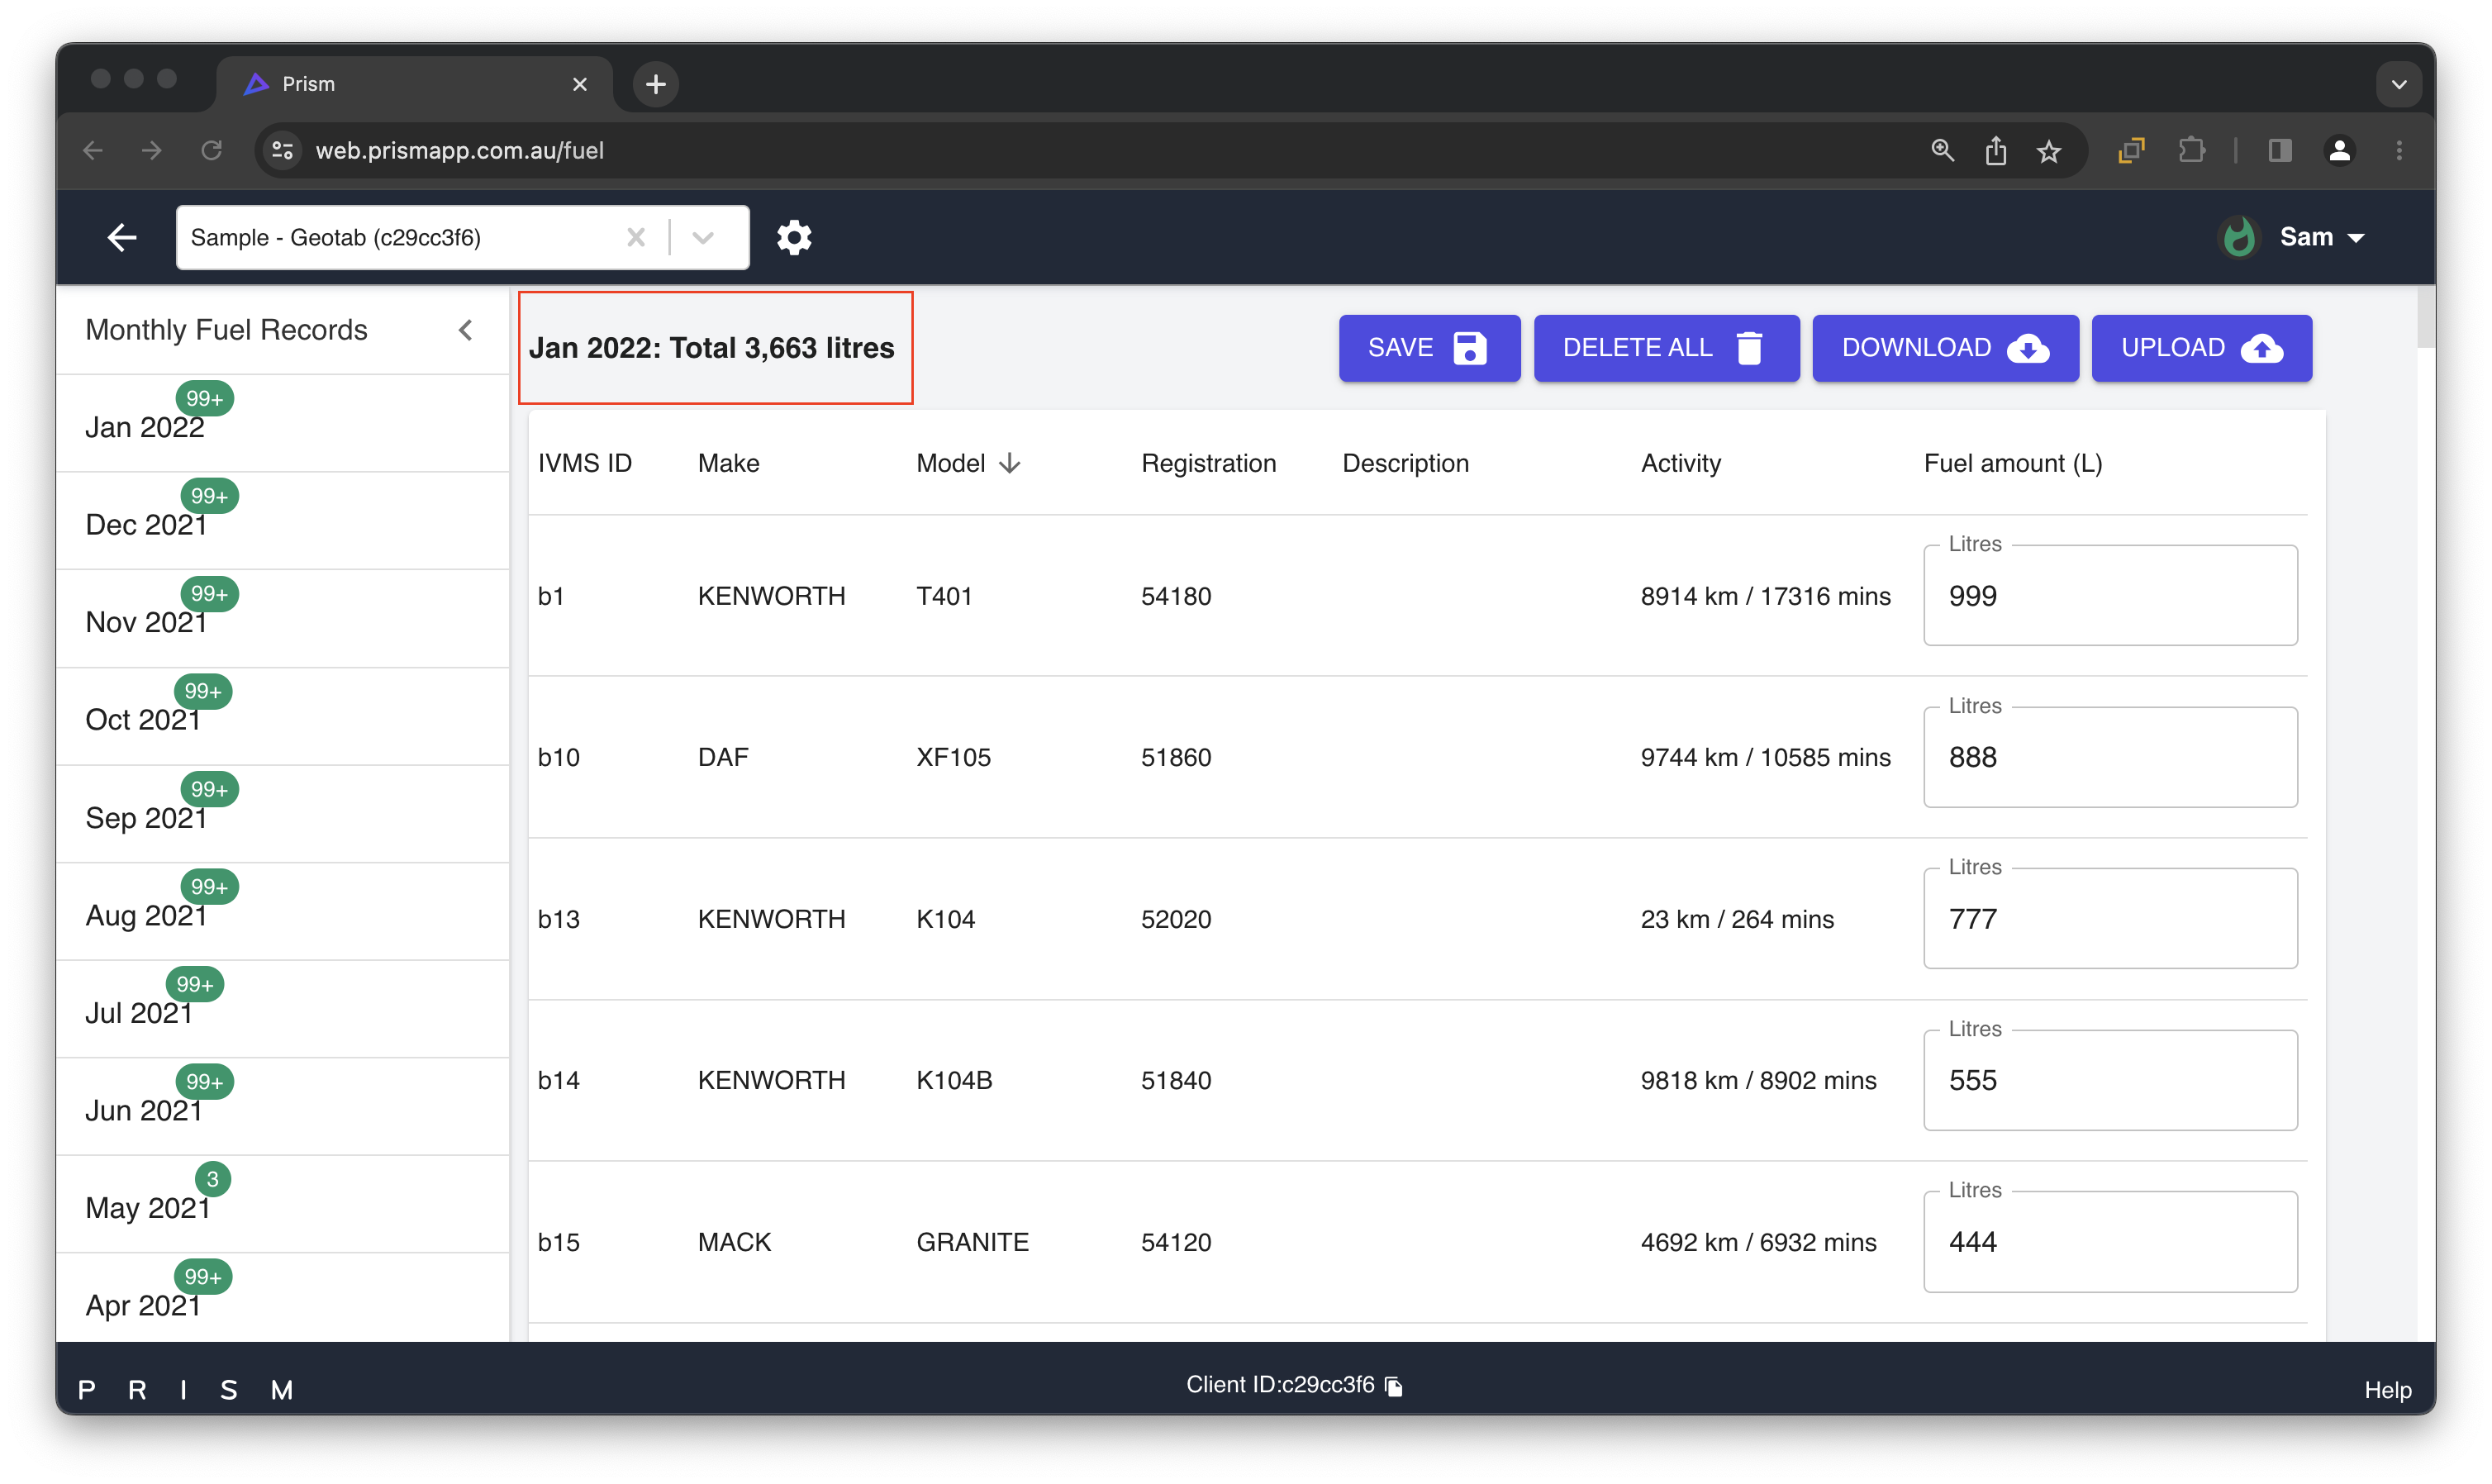
This number (ie. 3,663 litres) indicates the total number of fuel that has been entered.
This number will update as soon as you make an edit.
Feature 3 - Saving the Fuel Entered
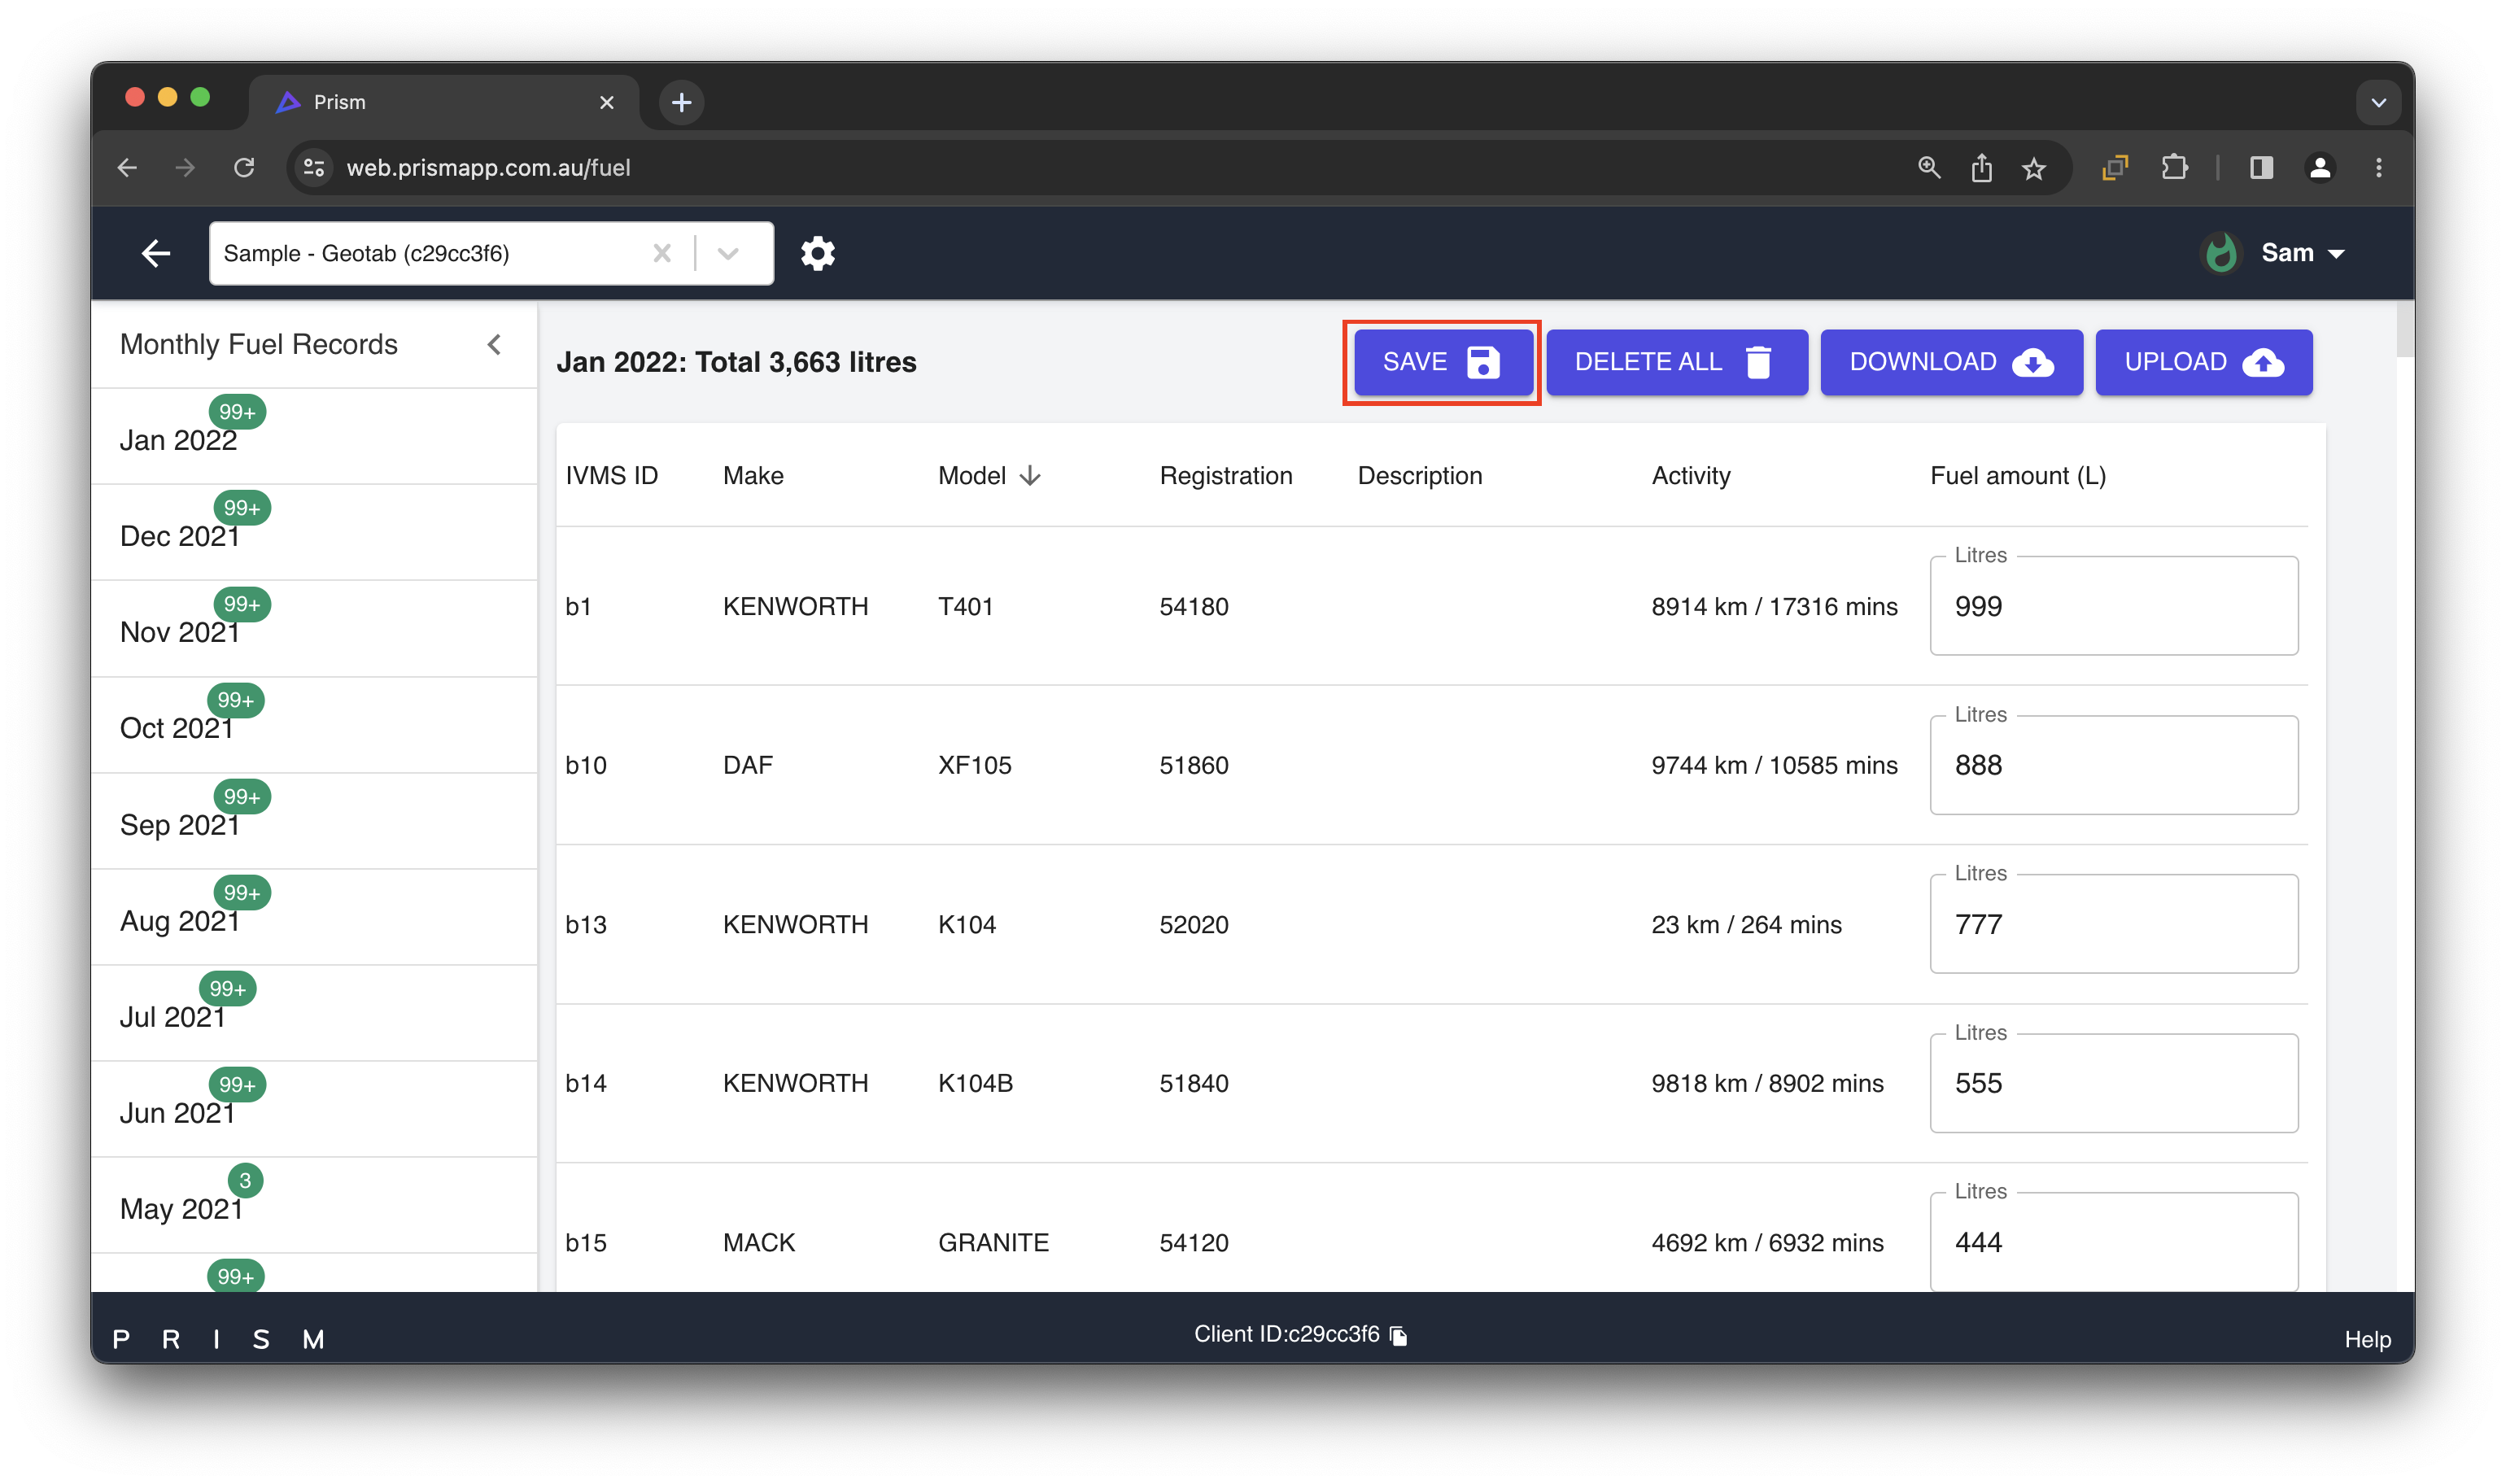
Save the fuel you have entered through here.
You can also save a partially completed fuel record and come back later to finish it.
Feature 4 - Delete the Fuel
Delete all of the fuel you have entered for the month.
Feature 5 - Download
Use this feature to download the fuel records into an Excel spreadsheet.
Feature 6 - Upload
Use this feature to upload your fuel records in bulk, that are in Excel-format.
Feature 7 - Entering Fuel
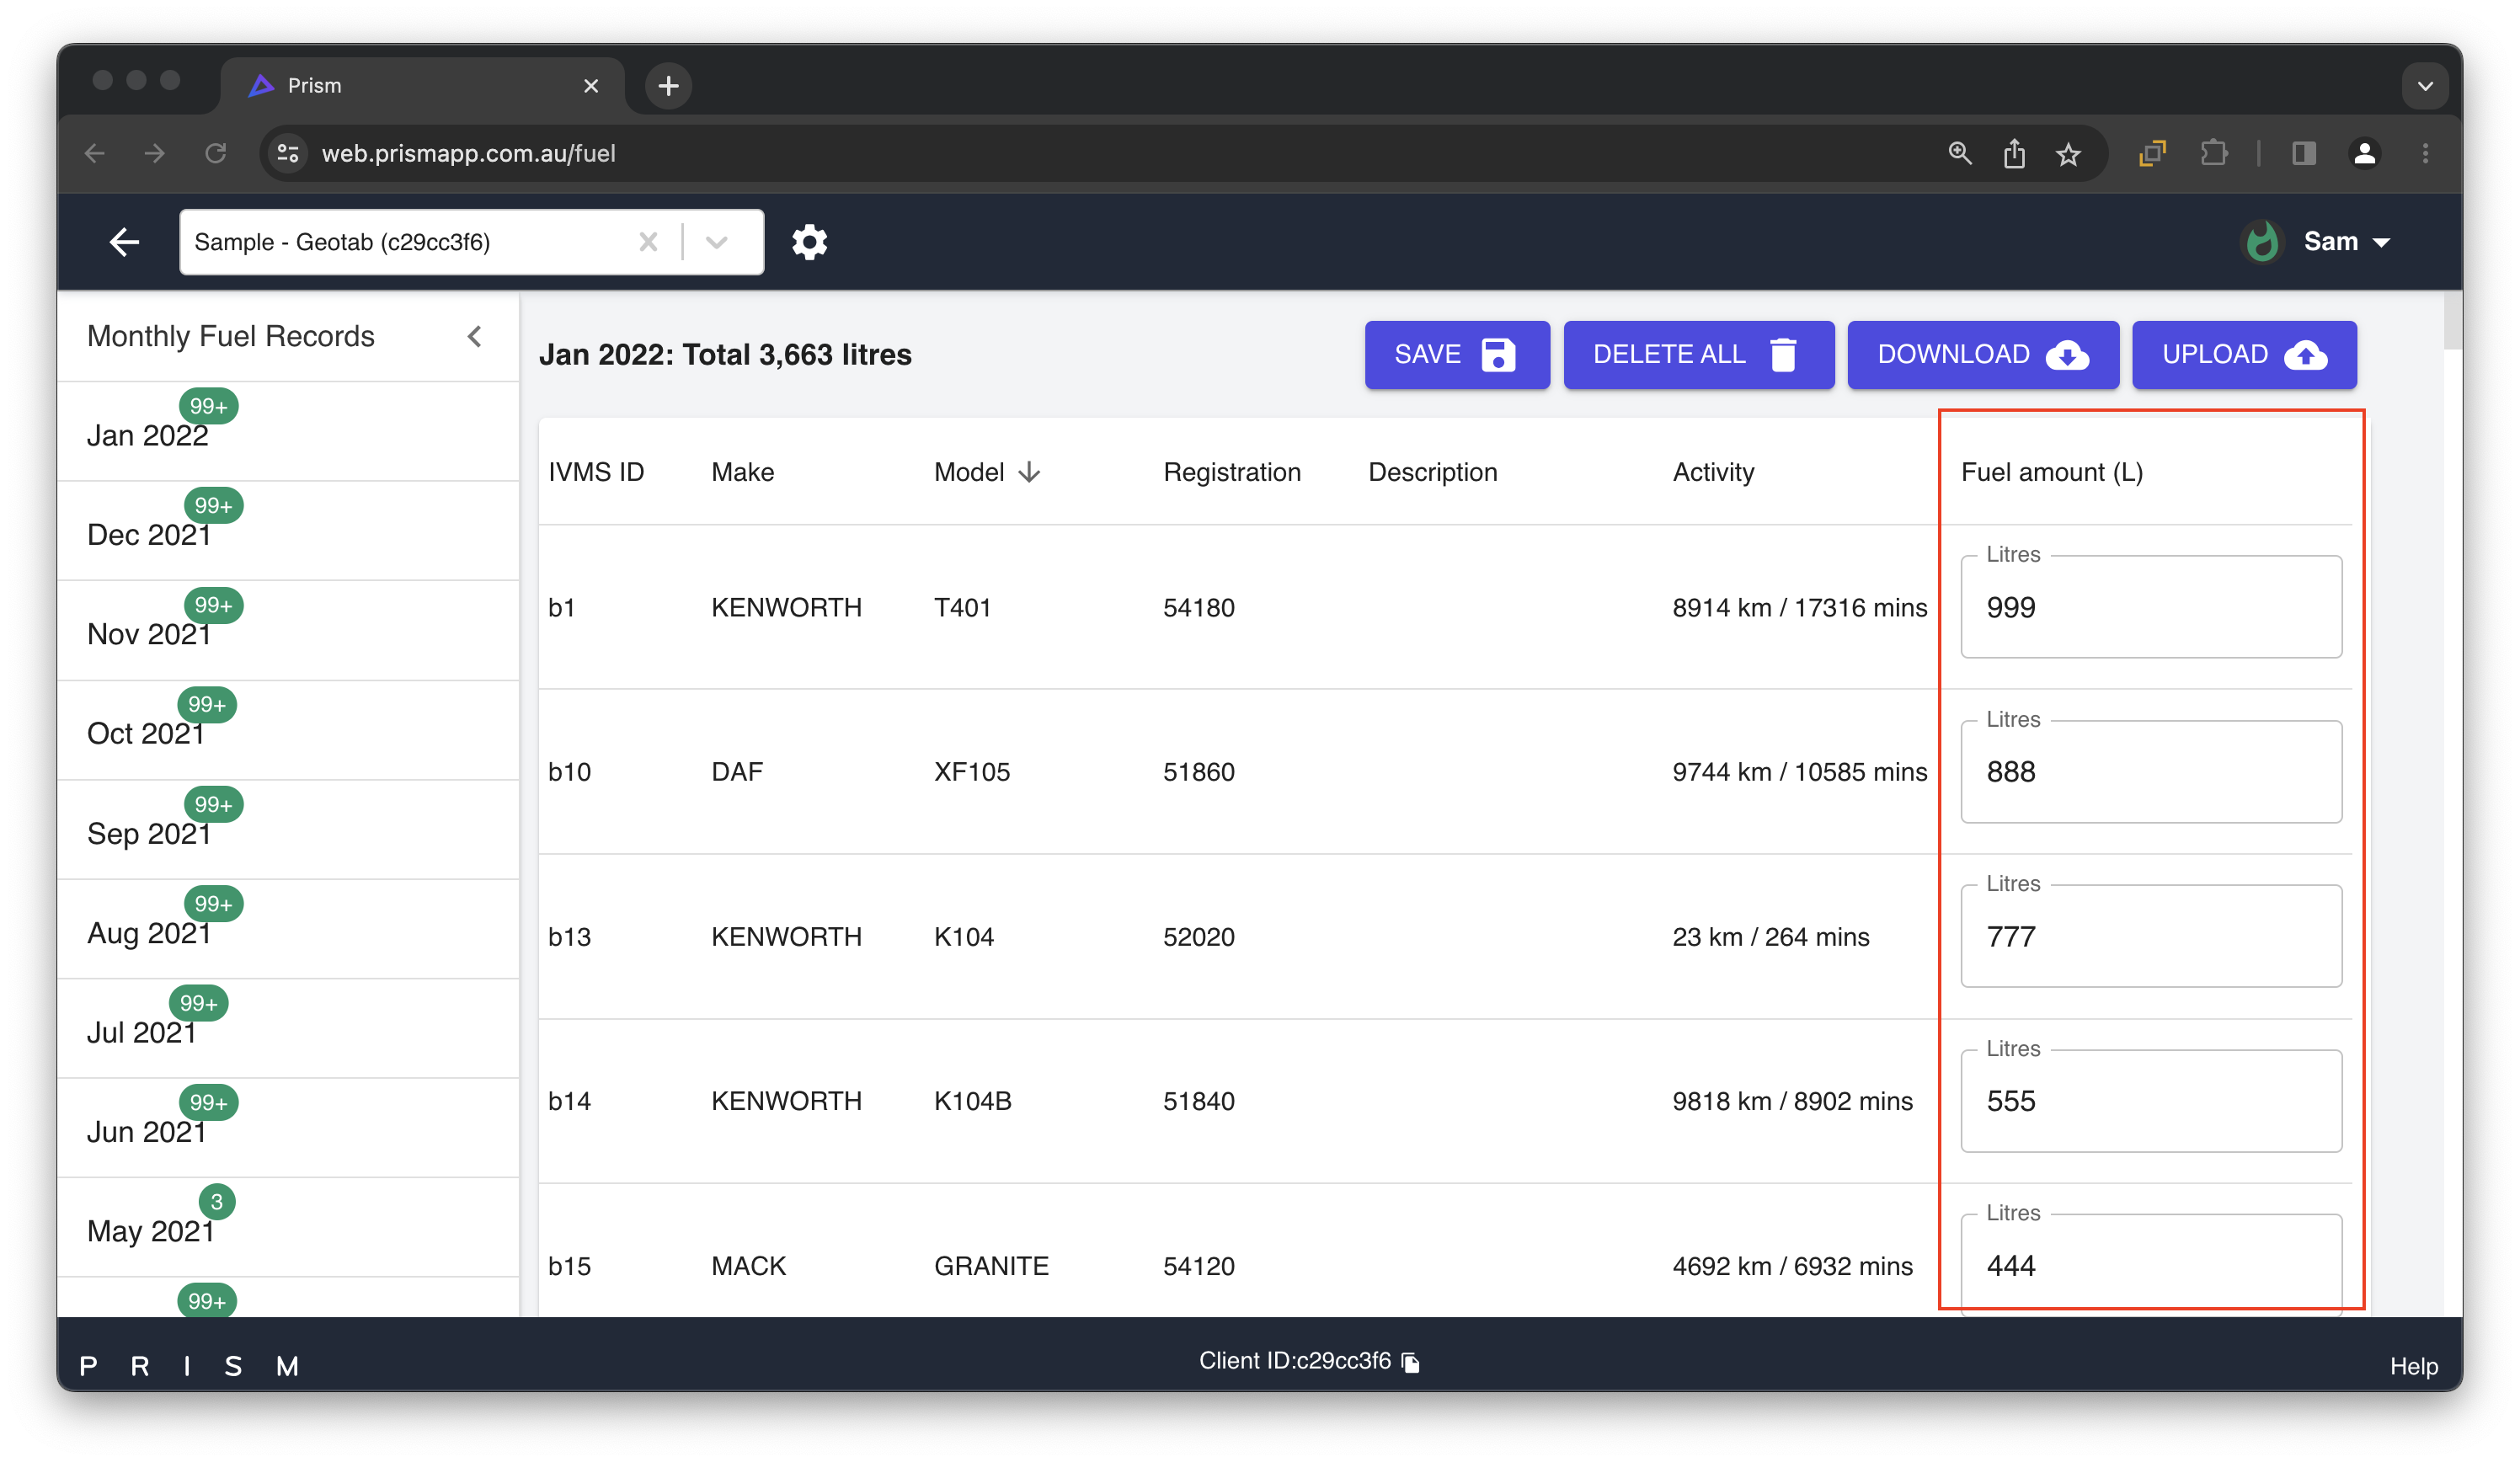
Enter the purchased fuel under Fuel amount (L) next to each vehicle.
The fuel entered is automatically added to the total, and will be used in calculating your monthly FTC reports.
Feature 8 - Activity Summary
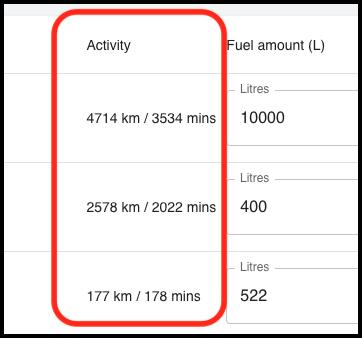
For each vehicle listed, there will be a summary of the activity next to each of them recorded for it in the month.
Feature 9 - Viewing Monthly Records
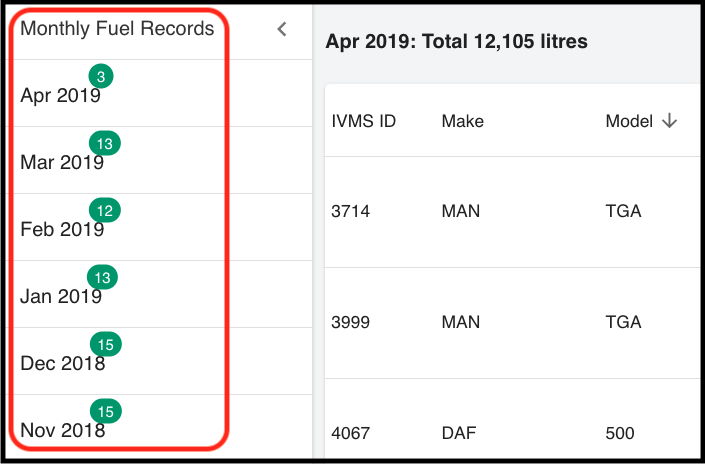
You can view each month of reporting by clicking on a month under Monthly Fuel Records.
For each month listed, you will see a green notification alert which displays the number of active vehicles that have no fuel entered against each of them.
Feature 10 - No Activity Recorded
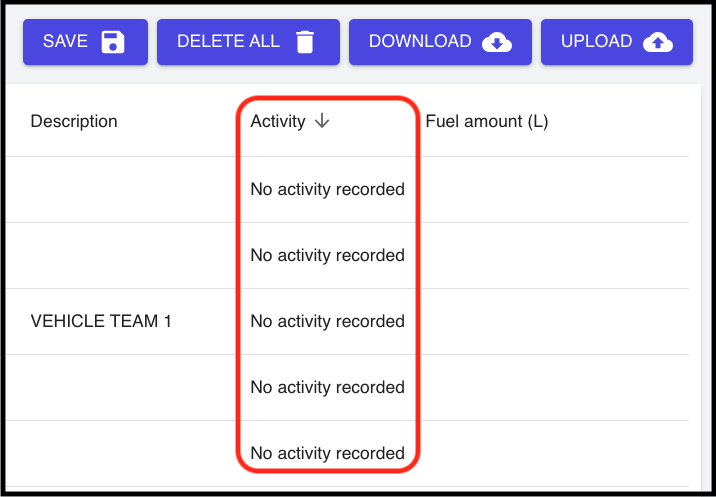
Under the Activity column, and if a vehicle has not had any activity recorded against it for a particular month, you will not be able to record fuel against it.
Bulk Upload
For this feature, Prism allows users to upload and edit fuel records in bulk and in one go. Please see the following steps below on how to bulk upload and edit fuel records:
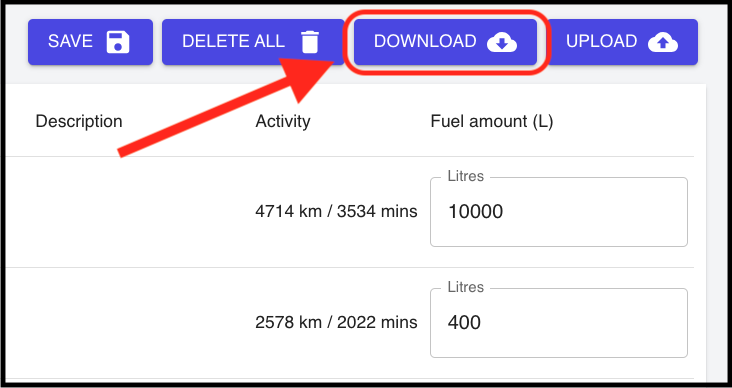
Step 1. Download your current fuel records for the month that you would like to edit, which will be downloaded as a .csv file.
Once it has been downloaded to your computer, you will then be able to open it:
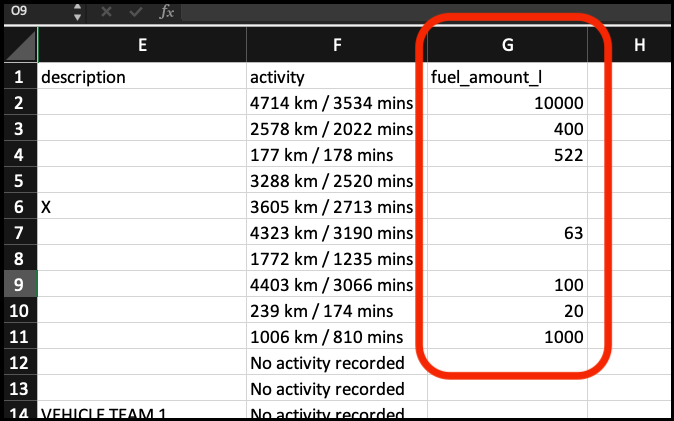
Step 2. After you have opened the .csv file, you will notice the layout is the same as what you will already see in the Prism web portal.
Within the opened .csv file, please enter any fuel records that you wish to upload in column G. If needed, you can also overwrite any existing fuel records (for example, you could change cell G2 from 10000 to 11000).
Once you have entered any fuel records in column G, save the .csv file on your computer and move onto Step 3 below.
PLEASE NOTE: It is important to understand that you cannot upload any fuel amount/s against any vehicle/s where it mentions ‘No activity recorded’ in column F.
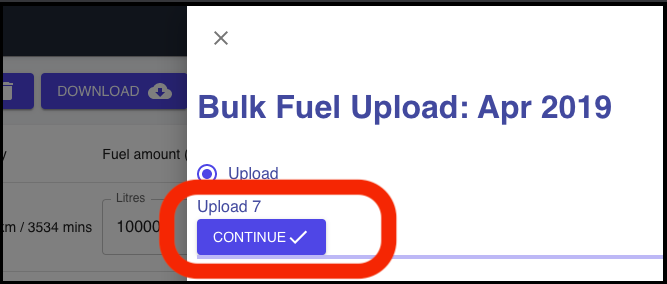
Step 3. It’s time to now upload your newly edited .csv file. Return to Fuel Records in your Prism web portal and select Upload, where you will be asked to select your updated .csv file for uploading. You will be given the option to either drop or select the file.
From there, you will be taken to a screen to review your data once more and confirm your edits. If you are happy with the edits, click ‘Continue’ and your edits will appear in your Fuel Records portal:
IMPORTANT NOTES
Once you have Fuel Records enabled on your Prism account, it is the responsibility of the customer to enter the fuel through there each month.
Otherwise, the calculated fuel in your Prism reports will be set to zero (0).
Once you have successfully entered the fuel for each vehicle and for each month, you may need to regenerate and download the reports. Please view Regenerate, Download and Email Reports for further instructions.
Regenerate, Download and Email Reports
You will also need to regenerate and download your report/s once you have entered and saved your purchased fuel, in order for the updated fuel numbers to appears in your reports on your Prism web portal account.
Follow the steps below on how to regenerate and download:
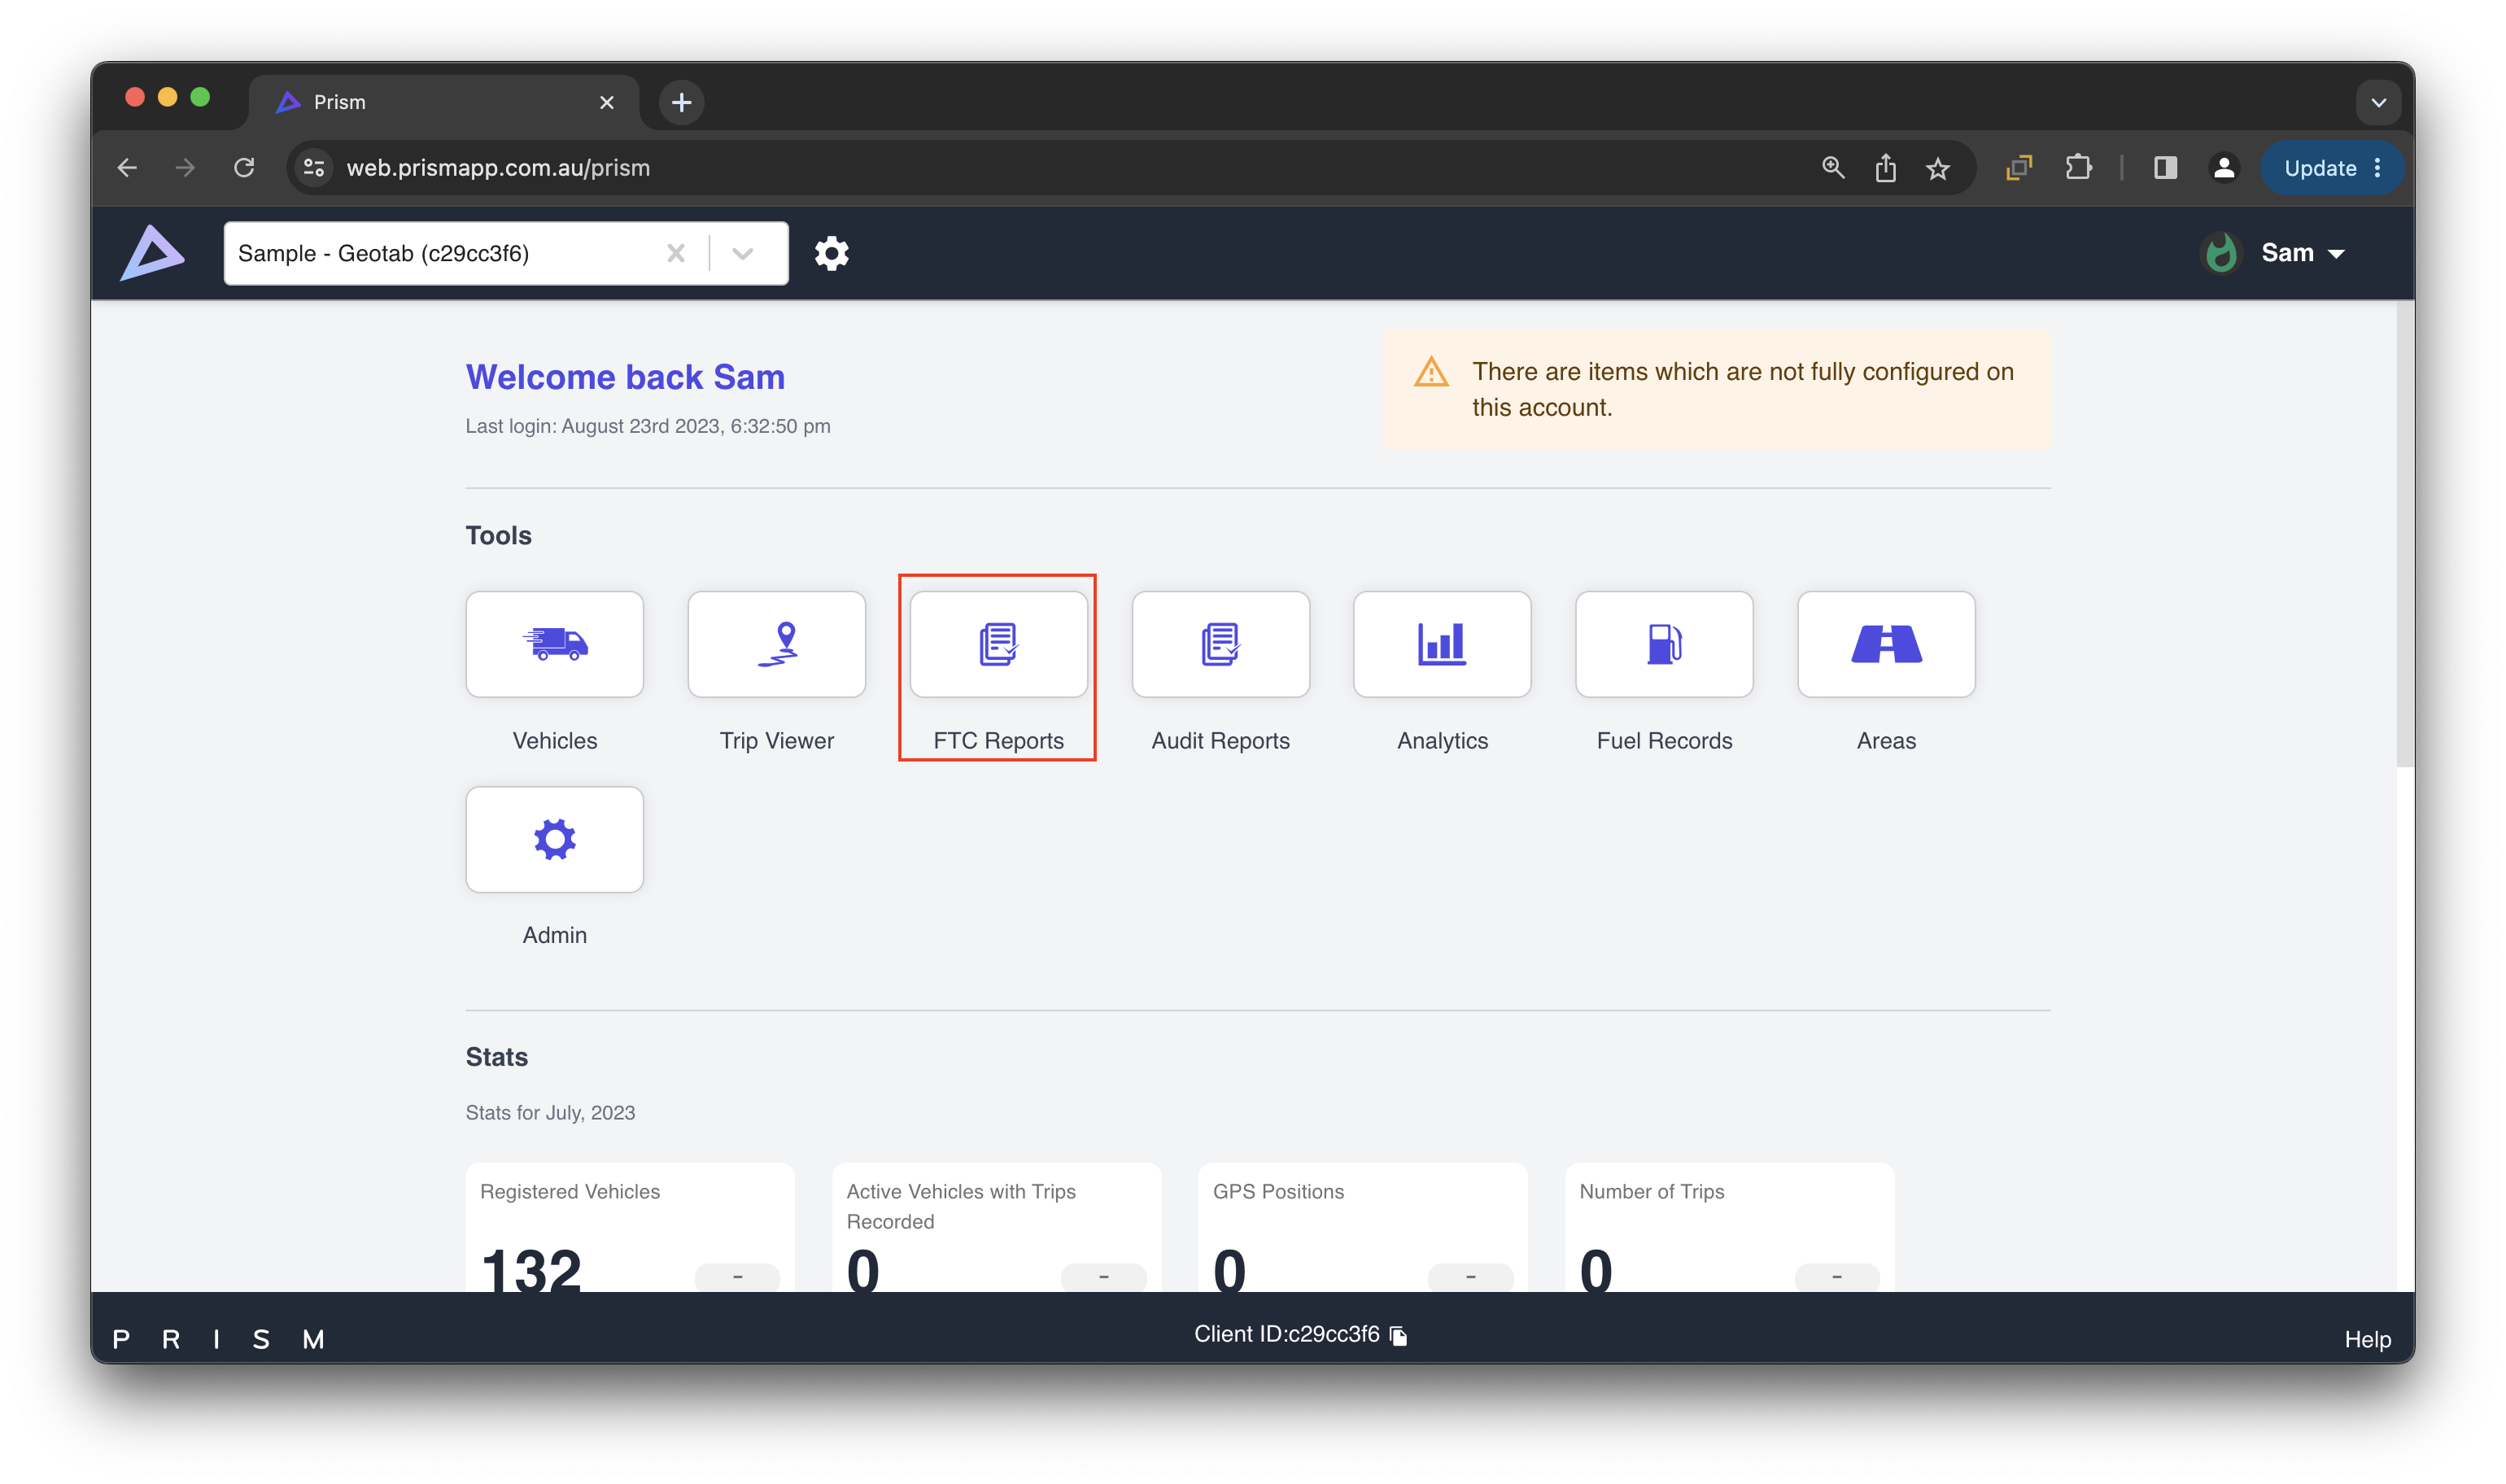
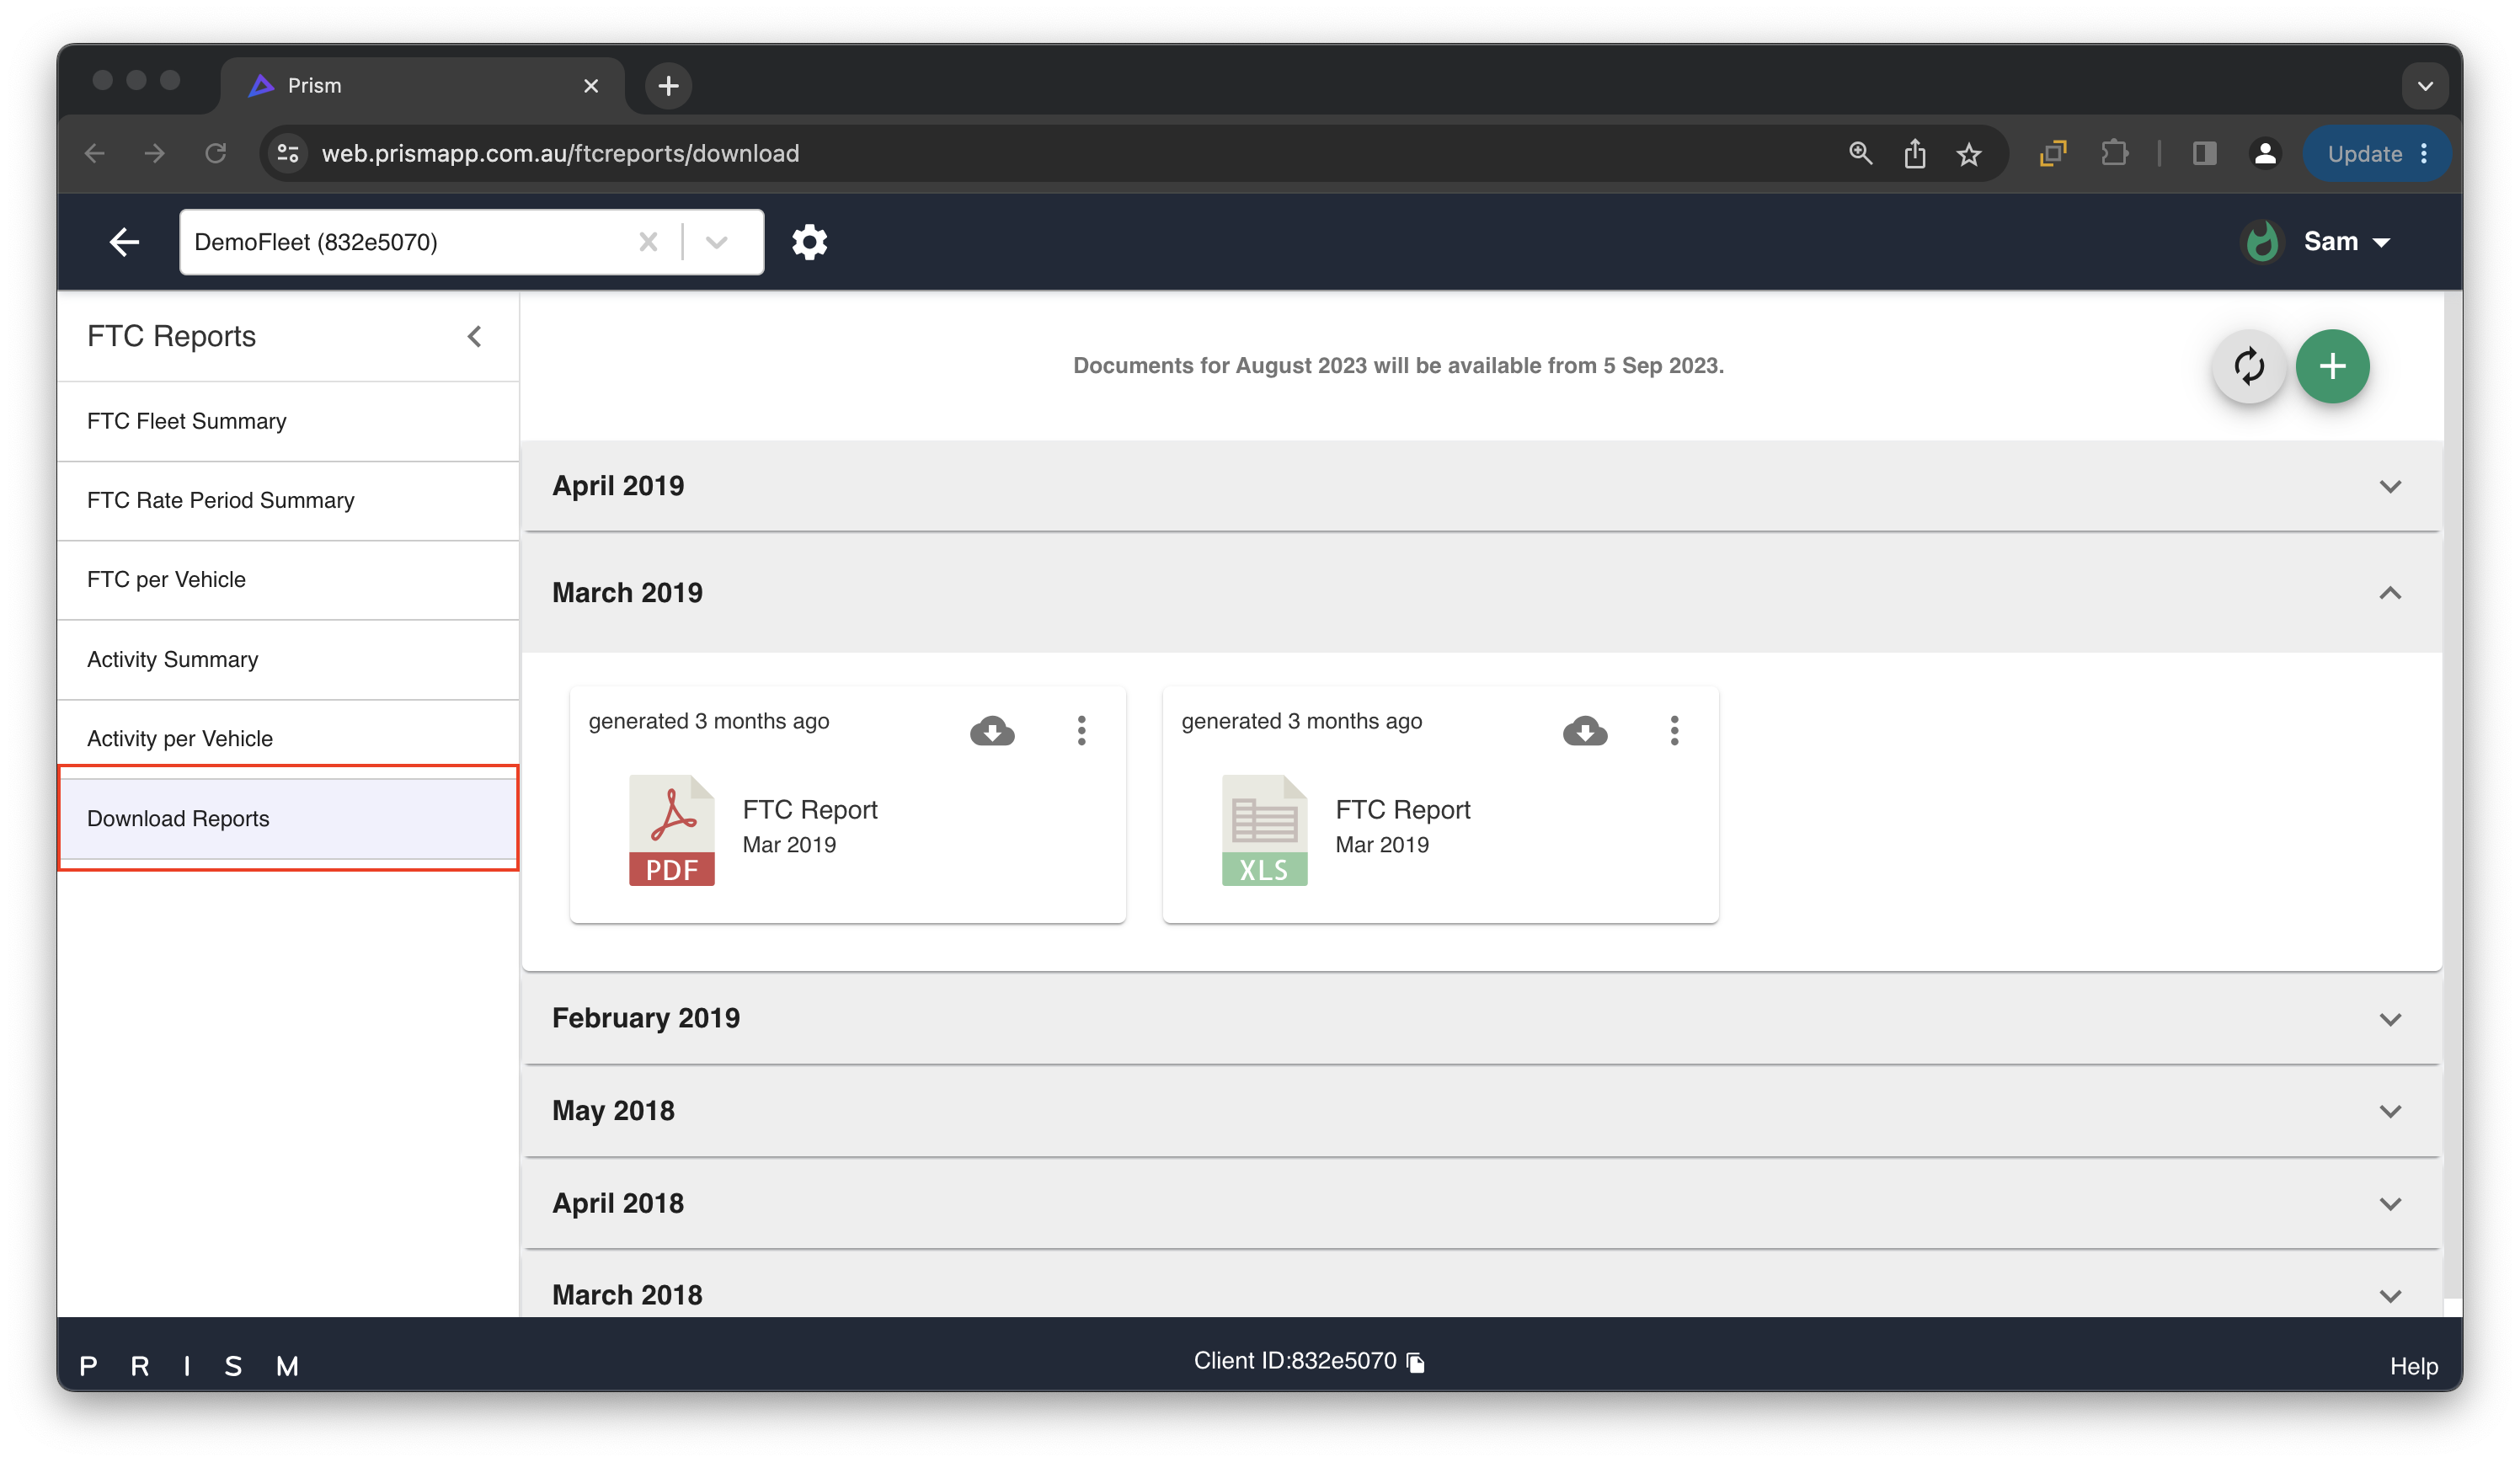
Step 1. From the Prism home page under Tools, go to FTC Reports and then go to Download Reports:
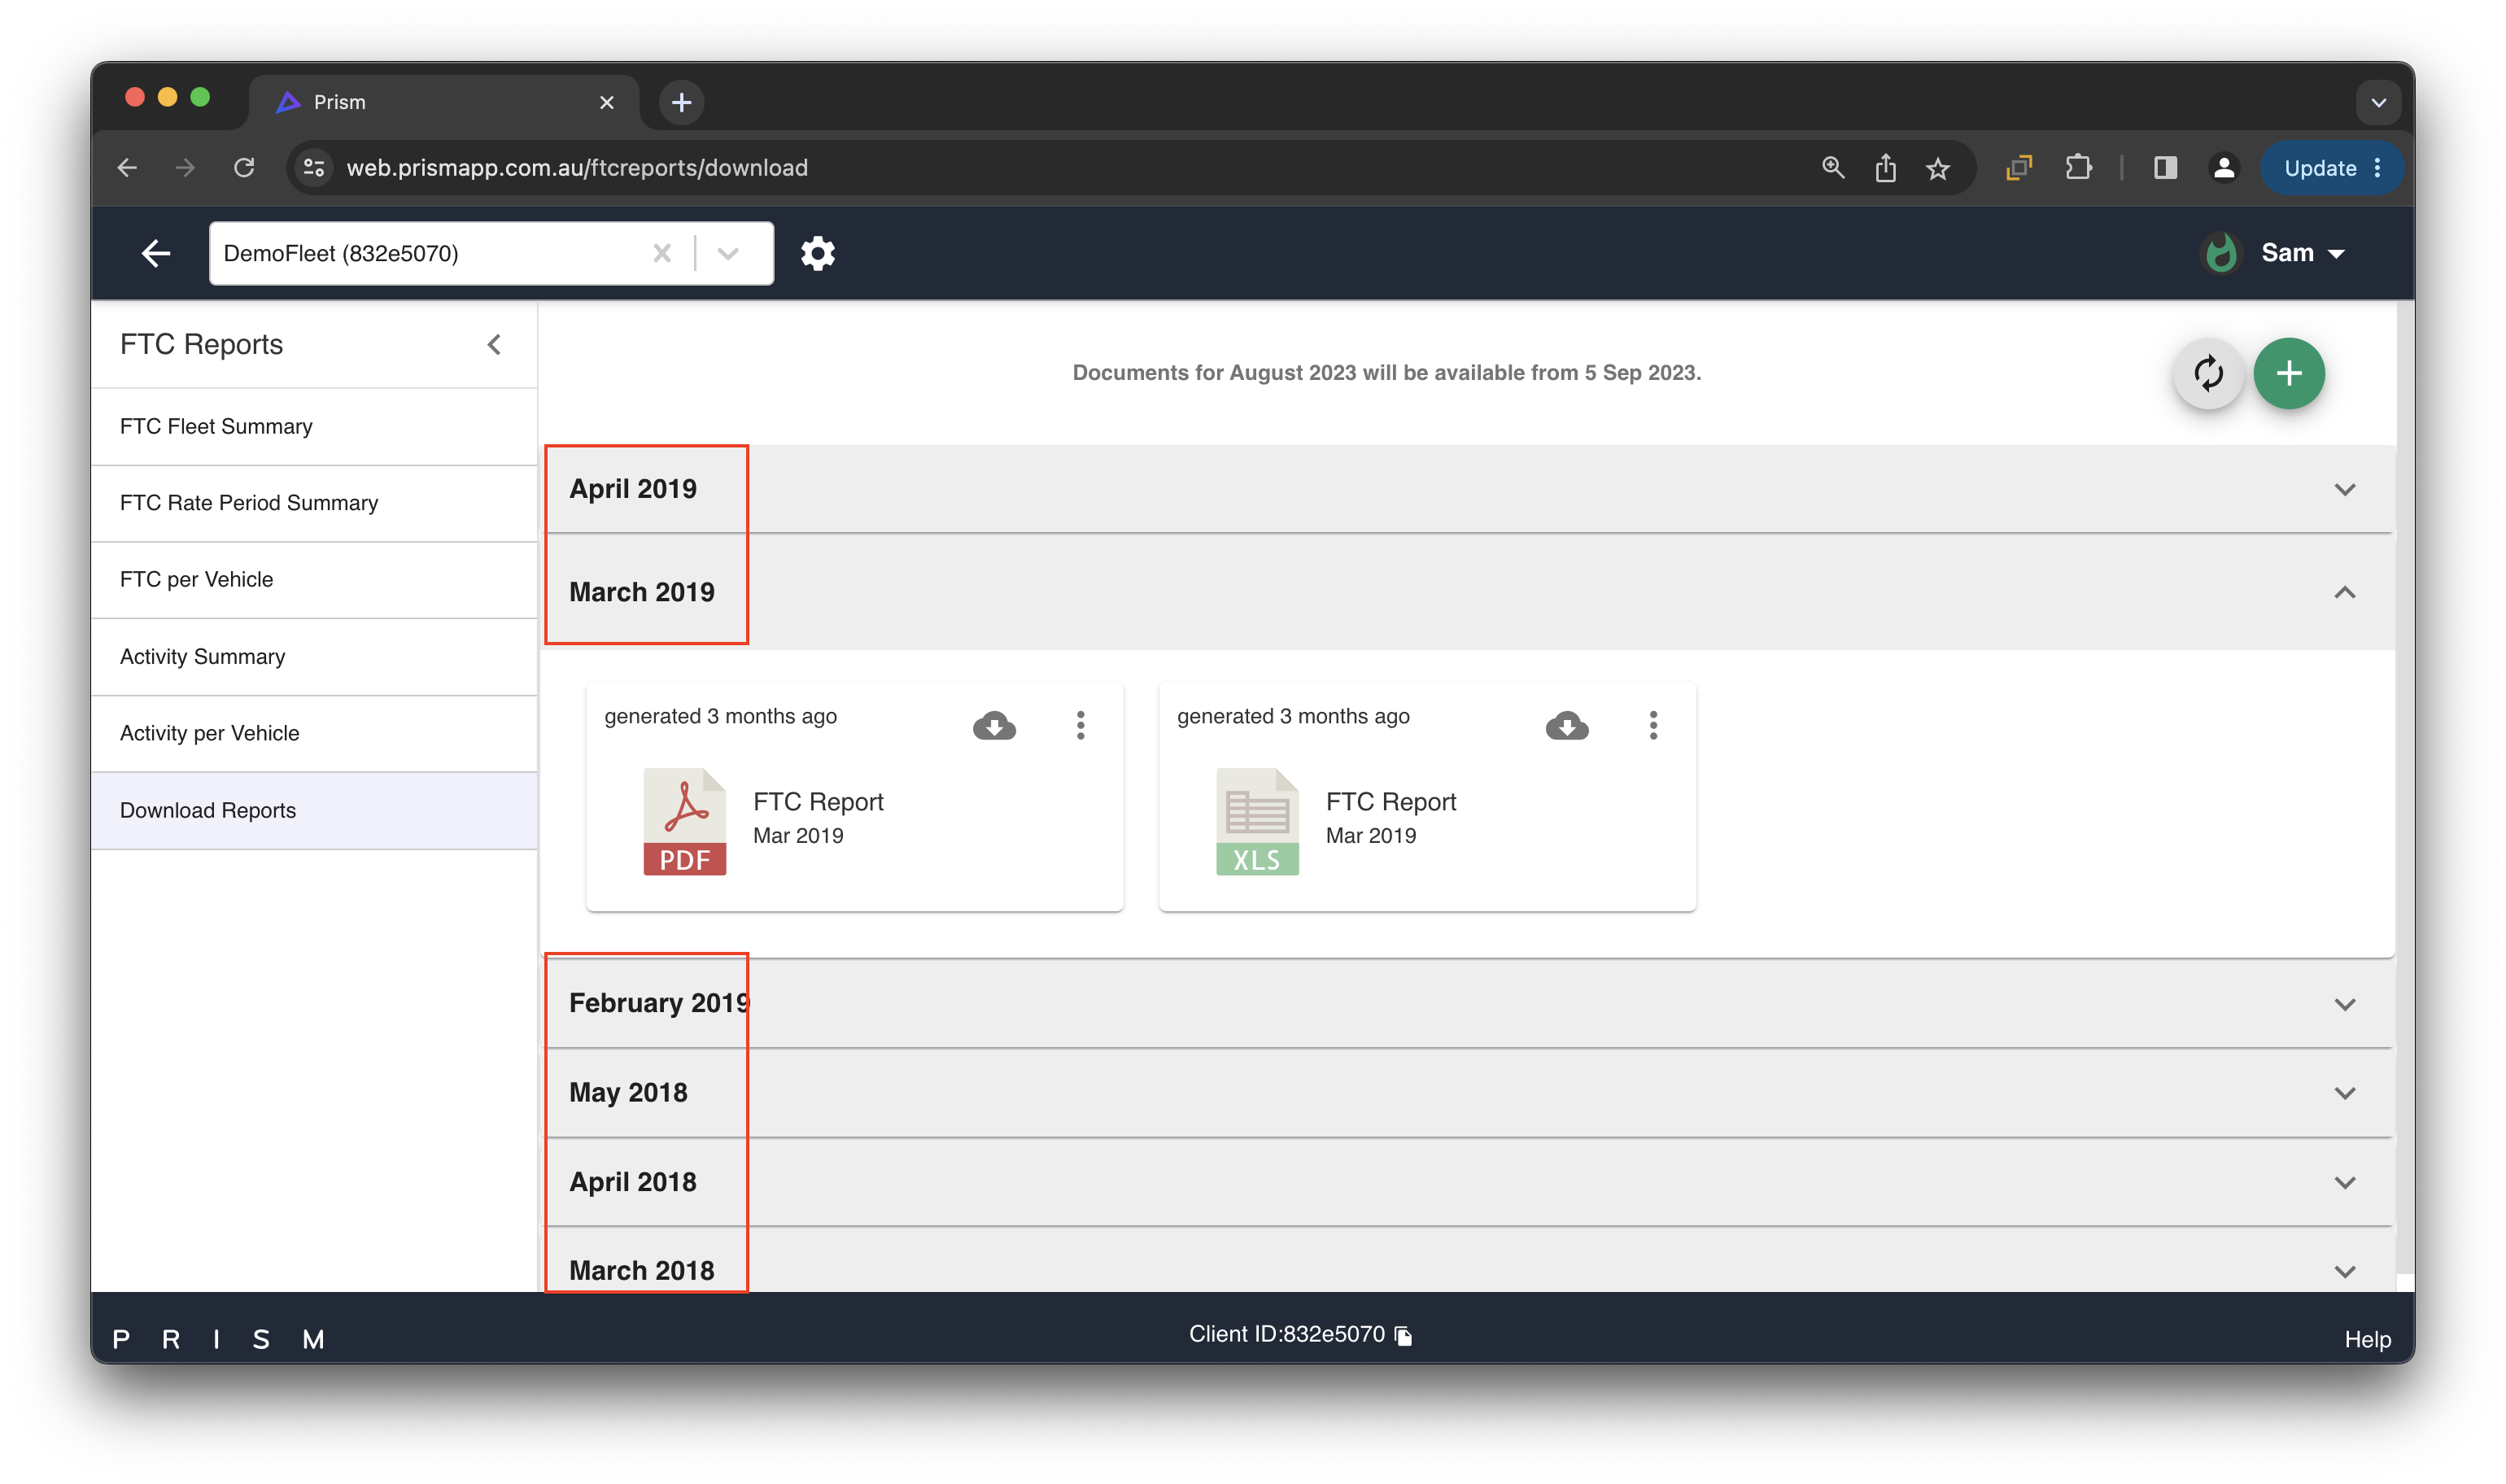
Step 2. Select the month/s that you wish to regenerate and download the reports from:
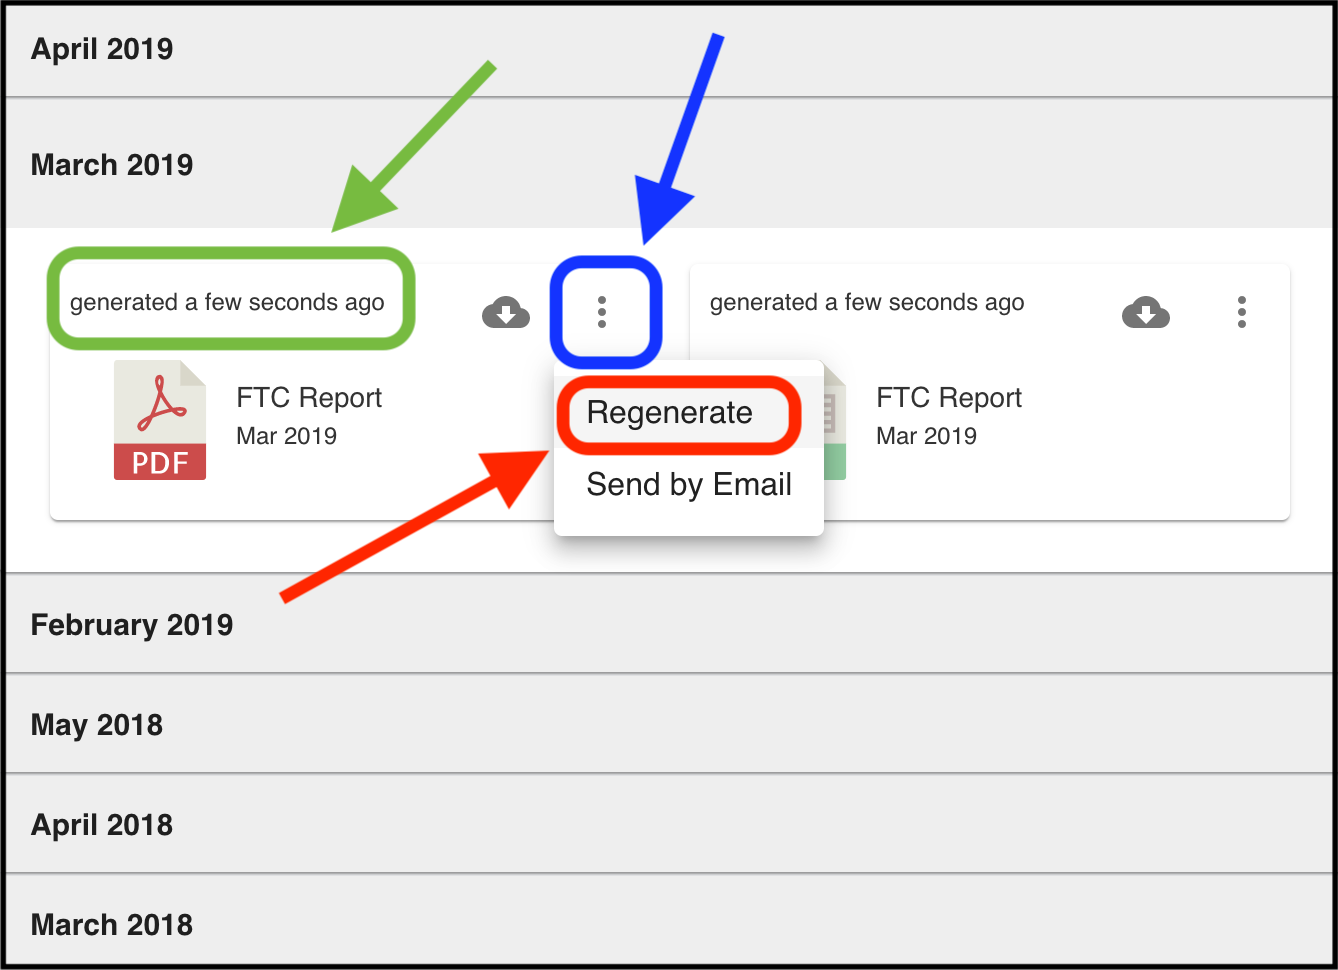
Step 3. Once you have selected the month that you wish to go to, you will notice there are two (2) files - One PDF, and one Excel.
To regenerate the reports, hover your mouse to the three dots (highlighted in blue) and select ‘Regenerate’ (highlighted in red). You will need to do this for both the PDF and Excel reports.
You will know the reports have been regenerated successfully if it mentions they were generated a few seconds ago (highlighted in green):
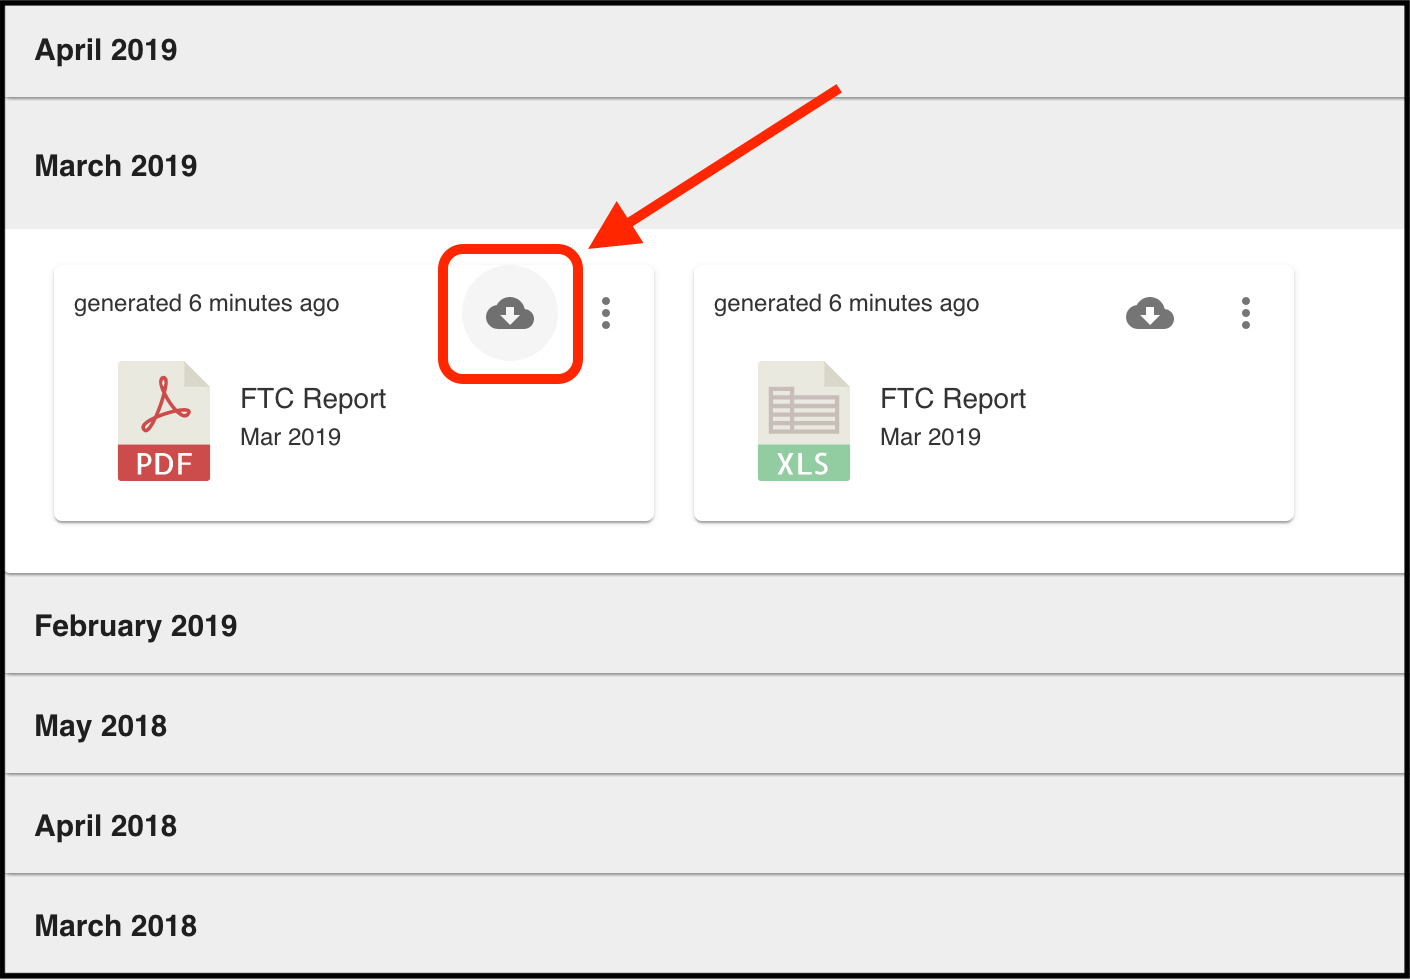
Step 4. Once you have successfully regenerated the reports, you will now be able to download the reports.
To do that, hover your mouse to the cloud icon next to the three dots and click on it. This will immediately download the report of your format choosing. However, if you wish to download both PDF and Excel, you will need to download each separately:
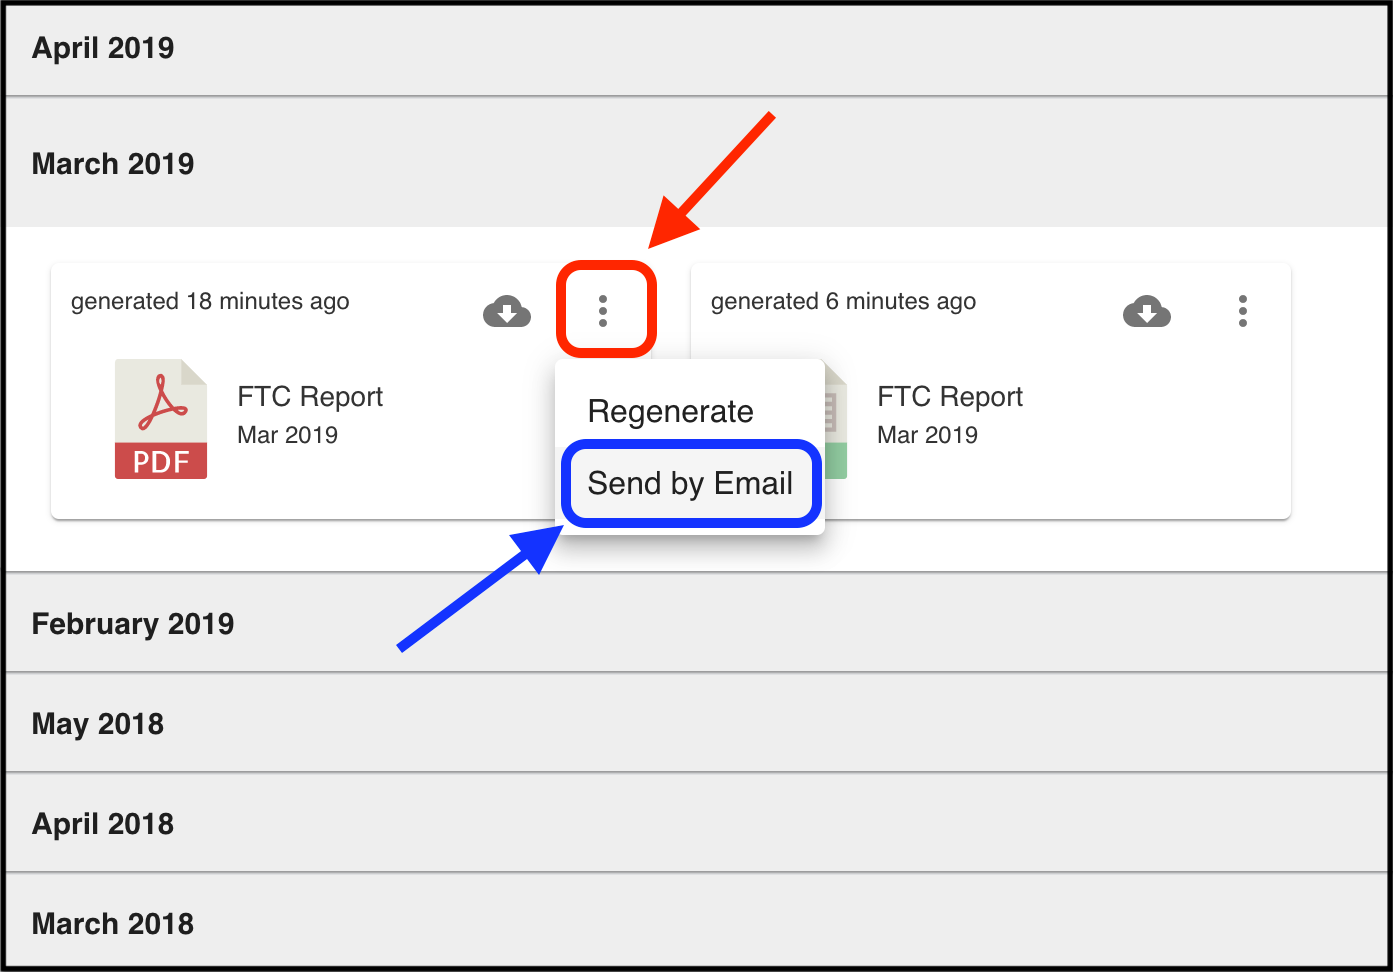
Step 5. Besides viewing the monthly reports through your Prism web portal, you may also choose to email the reports to your account.
To do so, hover your mouse to the three dots (highlighted in red) and select ‘Send by Email’ (highlighted in blue). You will need to do this for both the PDF and Excel reports:
