How to manage users
To manage users effectively, it’s important to understand the options below:
Client Settings
User Management
Client Management
Log into your Prism account and click the gear icon at the top-left of the home page (next to the search bar) to access your account settings. See Screenshot 1 - Prism Settings Feature below for reference.
Client Settings
In the Prism Settings, you may already be in Client Settings. If not, click on Client Settings which can be found on the top-left side of the page (Screenshot 2 - Client Settings):
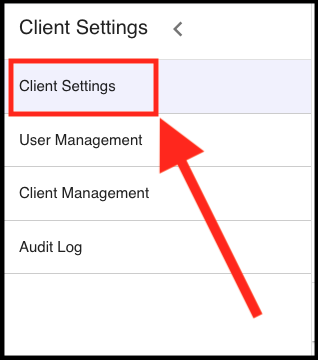
Screenshot 2 - Client Settings
From here, go to FTC Report Delivery where you will see fields to edit which email address/es will receive the monthly Prism reports (Screenshot 3 - FTC Report Delivery).
Further below in this user guide, we will be going through each of the features available in FTC Report Delivery:
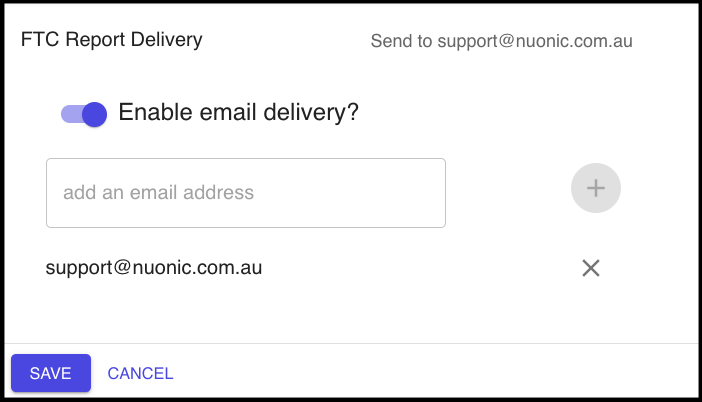
Screenshot 3 - FTC Report Delivery
Feature 1 - Enable Email Delivery

Screenshot 4 - Enable Email Delivery
Use this feature to toggle the switch (next to ‘Enable email delivery?’) to turn ON or OFF the email delivery of the Prism reports.
Feature 2 - Adding Email Address(es)
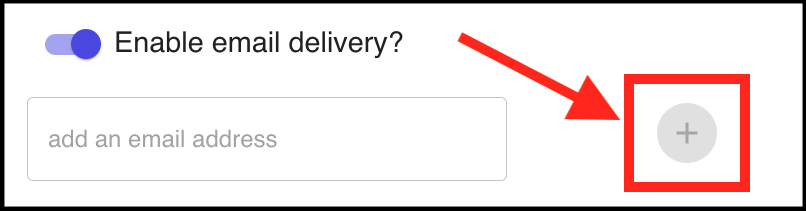
Screenshot 5 - Adding Email Address(es)
Use the + (plus) button to add an email address, or multiple email addresses.
Feature 3 - Removing Email Address(es)
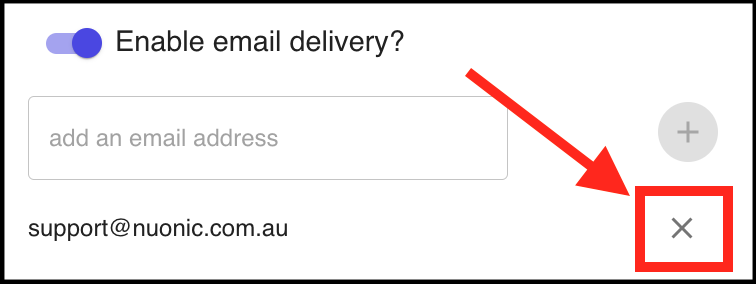
Screenshot 6 - Removing Email Address(es)
Use the x (cross) button to remove an email address.
PLEASE NOTE: You can only add or remove email addresses.
You cannot edit existing email addresses.
Feature 4 - Save
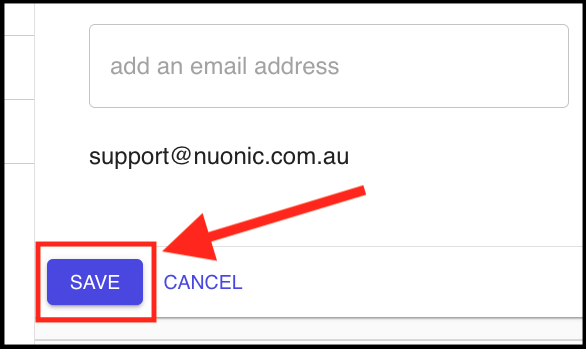
Screenshot 7 - Save
Once you have made the necessary edits, please ensure you select the Save button before exiting.
User Management
In the Prism Settings, click on User Management which can be found on the top-left side of the page (please review Screenshot 2 - Client Settings above for reference). From there, you will be greeted with the User Management page as per below (Screenshot 8 - User Management):
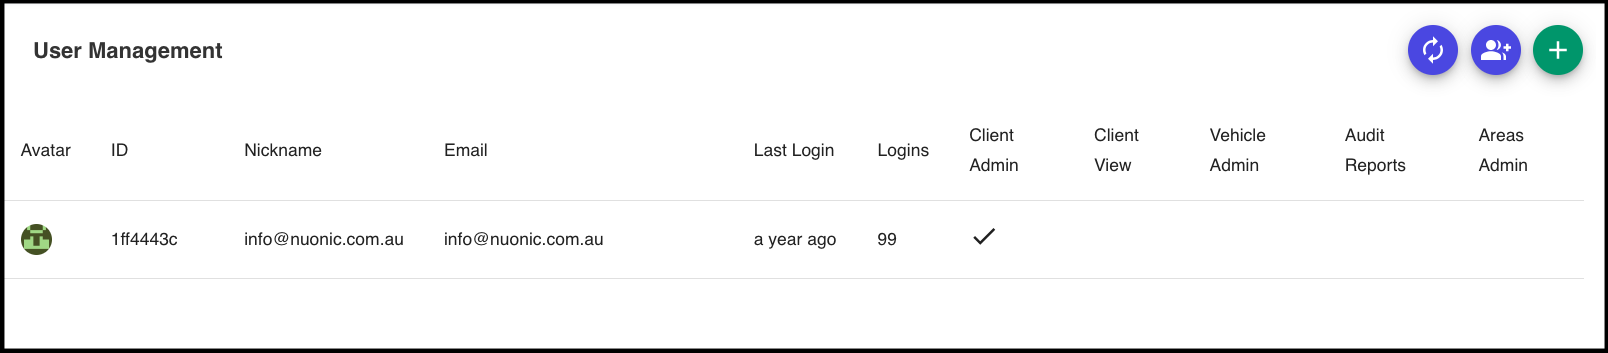
Screenshot 8 - User Management
Feature 1 - Avatar
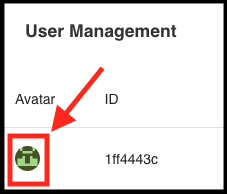
Screenshot 9 - Avatar
Each user will have an assigned avatar that is randomised. The avatar image cannot be edited or removed.
PLEASE NOTE: The avatar image cannot be edited, and cannot be removed.
Feature 2 - Prism ID
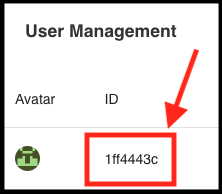
Screenshot 10 - Prism ID
Each user will have a unique Prism ID allocated to them.
PLEASE NOTE: Your unique Prism ID cannot be edited.
Feature 3 - Nickname
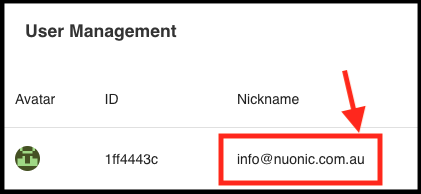
Screenshot 11 - Nickname
Each user will have their nickname displayed against their profile. In this example above (Screenshot 11 - Nickname), the default nickname is set to the email address.
PLEASE NOTE: If you wish to update your nickname, simply click on your avatar image inside User Management, and you will be in edit mode to make any updates to your nickname (see Screenshot 12 - Edit User for reference).
Once you have updated your nickname, don’t forget to scroll down and select SAVE.
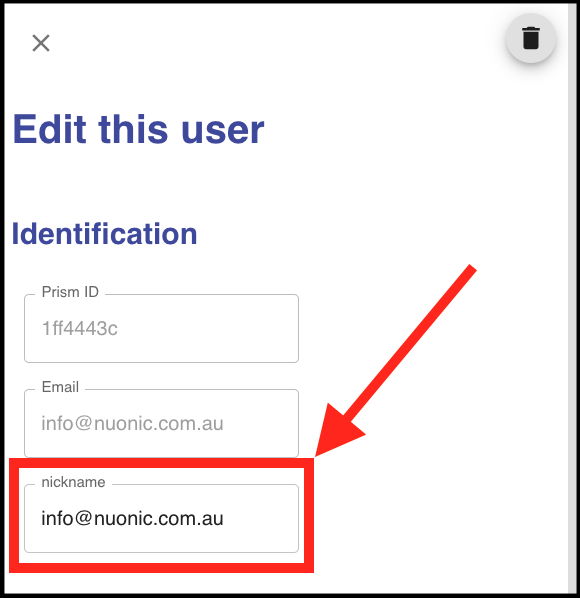
Screenshot 12 - Edit User
Feature 4 - Email (ie. Username)
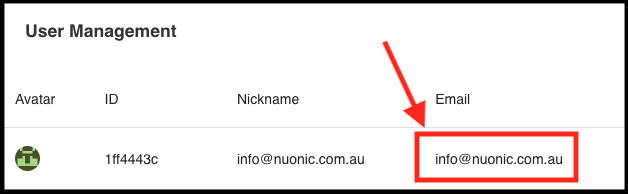
Screenshot 13 - Email (ie. Username)
Your email address is also your username.
PLEASE NOTE: Your email address (ie. username) cannot be edited.
Feature 5 - Last Login
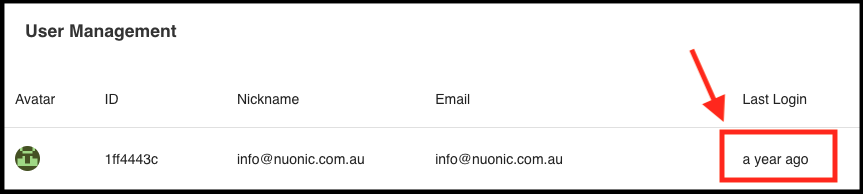
Screenshot 14 - Last Login
This is where you will see when the user last logged in.
Feature 6 - User Logins
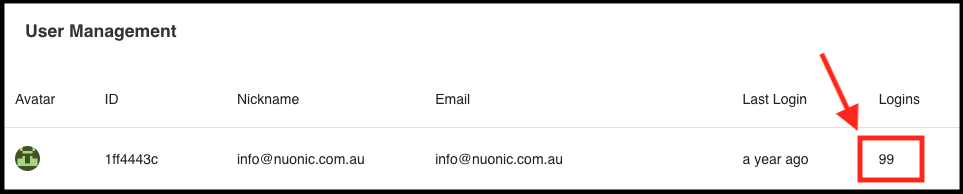
Screenshot 15 - User Logins
This is where you will see the number of times a user has logged in.
Feature 7 - Permission Levels

Screenshot 16 - Permission Levels
This is where you will see the level of access that each user has.
For more information on the permission levels, we have included a table below:
Permission Actions | Full Administration Rights | Full Content Rights | View and Edit Rights for Vehicles Only |
|---|---|---|---|
Assign admin roles to users | ✅ | ||
Assign roles to users | ✅ | ||
Create new clients | ✅ | ||
Create new users | ✅ | ||
Delete clients | ✅ | ||
Delete users | ✅ | ||
Edit client details | ✅ | ||
Edit client settings | ✅ | ||
Edit users | ✅ | ||
Edit vehicle data | ✅ | ✅ | |
View client details | ✅ | ✅ | |
View client settings | ✅ | ✅ | |
View reports | ✅ | ✅ | |
View roles of users | ✅ | ✅ | |
Assign admin roles to users | ✅ | ✅ | |
View vehicle data | ✅ | ✅ | ✅ |
Client Management
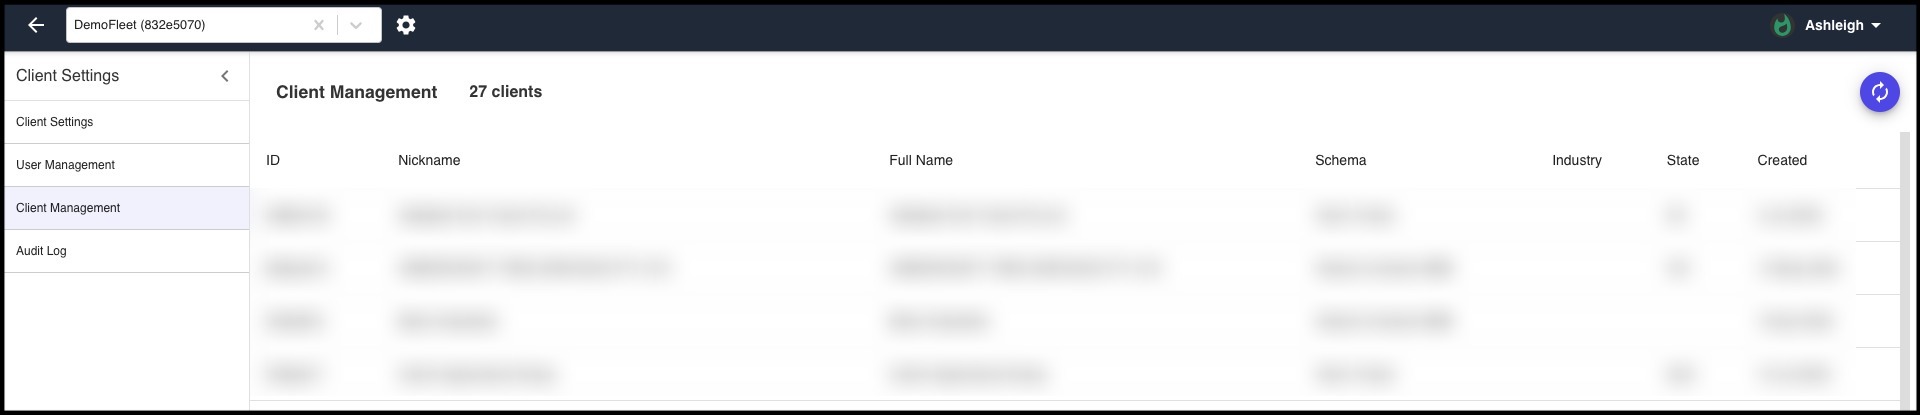
Screenshot 17 - Client Management Homepage
When you click on Client Management (see Screenshot 17 - Client Management Homepage), this will show all of the clients that are linked to your account. This will only be relevant if Prism is used over multiple businesses, or multiple accounts need to be linked.
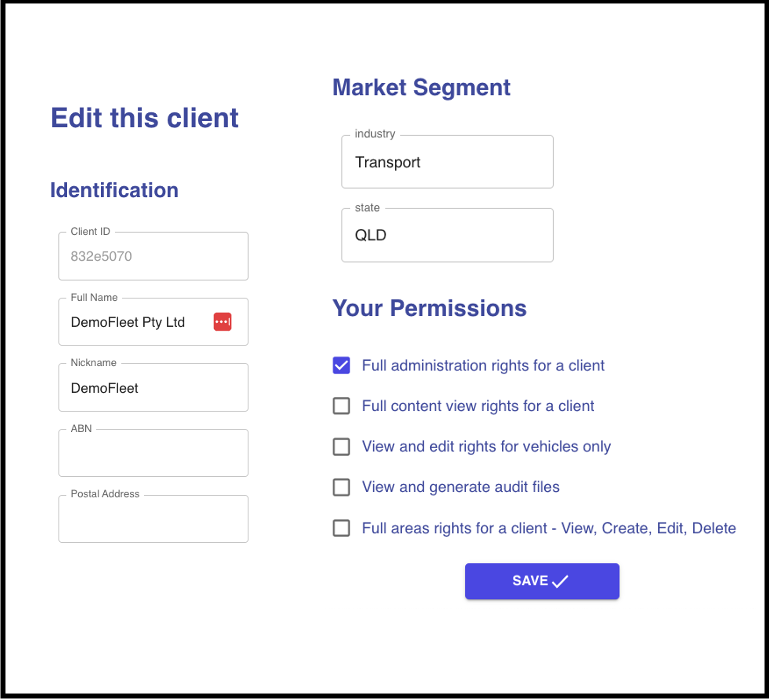
Screenshot 18 - Editing a Client
When you click on a client that you’re linked to within Client Management (see Screenshot 18 - Editing a Client), this will bring up editable details on the right side of the menu.
You will also be able to view the permissions for each individual client, which can also be changed from this menu.