How to create custom Geofences
Prism allows you to create custom geofences to update mapping. The Areas feature in the web-app lets you create custom shapes on the map. This feature is useful for classifying specific map areas (public or non-public) for your vehicle activity. The shapes drawn on these maps are called geofences. These could represent site boundaries, public road extensions, or newly opened construction sites. Geofences help correct classifications that might be different from what they should be.
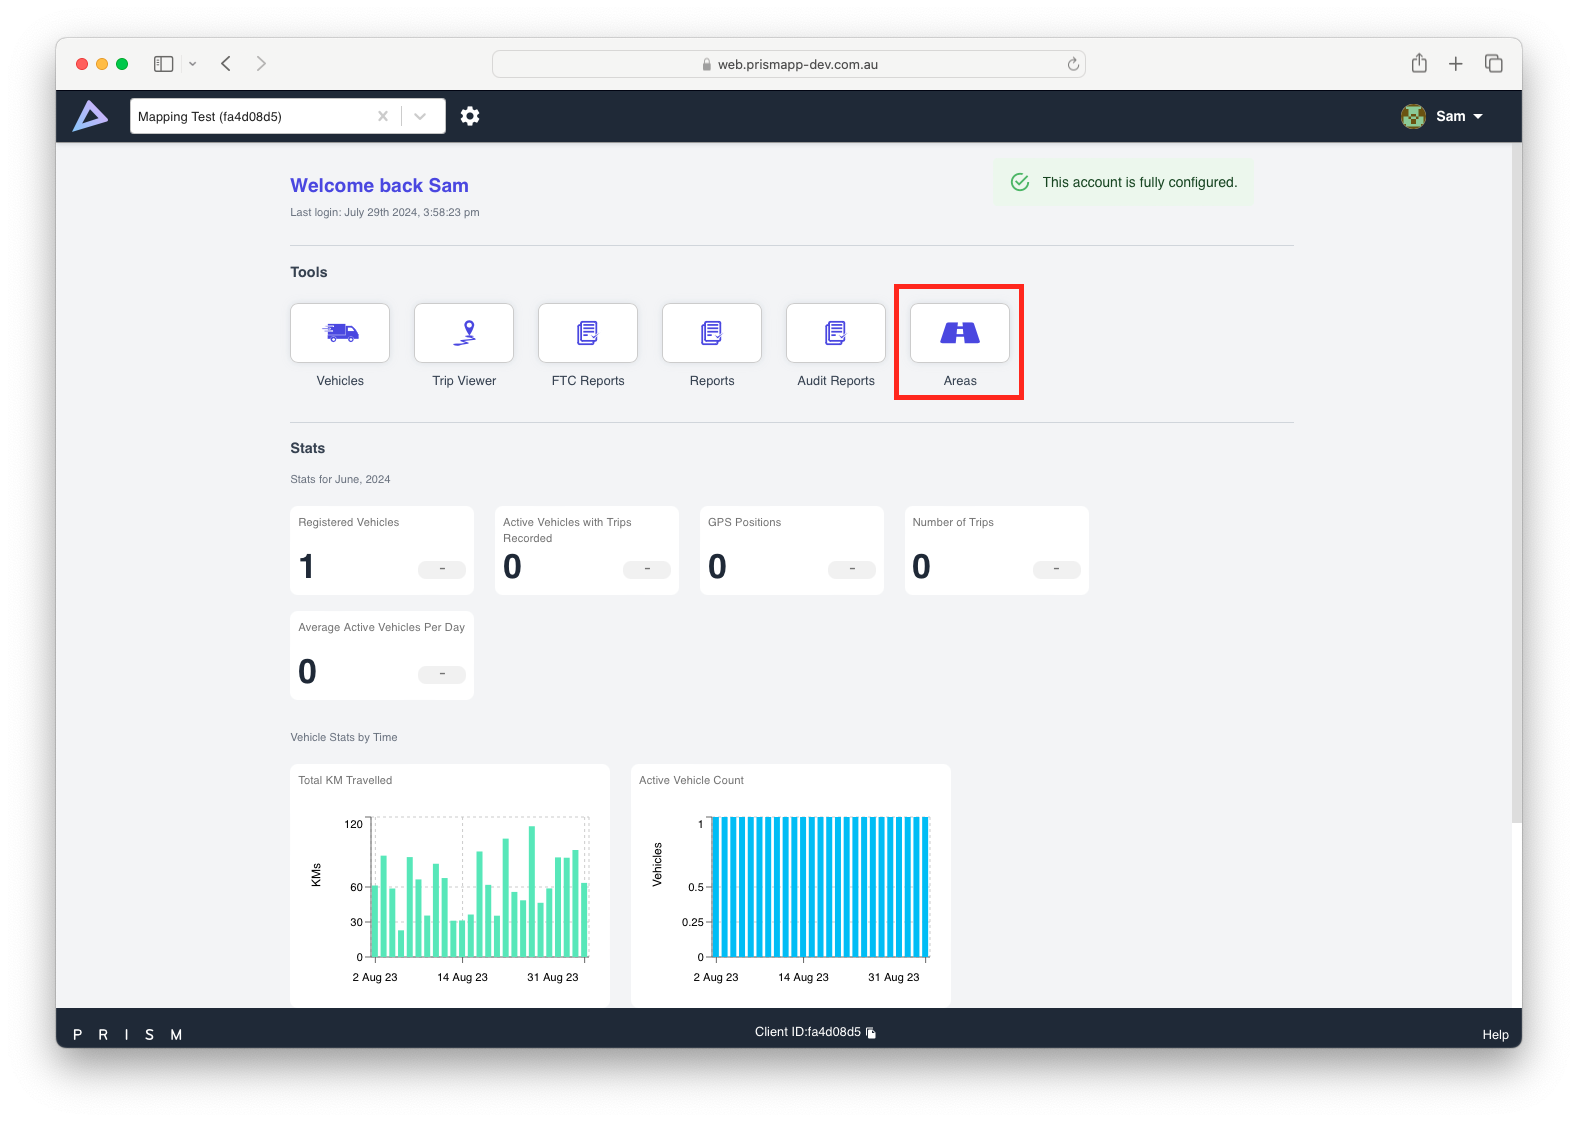
Accessing this Feature:
From the home page of the Prism web-app, navigate to the geofences option as shown in the screenshot below.
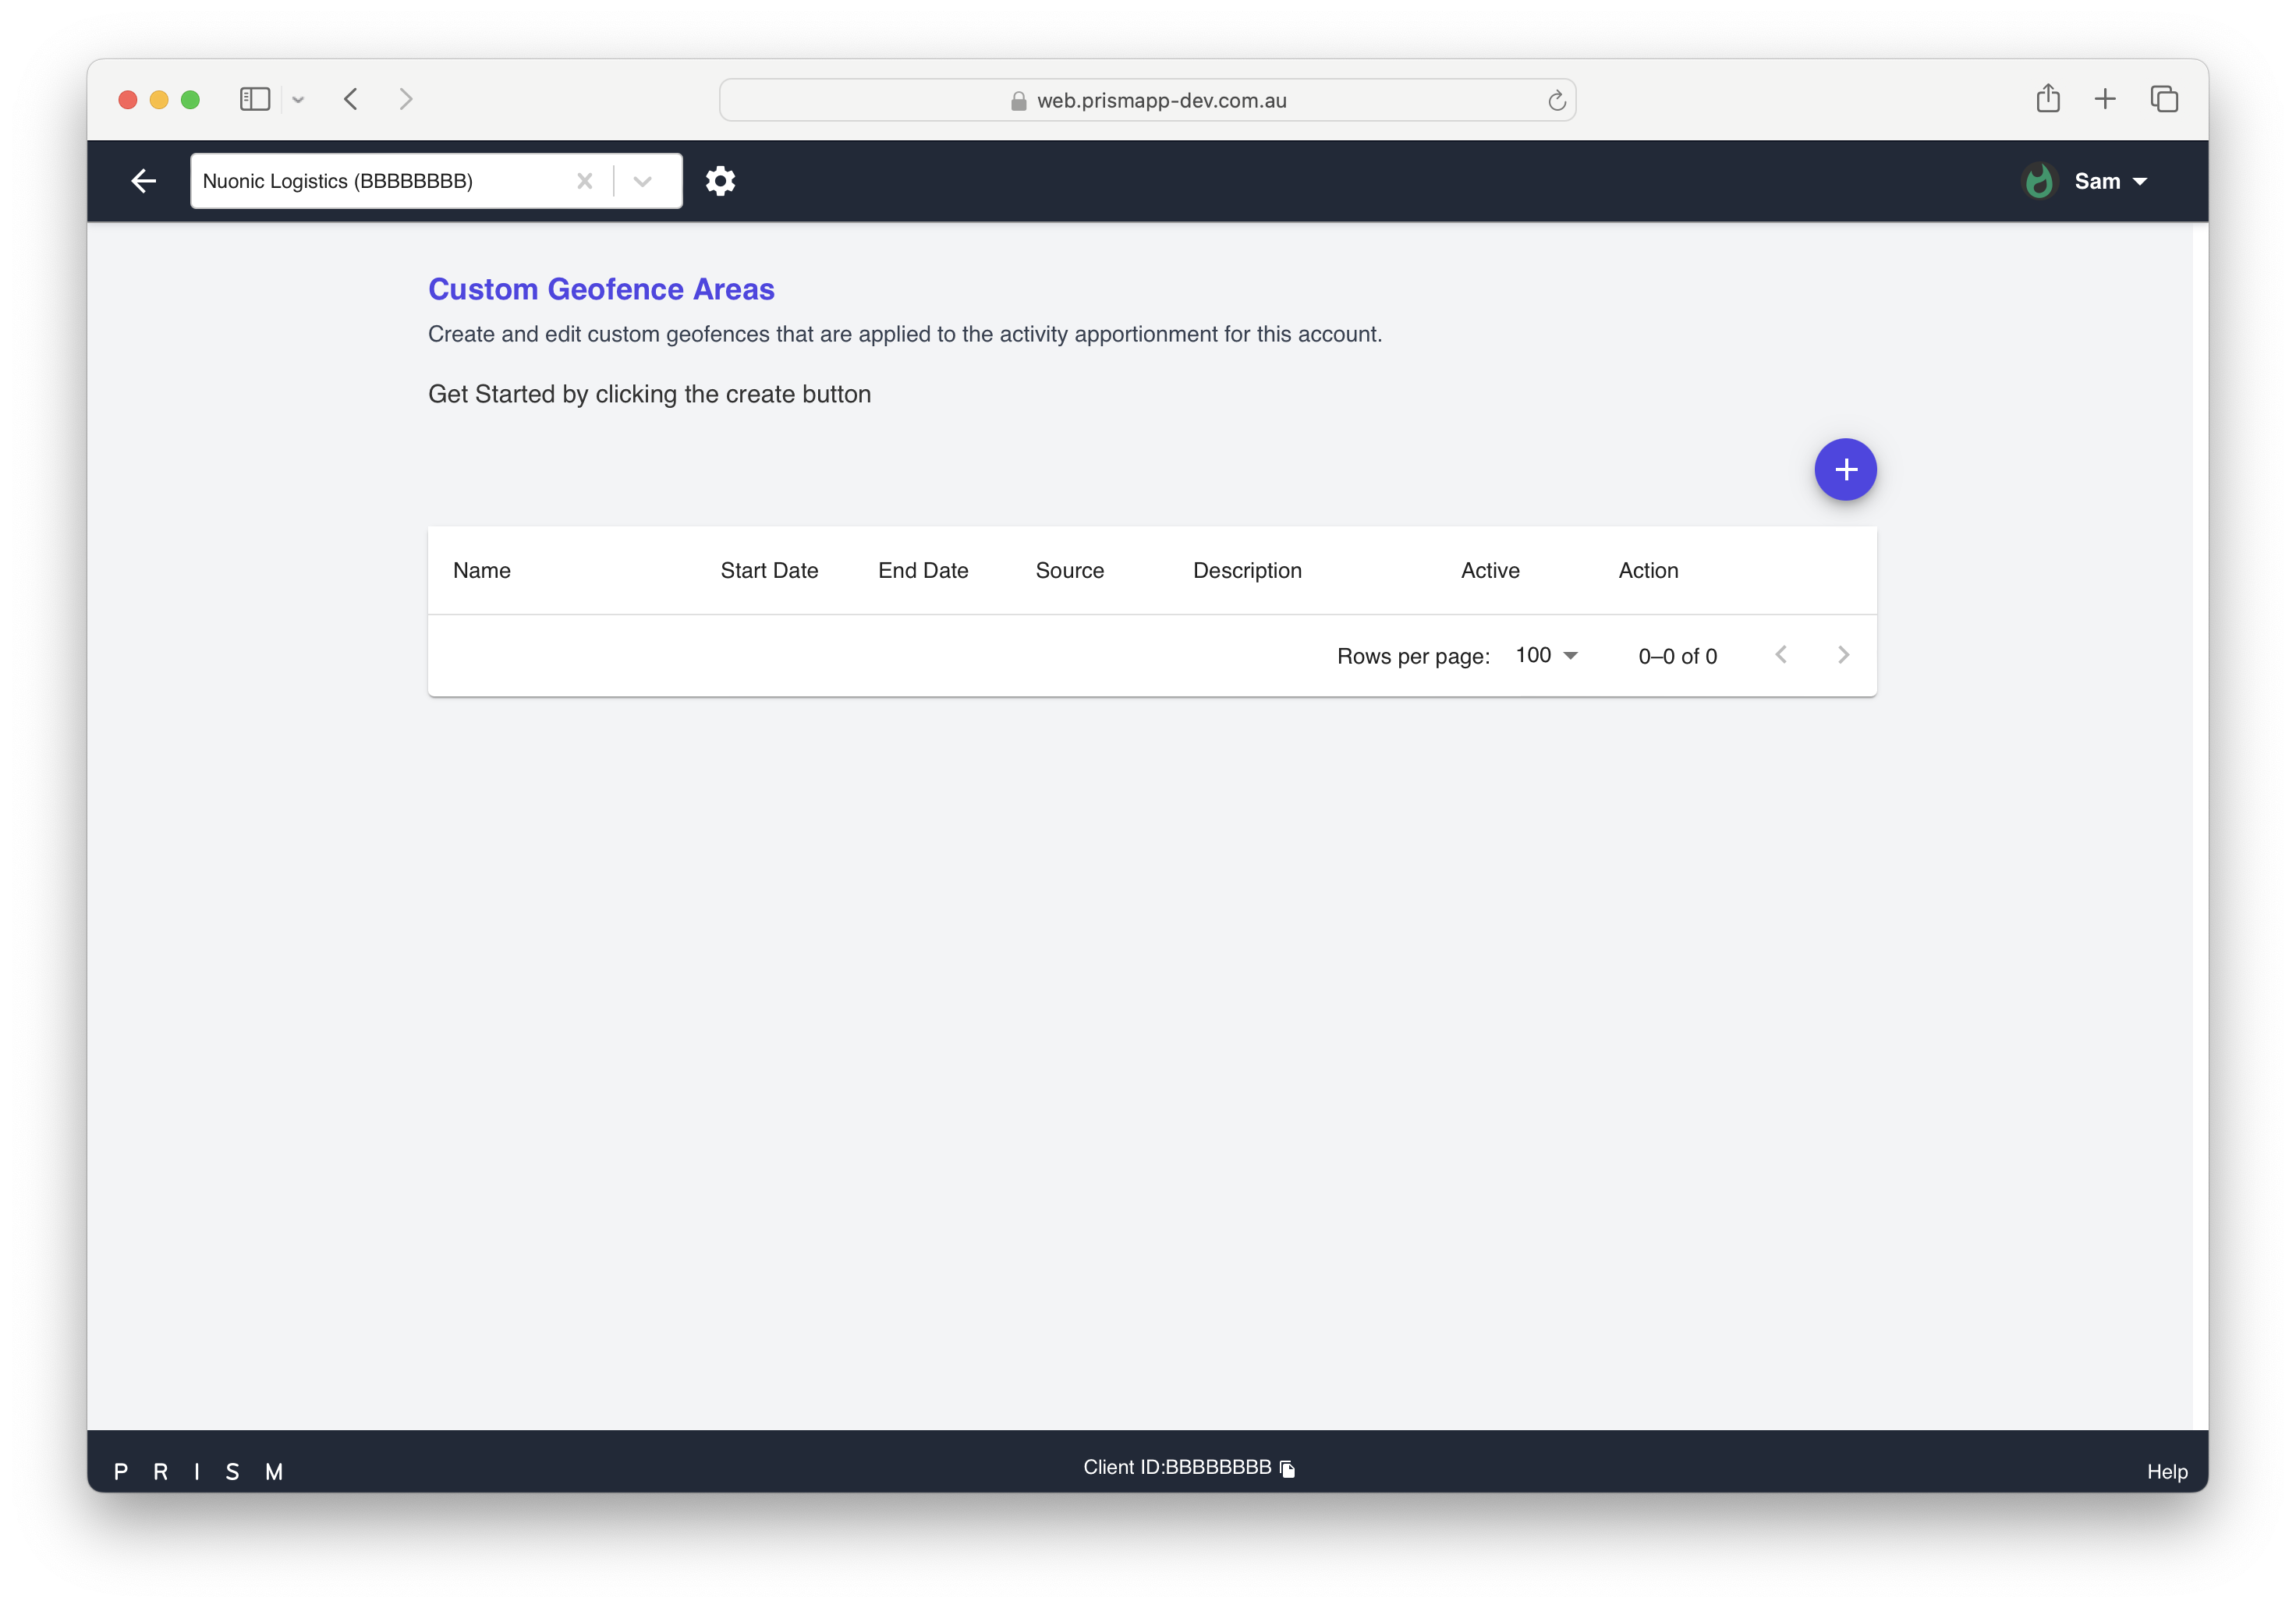
Creating a Geofence:
Click on the '
 ' option. A prompt will appear, asking you to fill out details for the custom geofence you want to create. Please note all the fields in this page are mandatory to fill in as it helps all parties involved keep an accurate record of custom drawn shapes and helps serve as evidence during the time of an ATO audit.
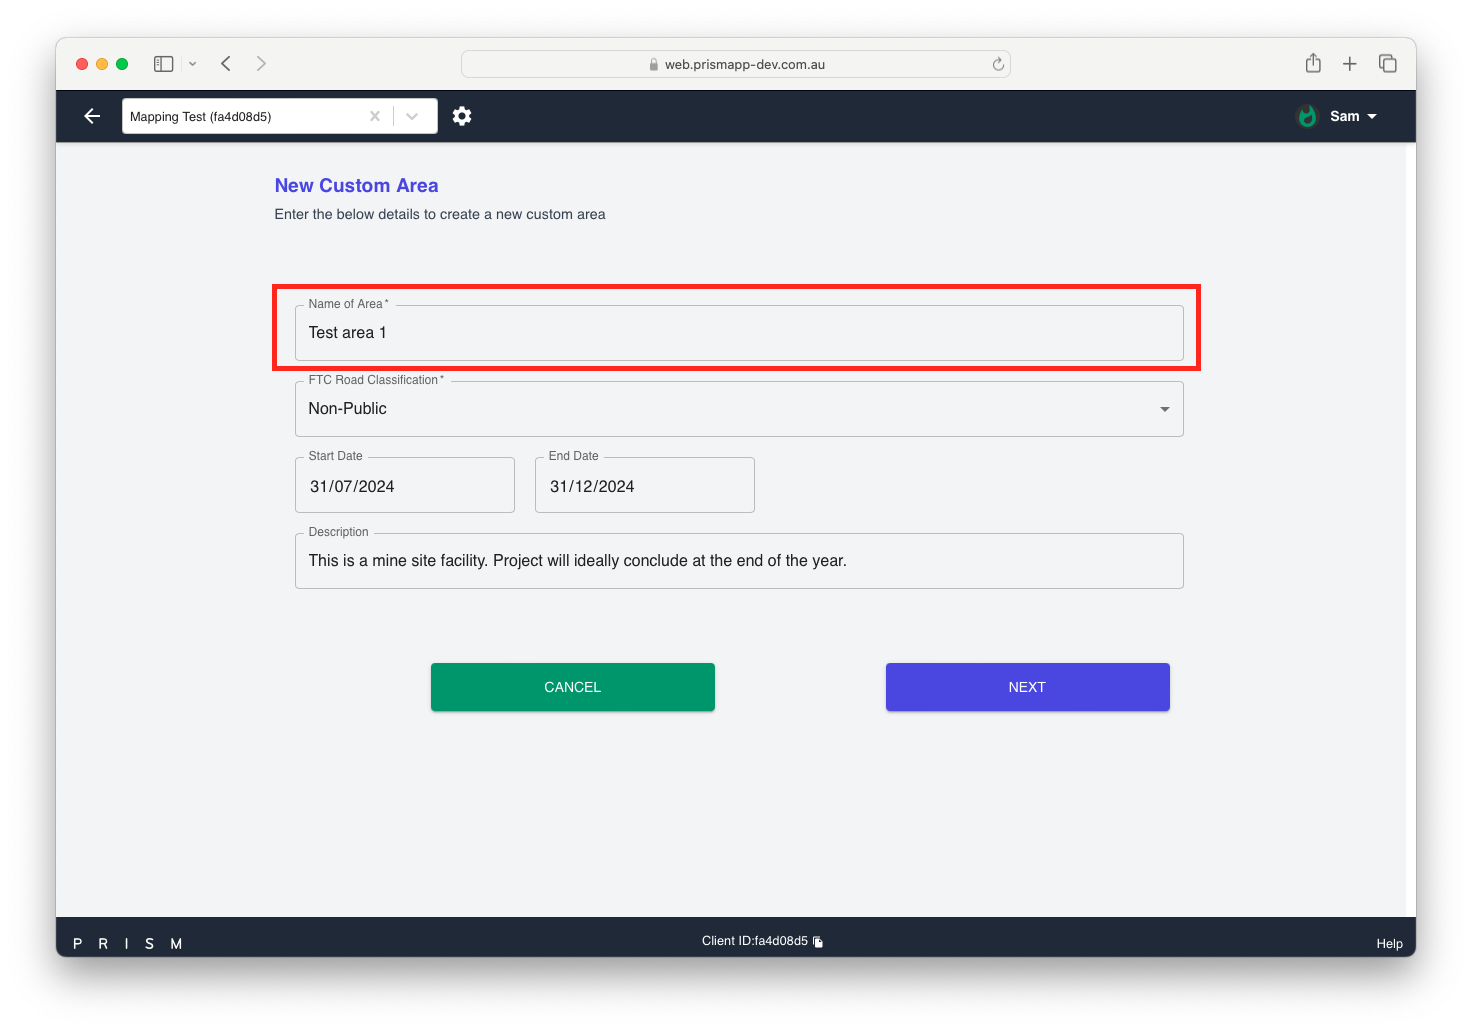
Enter the name of the geofence. We recommend using the site name to easily track multiple geofences and avoid duplicating shapes.
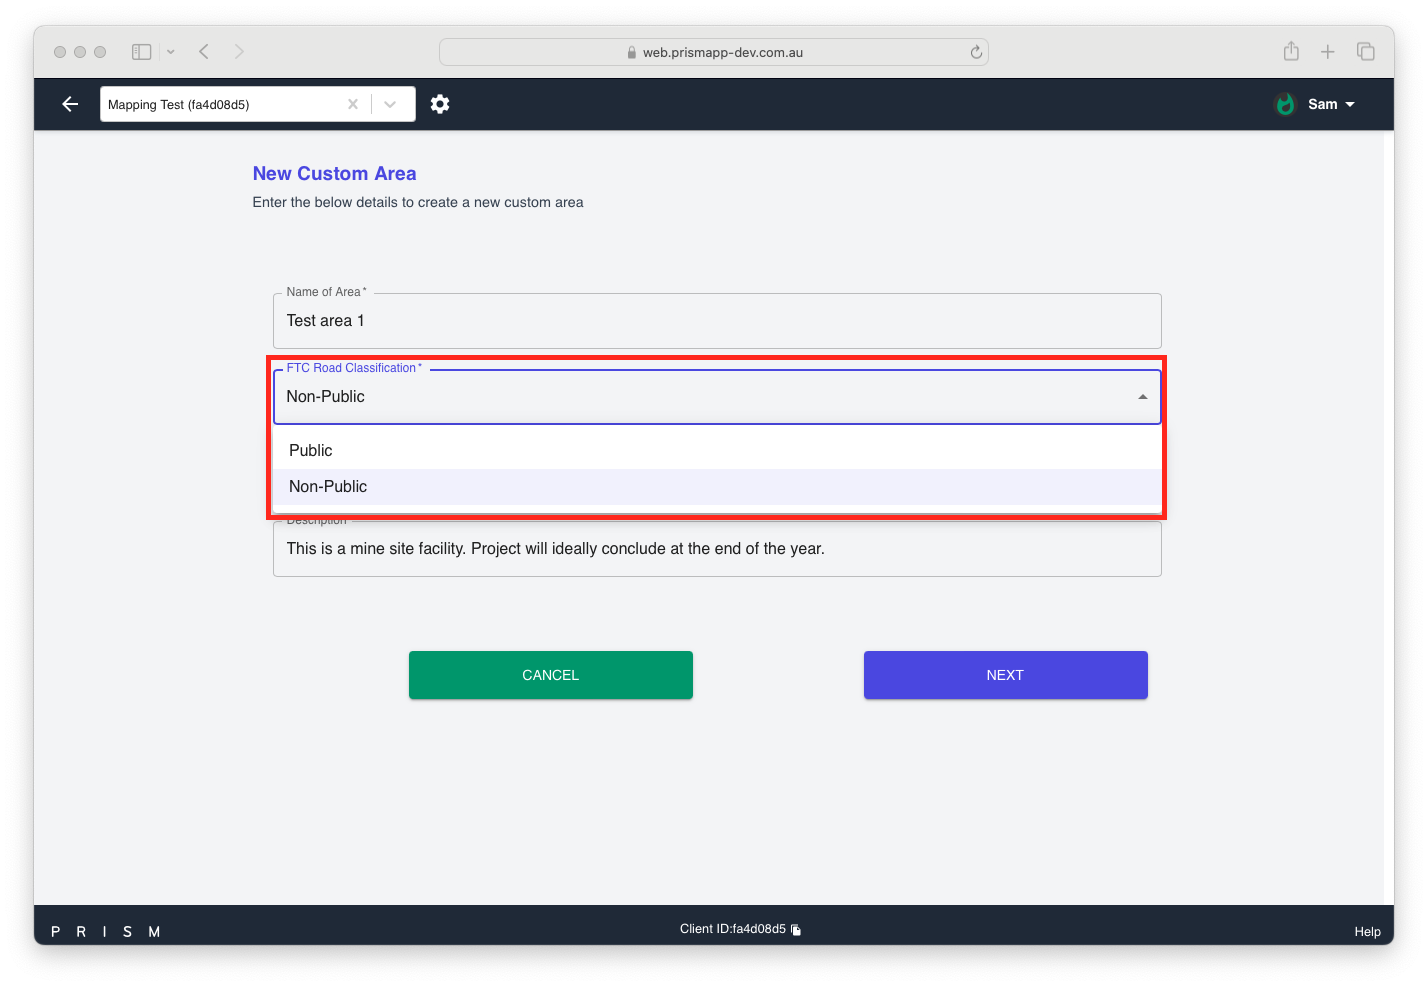
Select the road classification from the dropdown (public or non-public). Ensure this field is set correctly, as it significantly affects FTC rates. To know more on how your rates would be affected, please visit https://www.ato.gov.au/businesses-and-organisations/income-deductions-and-concessions/incentives-and-concessions/fuel-schemes/fuel-tax-credits-business/rates-business/from-1-july-2024-to-4-august-2024
Note: FTC rates change over time, it is important to view the latest rates to understand how these rates affect your FTC calculations.
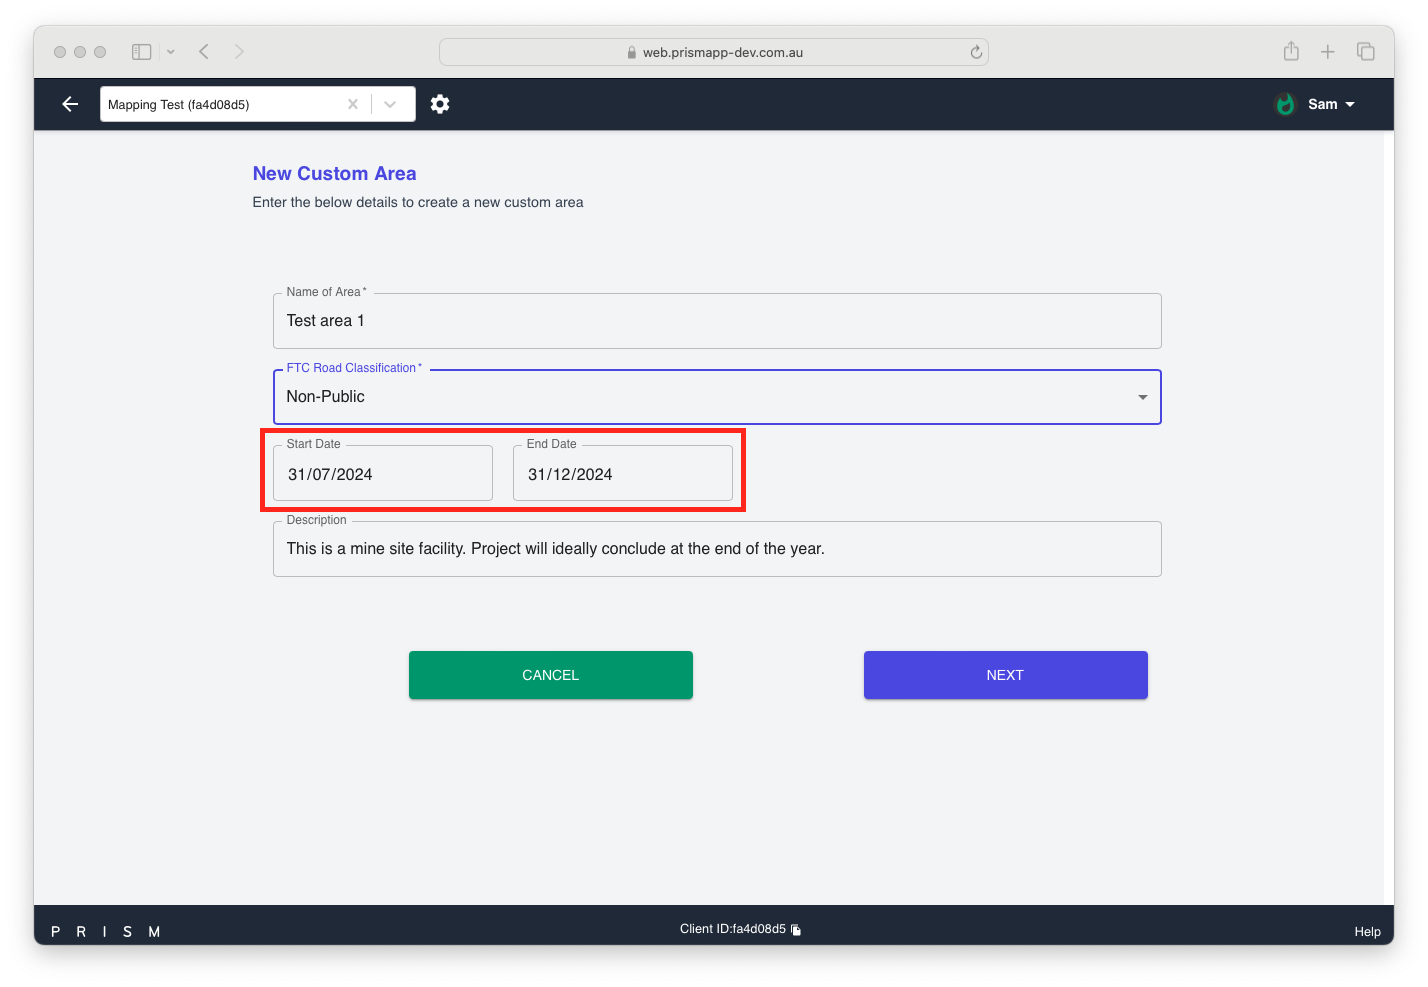
Set the start and end dates of the geofence status.
Please note, the geofences are time-bound and will only be applied until the end date. If you would like to set these geofences to permanently applied to your account, please reach out to our support Nuonic Support
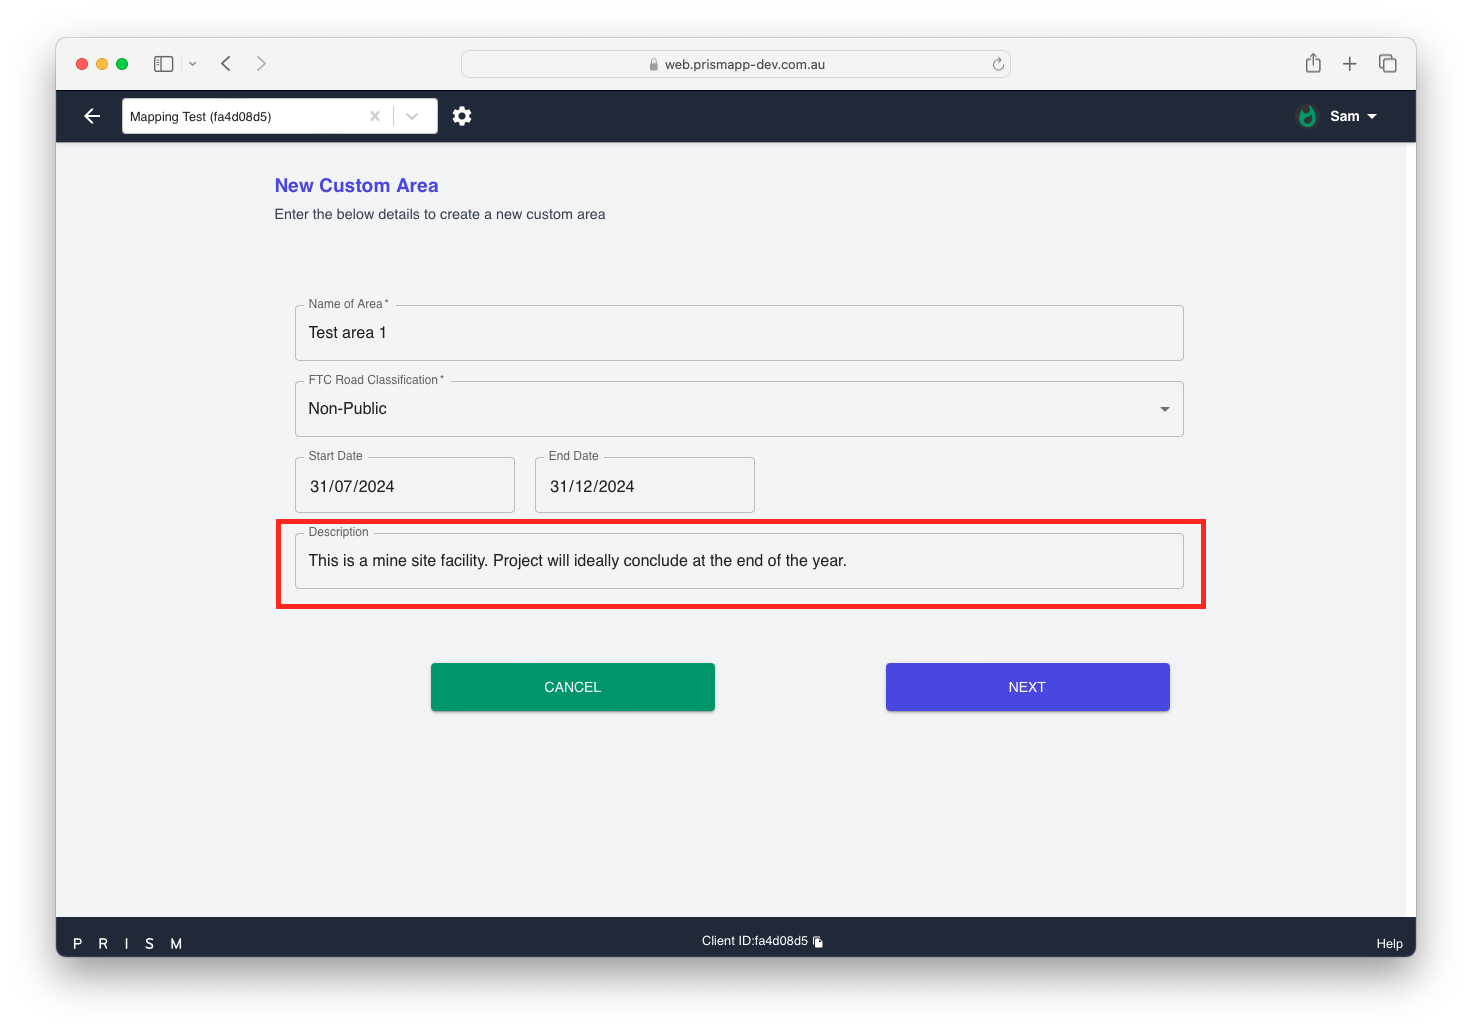
Add a short description explaining why you are creating this geofence or details about it. This helps us understand the purpose and helps you keep track of the shapes incase there are multiple geofences to be added.
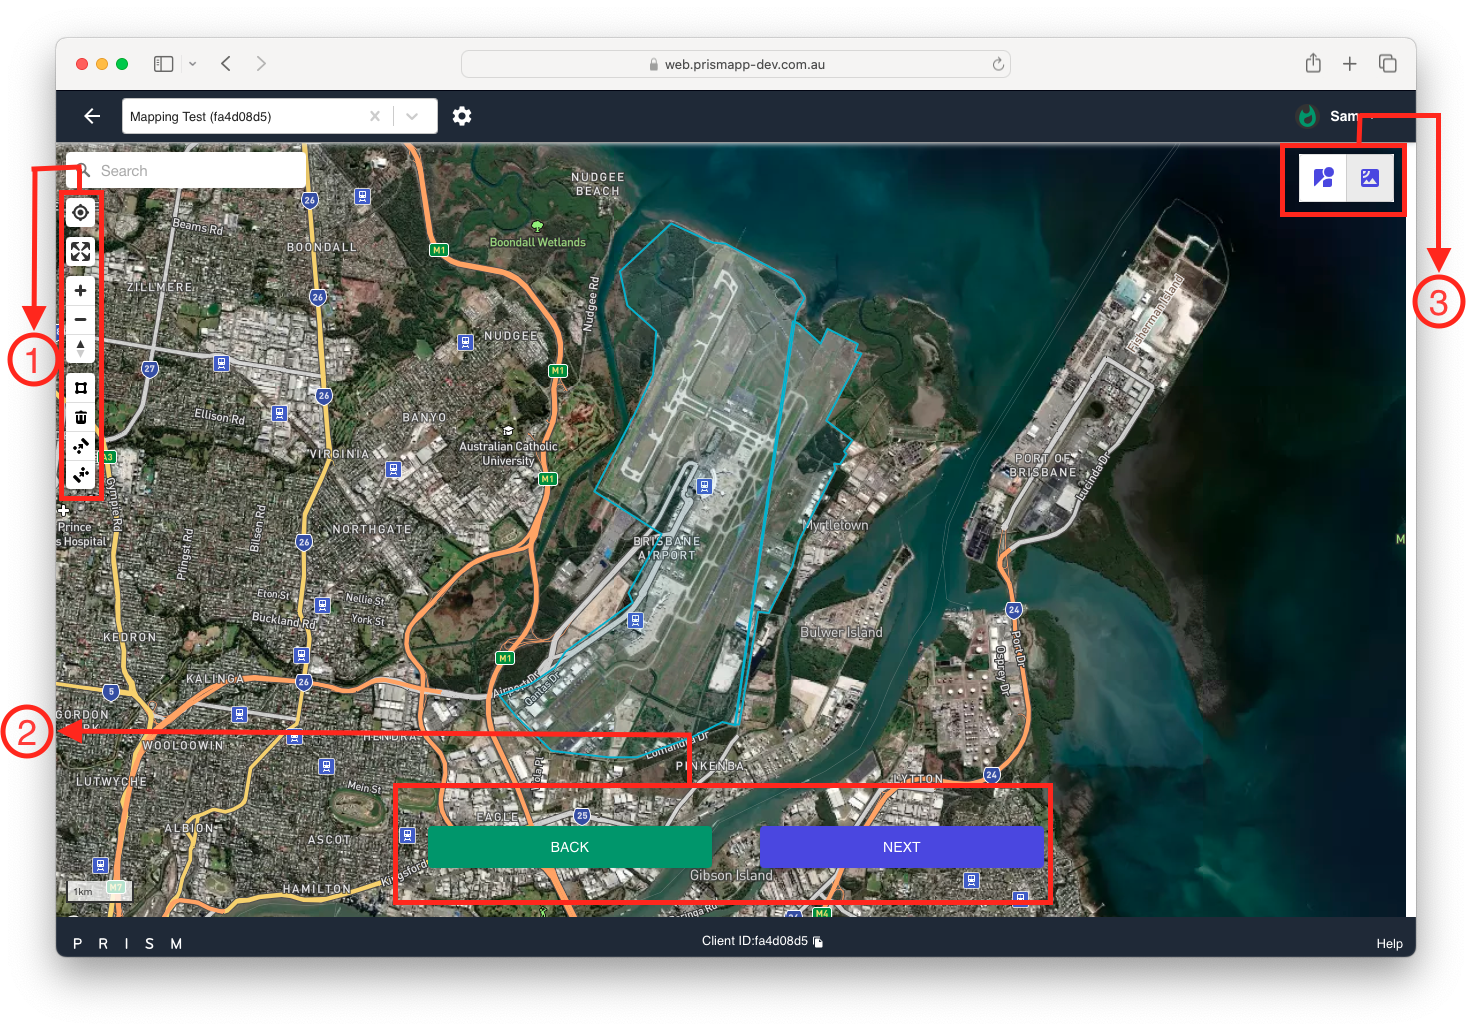
Upon completing these steps, you should be able to see map which can be scrolled or navigated to the location where you would like to create the geofence.
There are 3 sections in this page to be mindful of (see the screenshot below for reference)
Section 1 - Navigation and map builder tools
Section 2 - Confirmation or revert section
Section 3 - Map view
Navigation and map builder section
This section contains tools that help navigate and create custom geofences around the desired map area.
Options used for navigation
The '
 ' option lets to access your current or live location and navigates to that point. This could be helpful tool and can serve as a starting point to navigate to your desired location.
 The ‘
 ' option lets you expand the map area to full screen. You can click on '
 ' option to go back to windowed screen. We recommend using full screen option in order to accurately draw custom geofences as it helps with precision drawing.
You can use scroll up and down to zoom in and out of locations. Alternatively use '
 ' option in this section to zoom in and use '
 ' to zoom out.
Options used for creating and adjust Geofences
Once you have located the desired area for your geofence, click on '
 ', then click on the edges of the shape to define the section you want to cover with a geofence, as shown in the screen recording below. Right-click to end the drawing mode, and then you can review your shape.
-*Screen Recording*-
If you are unhappy with the shape you can use '
 ' option to delete the shape and proceed with drawing the correct shape using the step mentioned above.
If you have drawn multiple shapes for one item, you can use combine '
 ' option to store the geofence as single multi polygon shape.
If you would not like to combine them, you can select the un-combine option by clicking '
 ' icon.
Map view section
You can also use satellite view to view the maps in satellite by using the toggle provided in Section 3. Clicking on ‘![]() ' would change map view from default map view to satellite view. Click on '
' would change map view from default map view to satellite view. Click on '![]() ' to toggle back to default map view.
' to toggle back to default map view.
Confirmation or revert section
Once the drawings are complete, proceed to the confirmation page by clicking next from confirmation and revert section (section 2) mentioned in the screenshot. This will then open up confirmation window where you can review the geofences drawn.
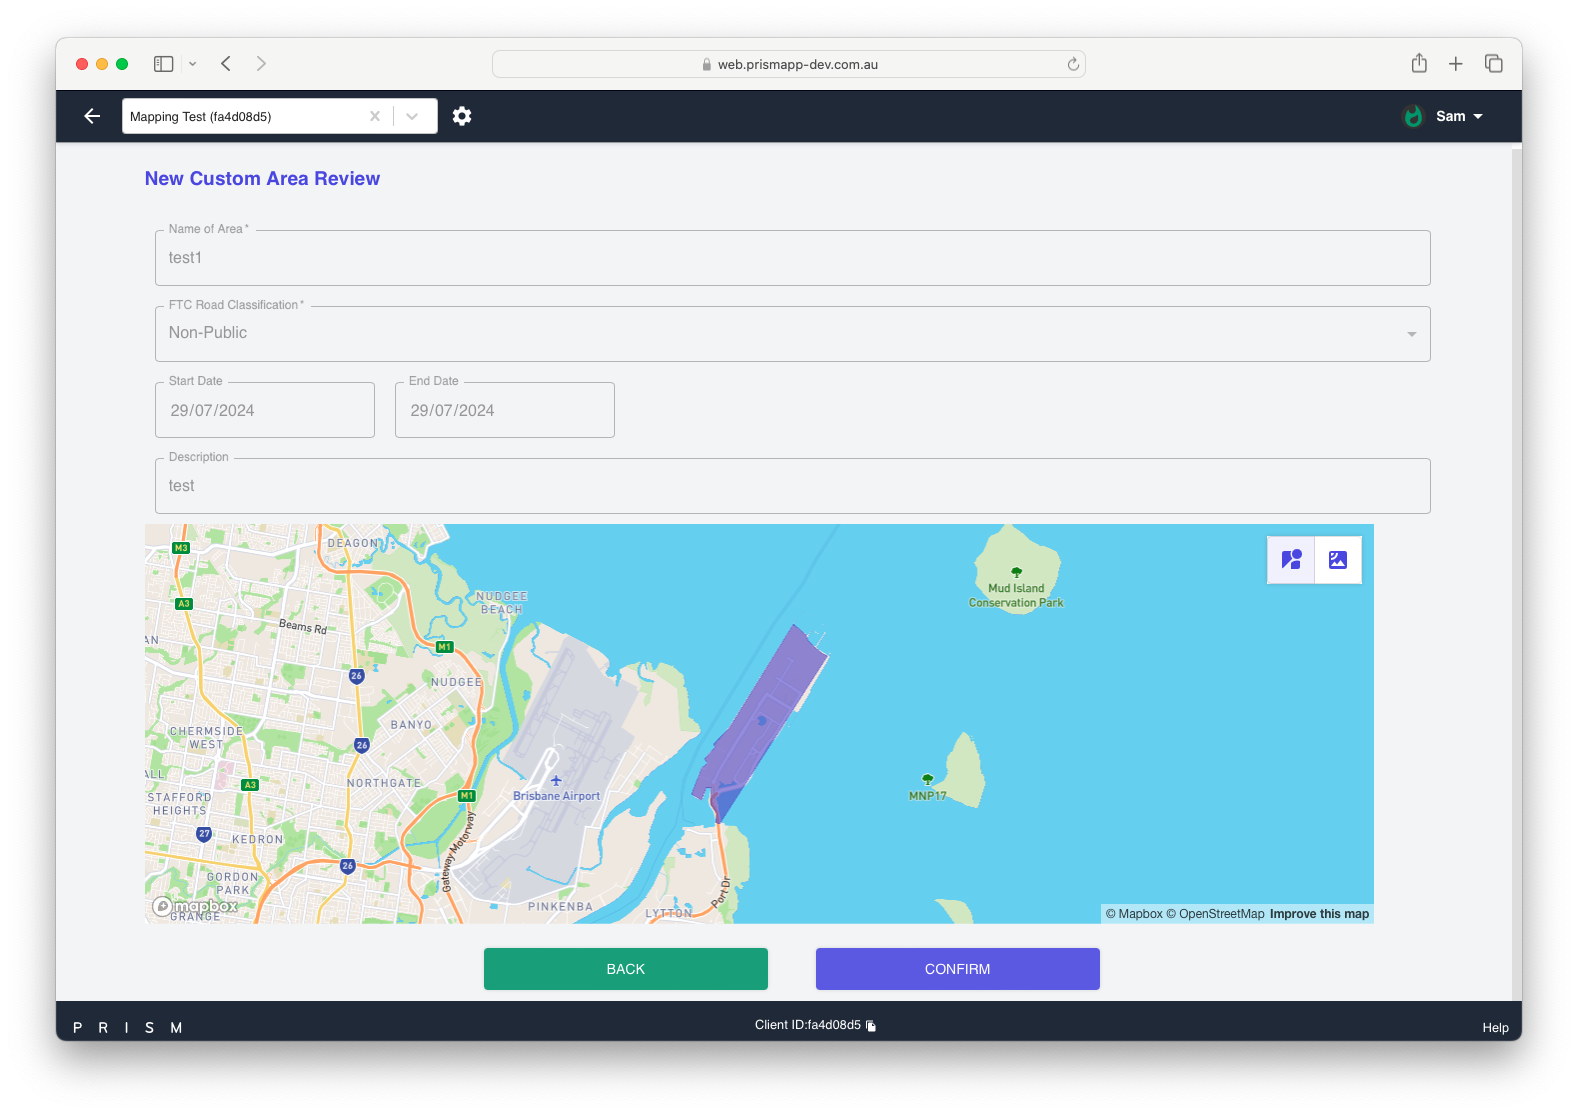
Once you are happy with the custom geofences, proceed by clicking 'Confirm'. Our team at Nuonic will receive the request to review the mapping changes. We’ll send a confirmation email once the review is complete, updating you on the status of these geofences.
Note: Creating a custom geofence may impact FTC rates for both heavy and light vehicles. Light vehicles operating on a non-public geofence will still be eligible for off-road FTC claims where applicable. However, they remain ineligible for on-road FTC claims, even within a custom geofence.
We recommend reviewing the FTC eligibility criteria and the implications of different road types before setting up custom geofences.