Logging into the Prism web app for the first time
Use this page as guide when logging into Prism for the first time.
Set your password
When you receive your email invitation to your Prism account, you will need to set your password as the first task and you will then be logged in.
After doing this you can log in at any time by going to https://web.prismapp.com.au Your password can be reset at any time using the forgot password link should you forget it (see below screenshot as an example titled Image 1 - Prism Login Page).
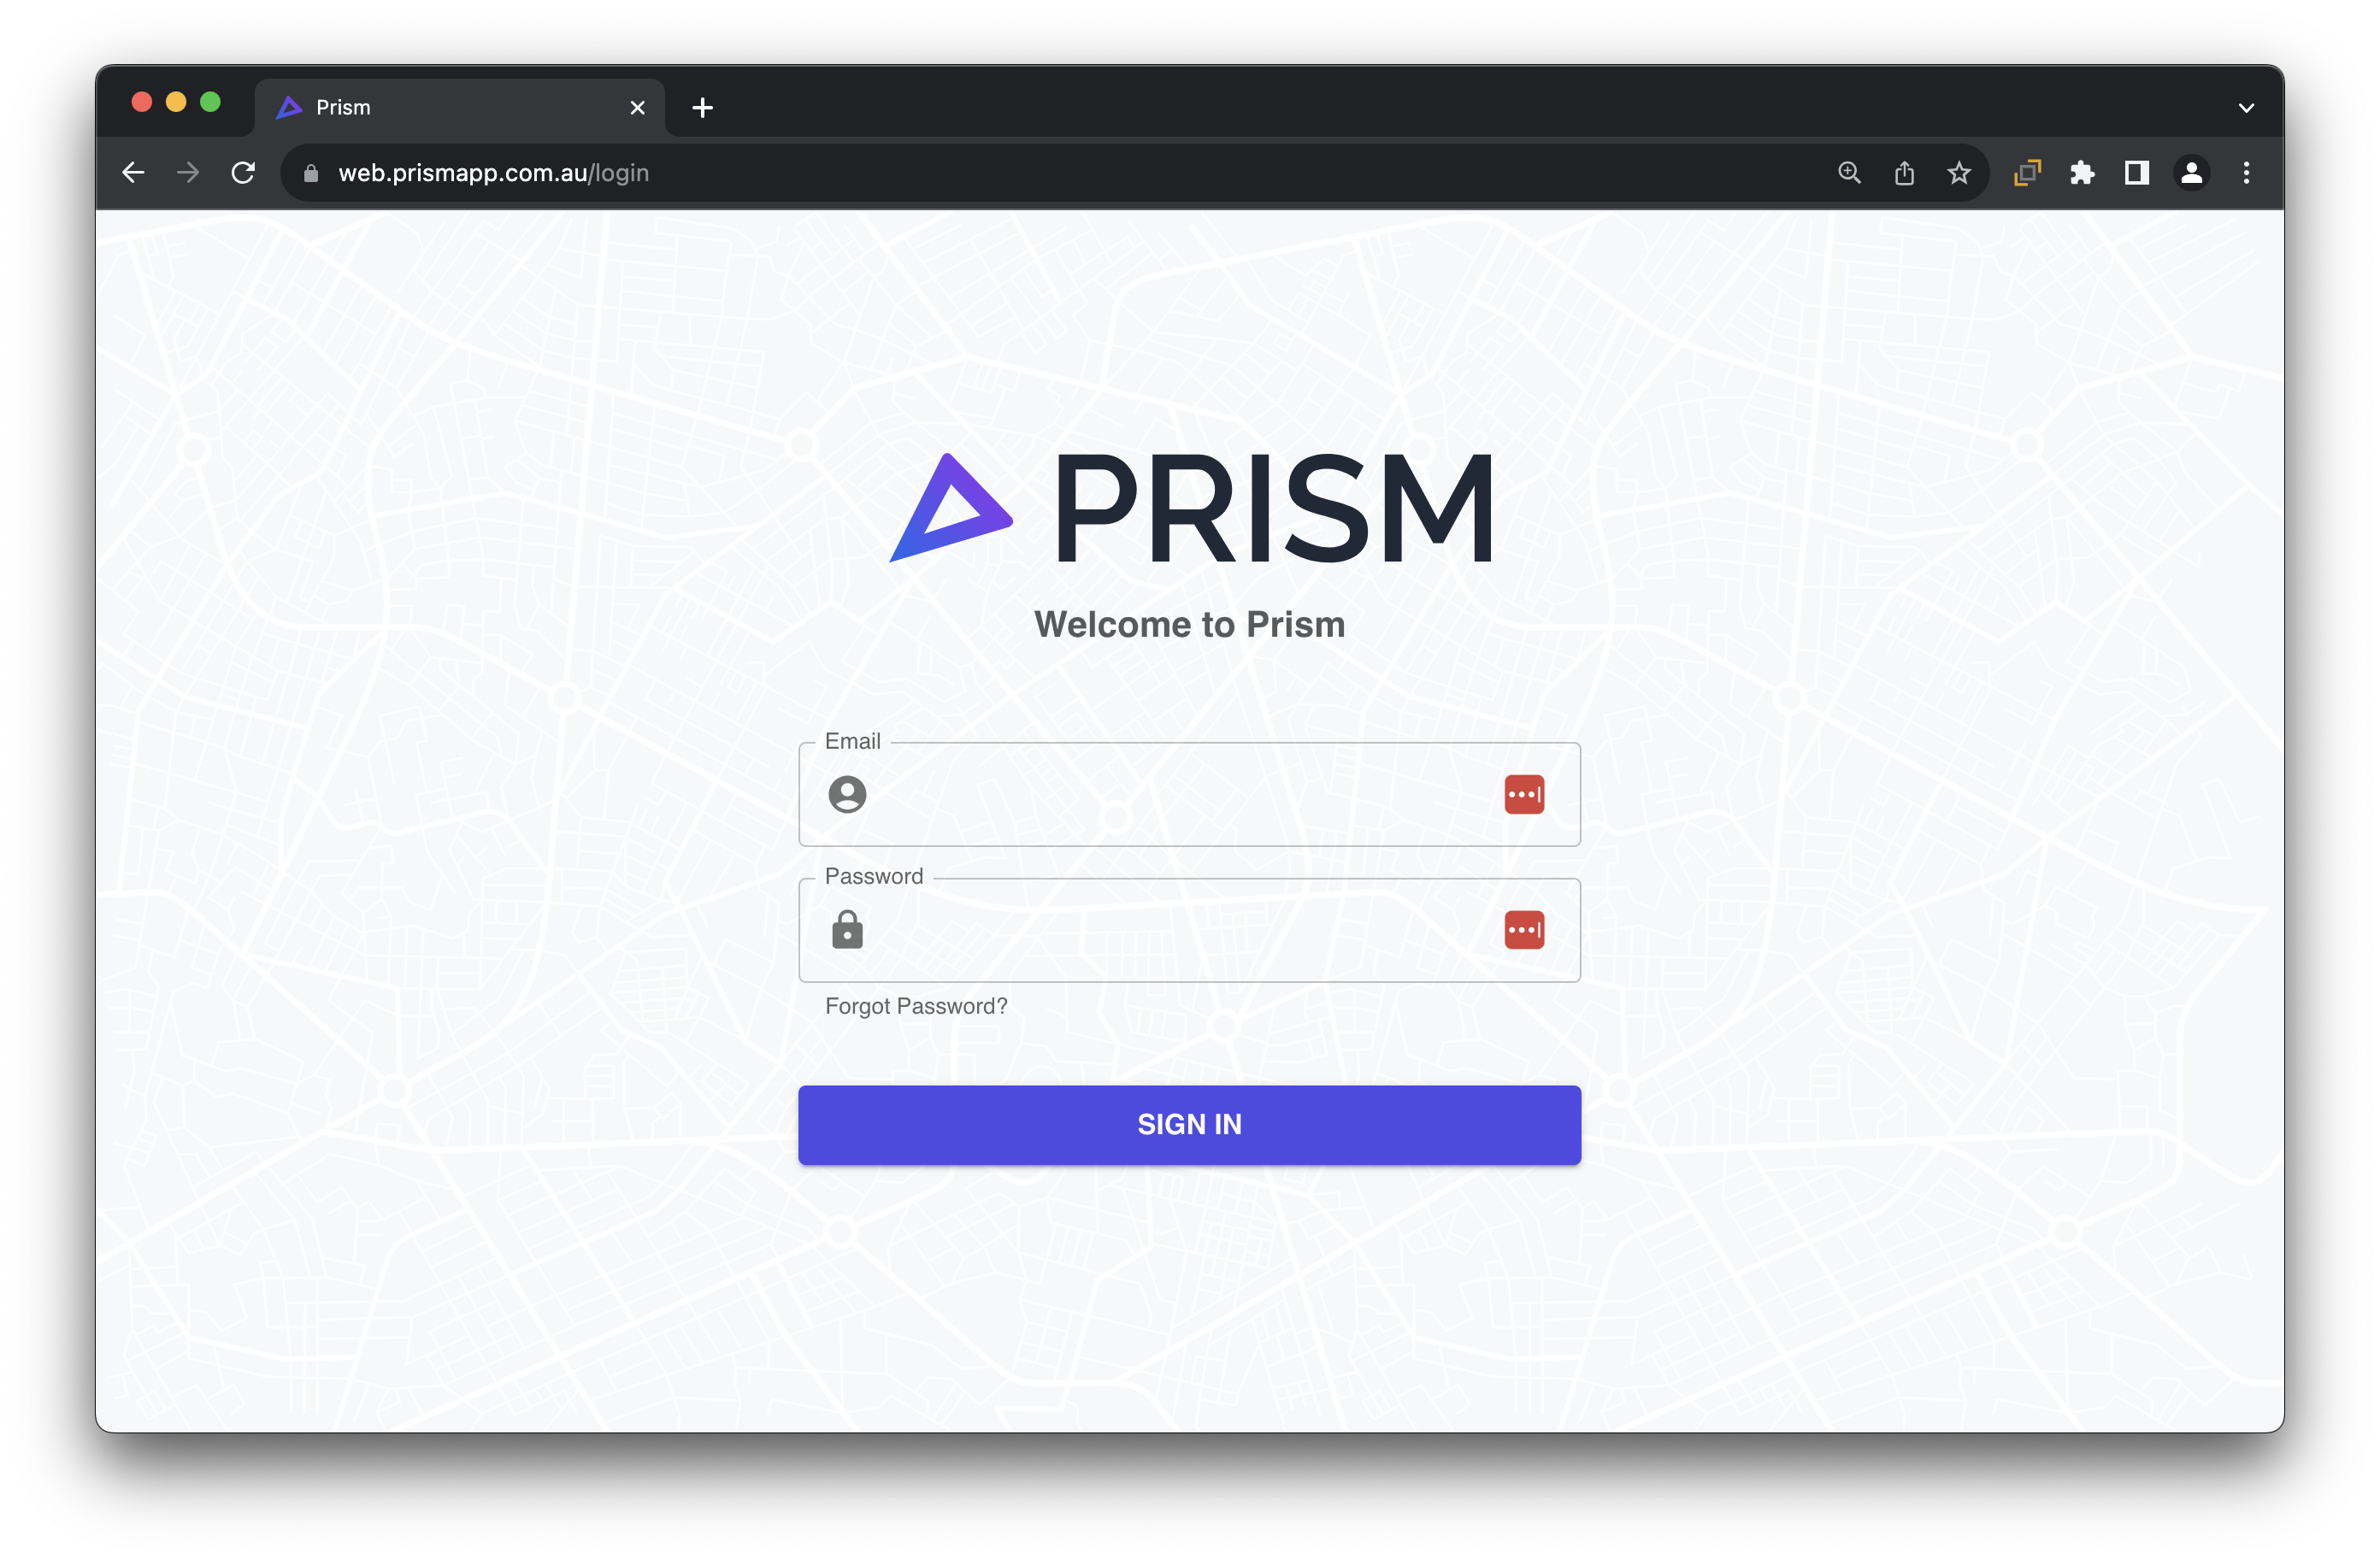
Image 1 - Prism Login Page
PLEASE NOTE: At this stage, Prism does not provide two factor authentication (2FA) or single sign-on (SSO) options by default. If you require these or other advanced security measures, please let us know.
When you log in you will see the home page where you can access the key tools within Prism (see below screenshot as an example titled Image 2 - Prism Homepage)
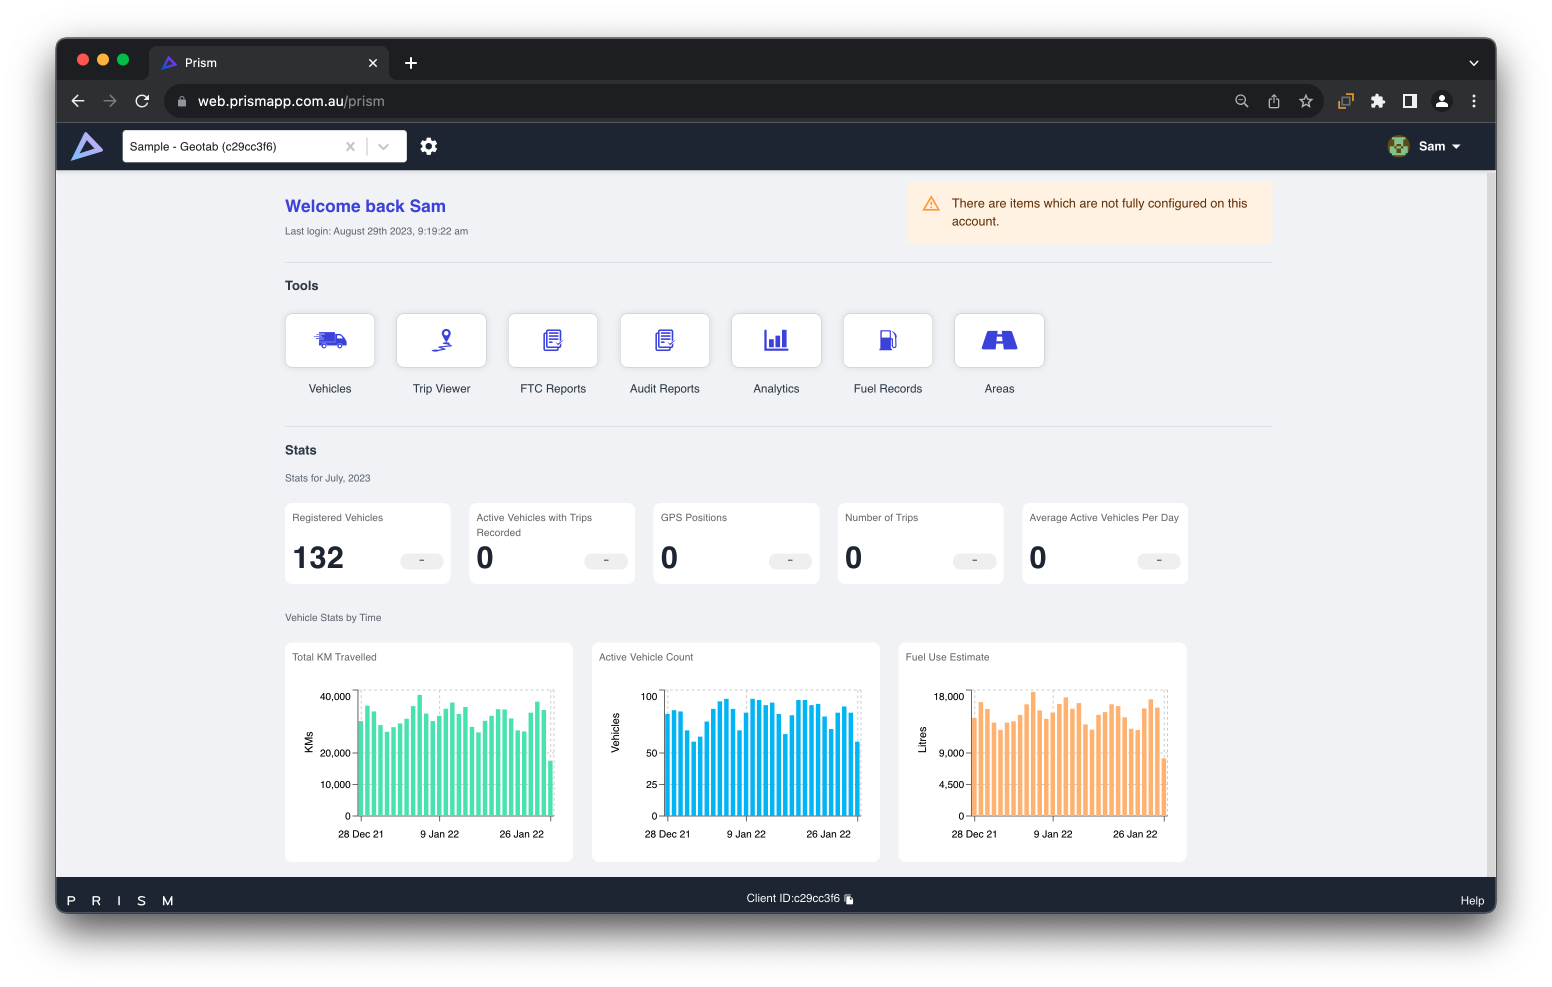
Image 2 - Prism Homepage
Check your user settings
You can add as many users as you need to in your Prism account. There are various user permissions to select from, depending on what level of access you would like each user to have:
From the Home page, click on the settings cog in the top left-hand corner, next to the search bar. This will open a pane to the left-hand side
Select User Management. This will open a complete list of users who have access to your Prism account. Next to each user, will show their access level. You may also please refer to the table below for further information on access:
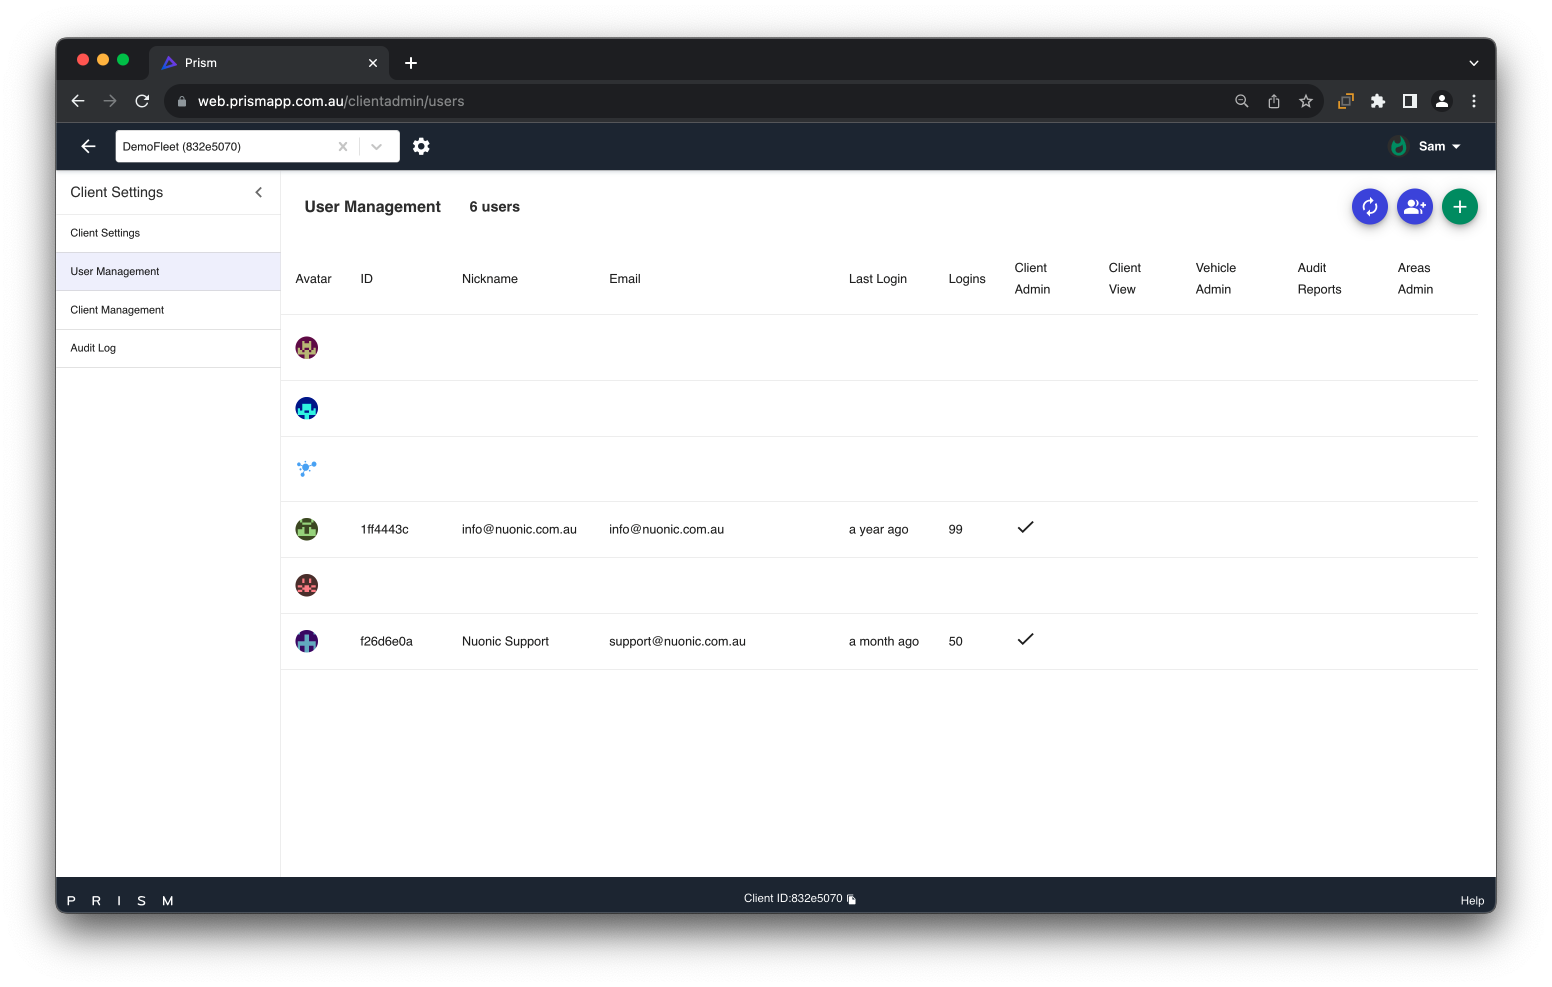
Image 3 - User Management Homepage
PLEASE NOTE: For more information on user settings and management, you can also visit Understanding the Prism Settings in our help centre.
User Management - Permission Settings
Permission Actions | Full Administration Rights | Full Content Rights | View and Edit Rights for Vehicles Only |
|---|---|---|---|
Assign admin roles to users | ✅ | ||
Assign roles to users | ✅ | ||
Create new clients | ✅ | ||
Create new users | ✅ | ||
Delete clients | ✅ | ||
Delete users | ✅ | ||
Edit client details | ✅ | ||
Edit client settings | ✅ | ||
Edit users | ✅ | ||
Edit vehicle data | ✅ | ✅ | |
View client details | ✅ | ✅ | |
View client settings | ✅ | ✅ | |
View reports | ✅ | ✅ | |
View roles of users | ✅ | ✅ | |
Assign admin roles to users | ✅ | ✅ | |
View vehicle data | ✅ | ✅ | ✅ |
3. If you wish to remove a user, click on the user from the list. An edit pane will appear on the right-hand side of the screen
4. Click the Bin icon in the top right-hand corner
5. If you wish to add a user, from the User Management page, select the green + at the top right-hand corner of the page. A Create new user page pane will appear on the right-hand side of the screen.
6. In this pane, enter the user’s email and nickname. *Leave the Prism ID blank
7. Select the permissions that you wish your new user to have. Then remember to select Save
Client Settings
Client Settings are controls that allow you to specify how Prism operates in various ways.
Trip Split Threshold settings let you control how Prism defines vehicle trips that are used to compile your fuel apportionment results. For example, you can limit the amount of idling allowed at the start or end of trips.
Trip Inclusion Threshold settings let you control which trips Prism includes the fuel apportionment results. For example, you can include only trips with a minimum amount of recorded distance.
Each telematics system may be different in terms of trips are defined and the data that is provided to Prism. These controls are intended to ensure that the data used to generate your fuel apportionment meets any criteria that you have specified, or that you may agree with your tax advisor or the ATO, with regards to accurately representing your fleet activity.
For more information and a further explanation of this, please go to Client Settings Guide in our help centre.
PLEASE NOTE - Each telematics system may be different in terms of how trips are defined and the data that is provided to Prism. These controls are intended to ensure that the data used to generate your fuel apportionment meets any criteria that you have specified, or that you may agree with your tax advisor or the ATO, with regards to accurately representing your fleet activity.
Check your report email recipients
You can manage who receives your monthly FTC Reports in the Prism settings.
Select the settings cog at the top left-hand corner of the home page, next to the client search box.
Select FTC Report Delivery, which can be found under Client Settings.
Enter the email address that you wish to add to the report recipients list, followed by the + (plus symbol) button, and select SAVE.
To remove an email address, select the X (cross symbol) button next to the email address you wish to remove, and then select SAVE.
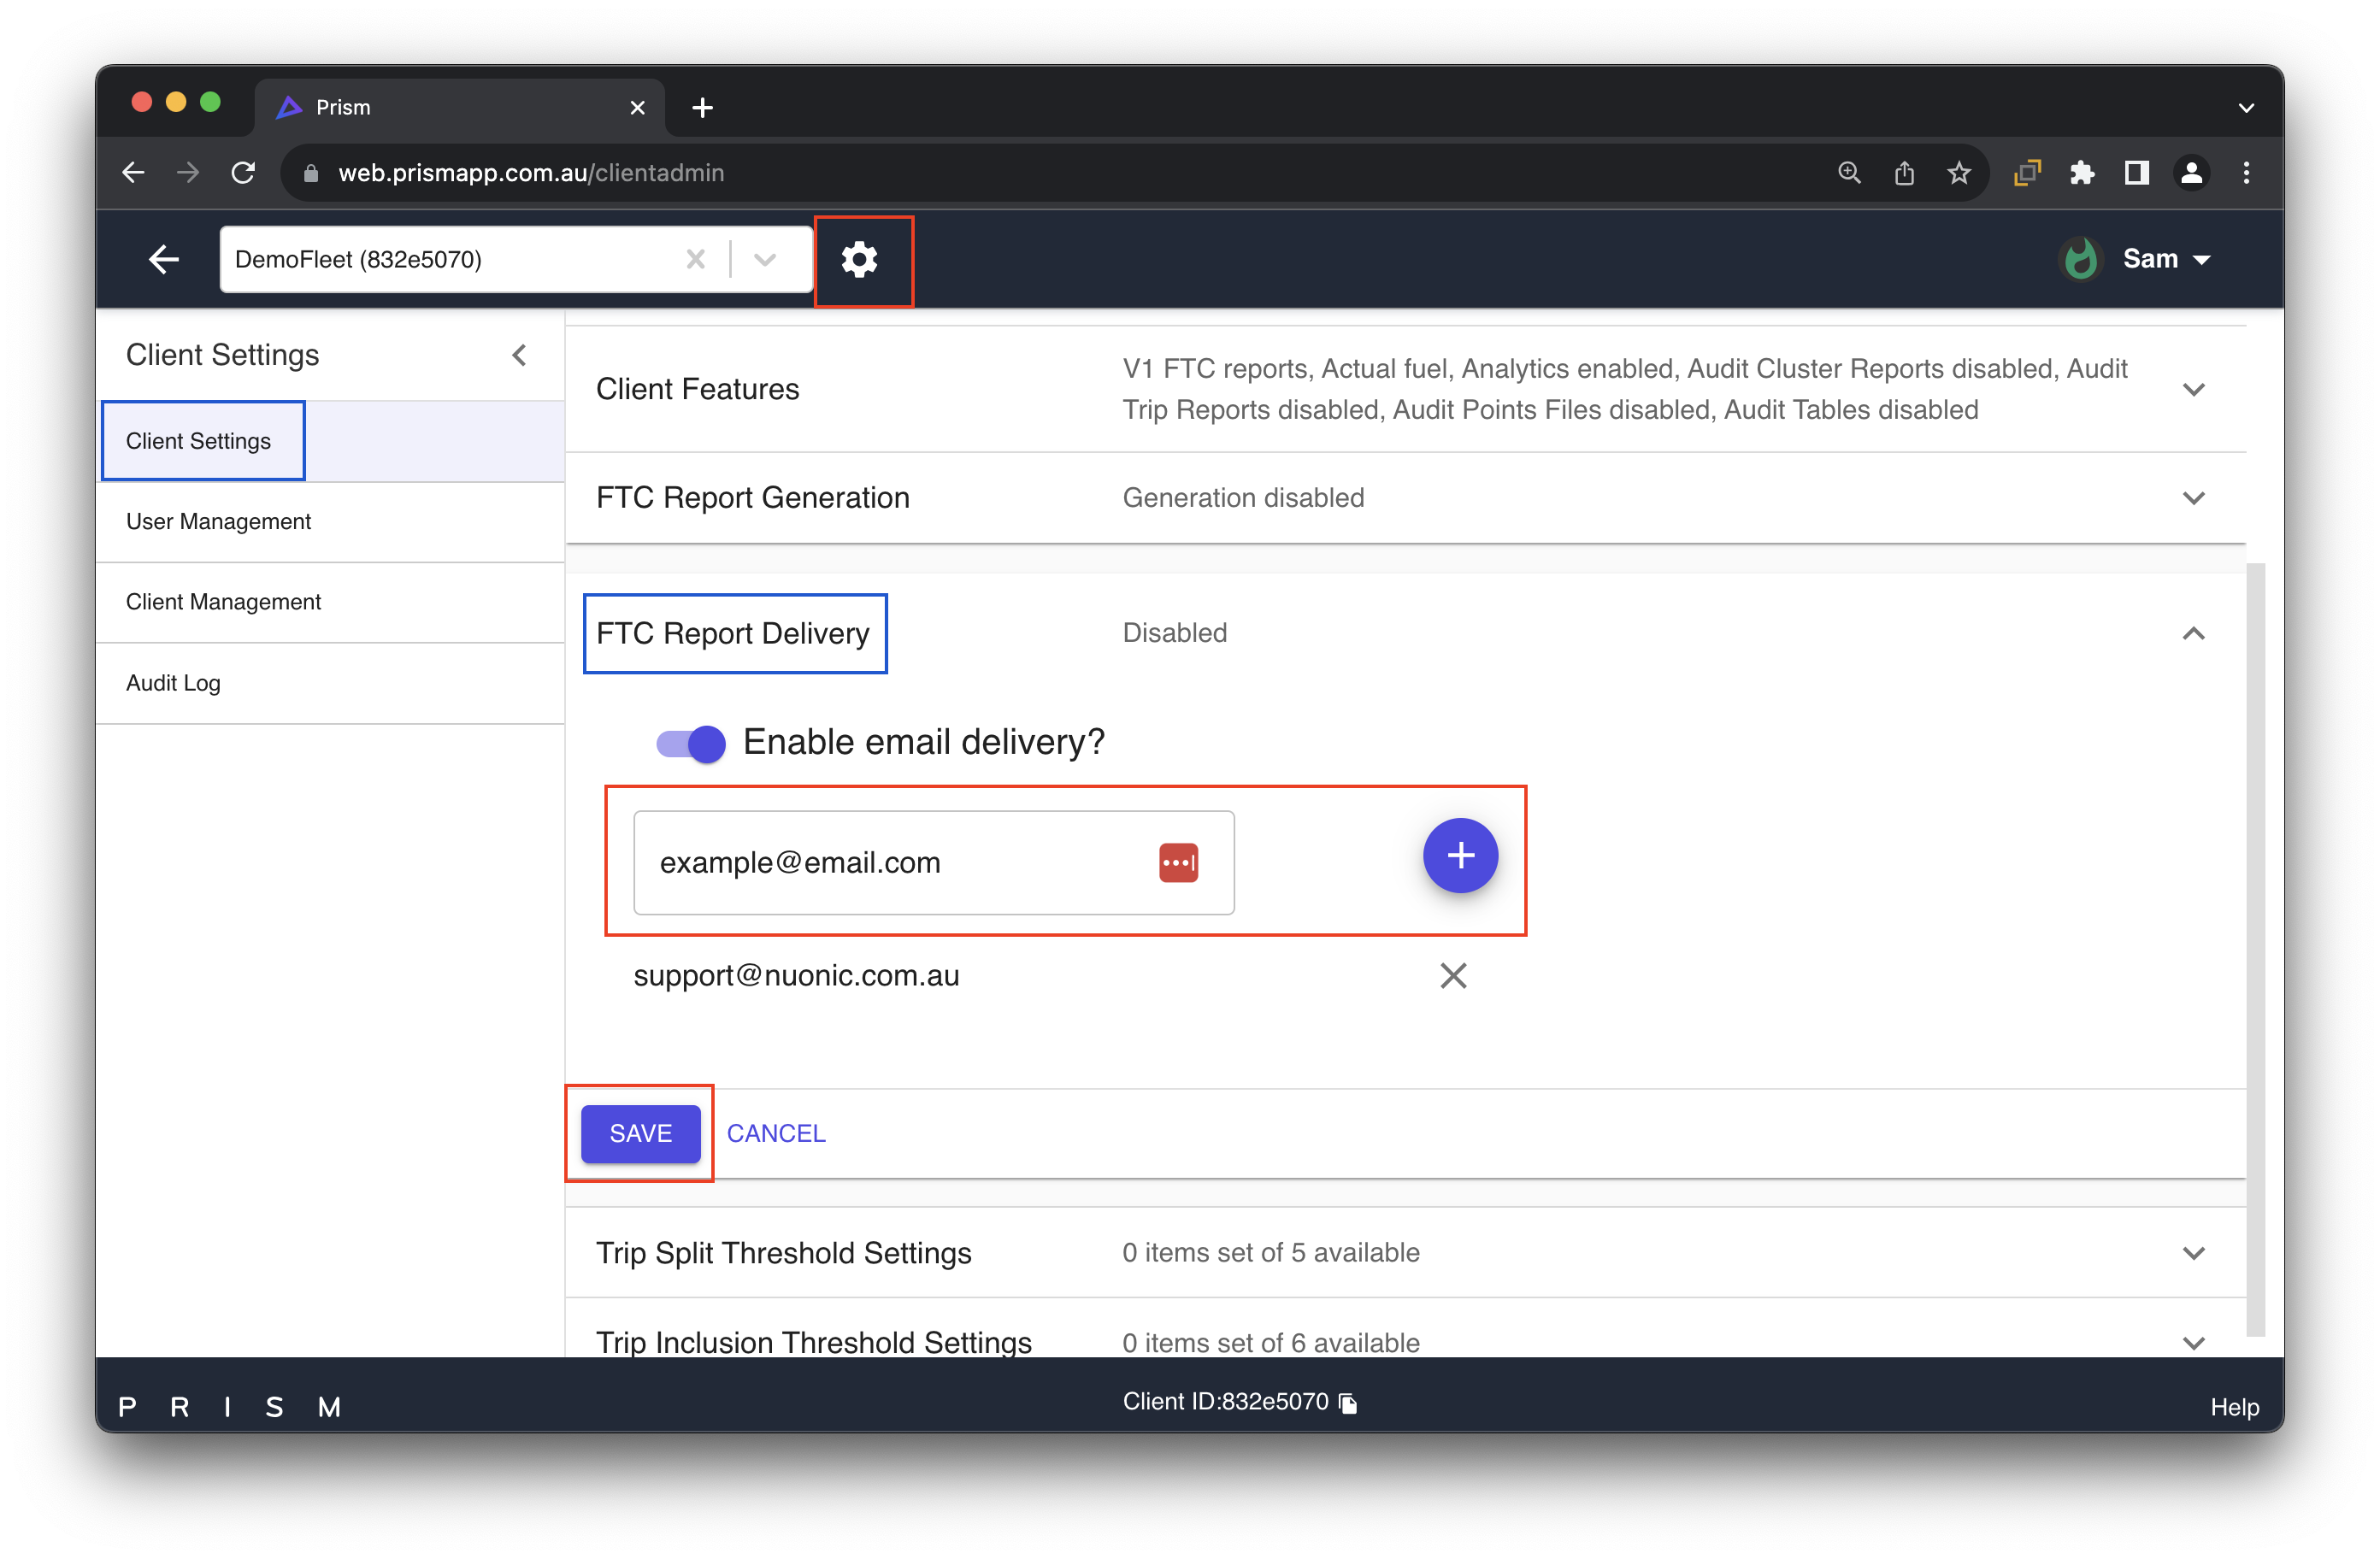
Image 4 - Report Email Recipients
Check your vehicle configurations
Once Prism has access to your telematics data, you will be able to configure your vehicle information. To access your vehicle register, select the Vehicles icon from the home page.
In the vehicle register, you will see a complete list of your vehicles. From this page, you can edit your vehicle specifications, activate/ deactivate vehicles, assign fuel consumption rates and select FTC on-road claim for each vehicle.
PLEASE NOTE: if you can’t find a vehicle in your vehicle register, ensure that you have the “Show Inactive” box selected. )(see picture below) The vehicle that you are looking for may not be active.

Image 5 - Displaying Inactive Vehicles
Editing your vehicle specifications
Select the vehicle that you wish to edit. An edit pane will open up to the right-hand side.
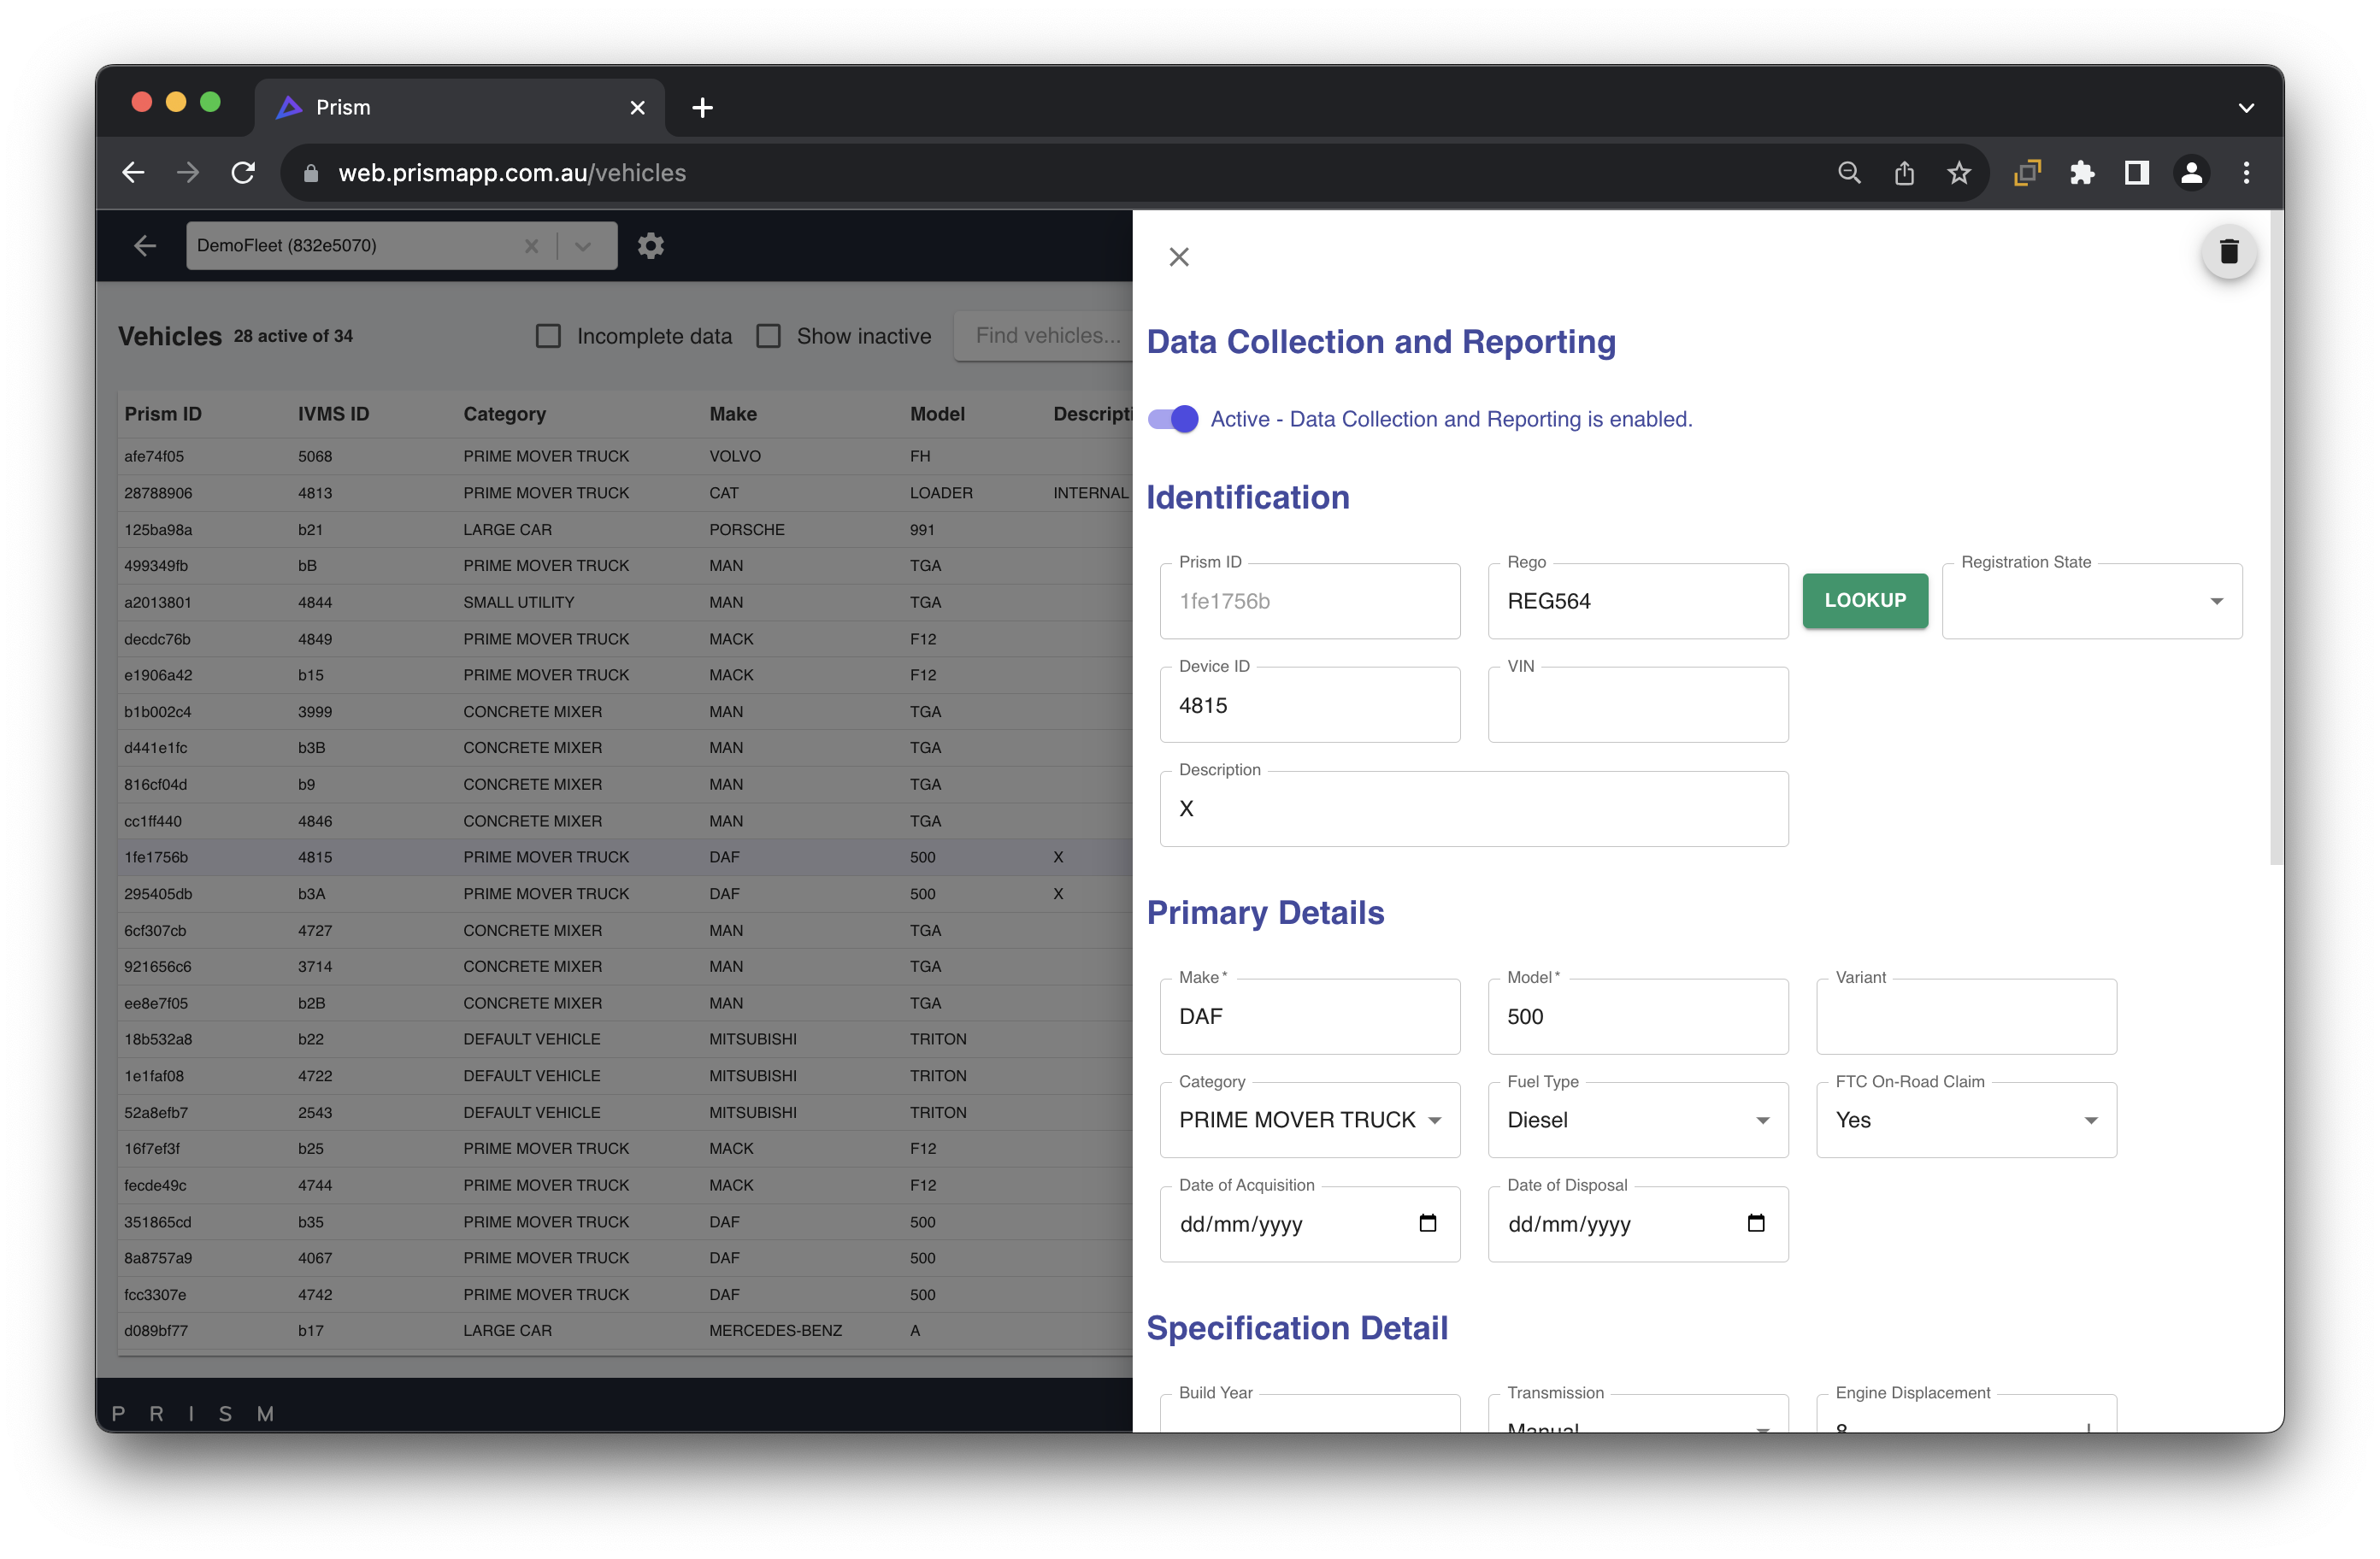
Image 5 - Editing a Vehicle in Prism Vehicle Register
Enter all of the vehicle specifications that you have for your vehicle. *Important Never change the IVMS ID or the Prism ID. These IDs are used by Prism to assign the activity received from your telematics provider.
Select a vehicle : Category, Make, and Model. This is an important step, as Prism will apply a fuel consumption rate based on the category. Leaving this a 'Default' will apply a conservative rate.
Ensure that you let Prism know if this vehicle is entitled to an
FTC On-Road claim. Selecting ‘Yes’ indicates that the vehicle is over 4.5 tonne and selecting ‘No’ indicates that it is under 4.5 tonne.
Entering the vehicle’s
Fuel Consumption Rates will allow Prism to use this information in your fuel apportionment reports.
Make sure that once you have finished configuring each vehicle, you select ‘Save’ at the bottom of the edit pane.
Editing the vehicle register via bulk upload
The Prism vehicle register will also allow you to configure your vehicles via bulk upload.
To do this, select the ‘Download’ icon in the top right-hand corner. This will prompt an excel file download of your vehicle register.

Image 6 - Editing the Vehicle Register via bulk
Edit your vehicle specifications, using the information above.
Save your excel file.
Head back to the Prism Vehicle Register and select the ‘Upload’ icon. This will open an upload pane that will prompt you to either drag and drop or select a file.
Select the excel file that you have edited.
The upload pane will ask whether you would like to ‘Update’, ‘Replace’ or ‘Append' the vehicle register. Select ‘Update’ and then select 'Continue
The information that you added to the excel file will now be reflected in the Prism vehicle register.
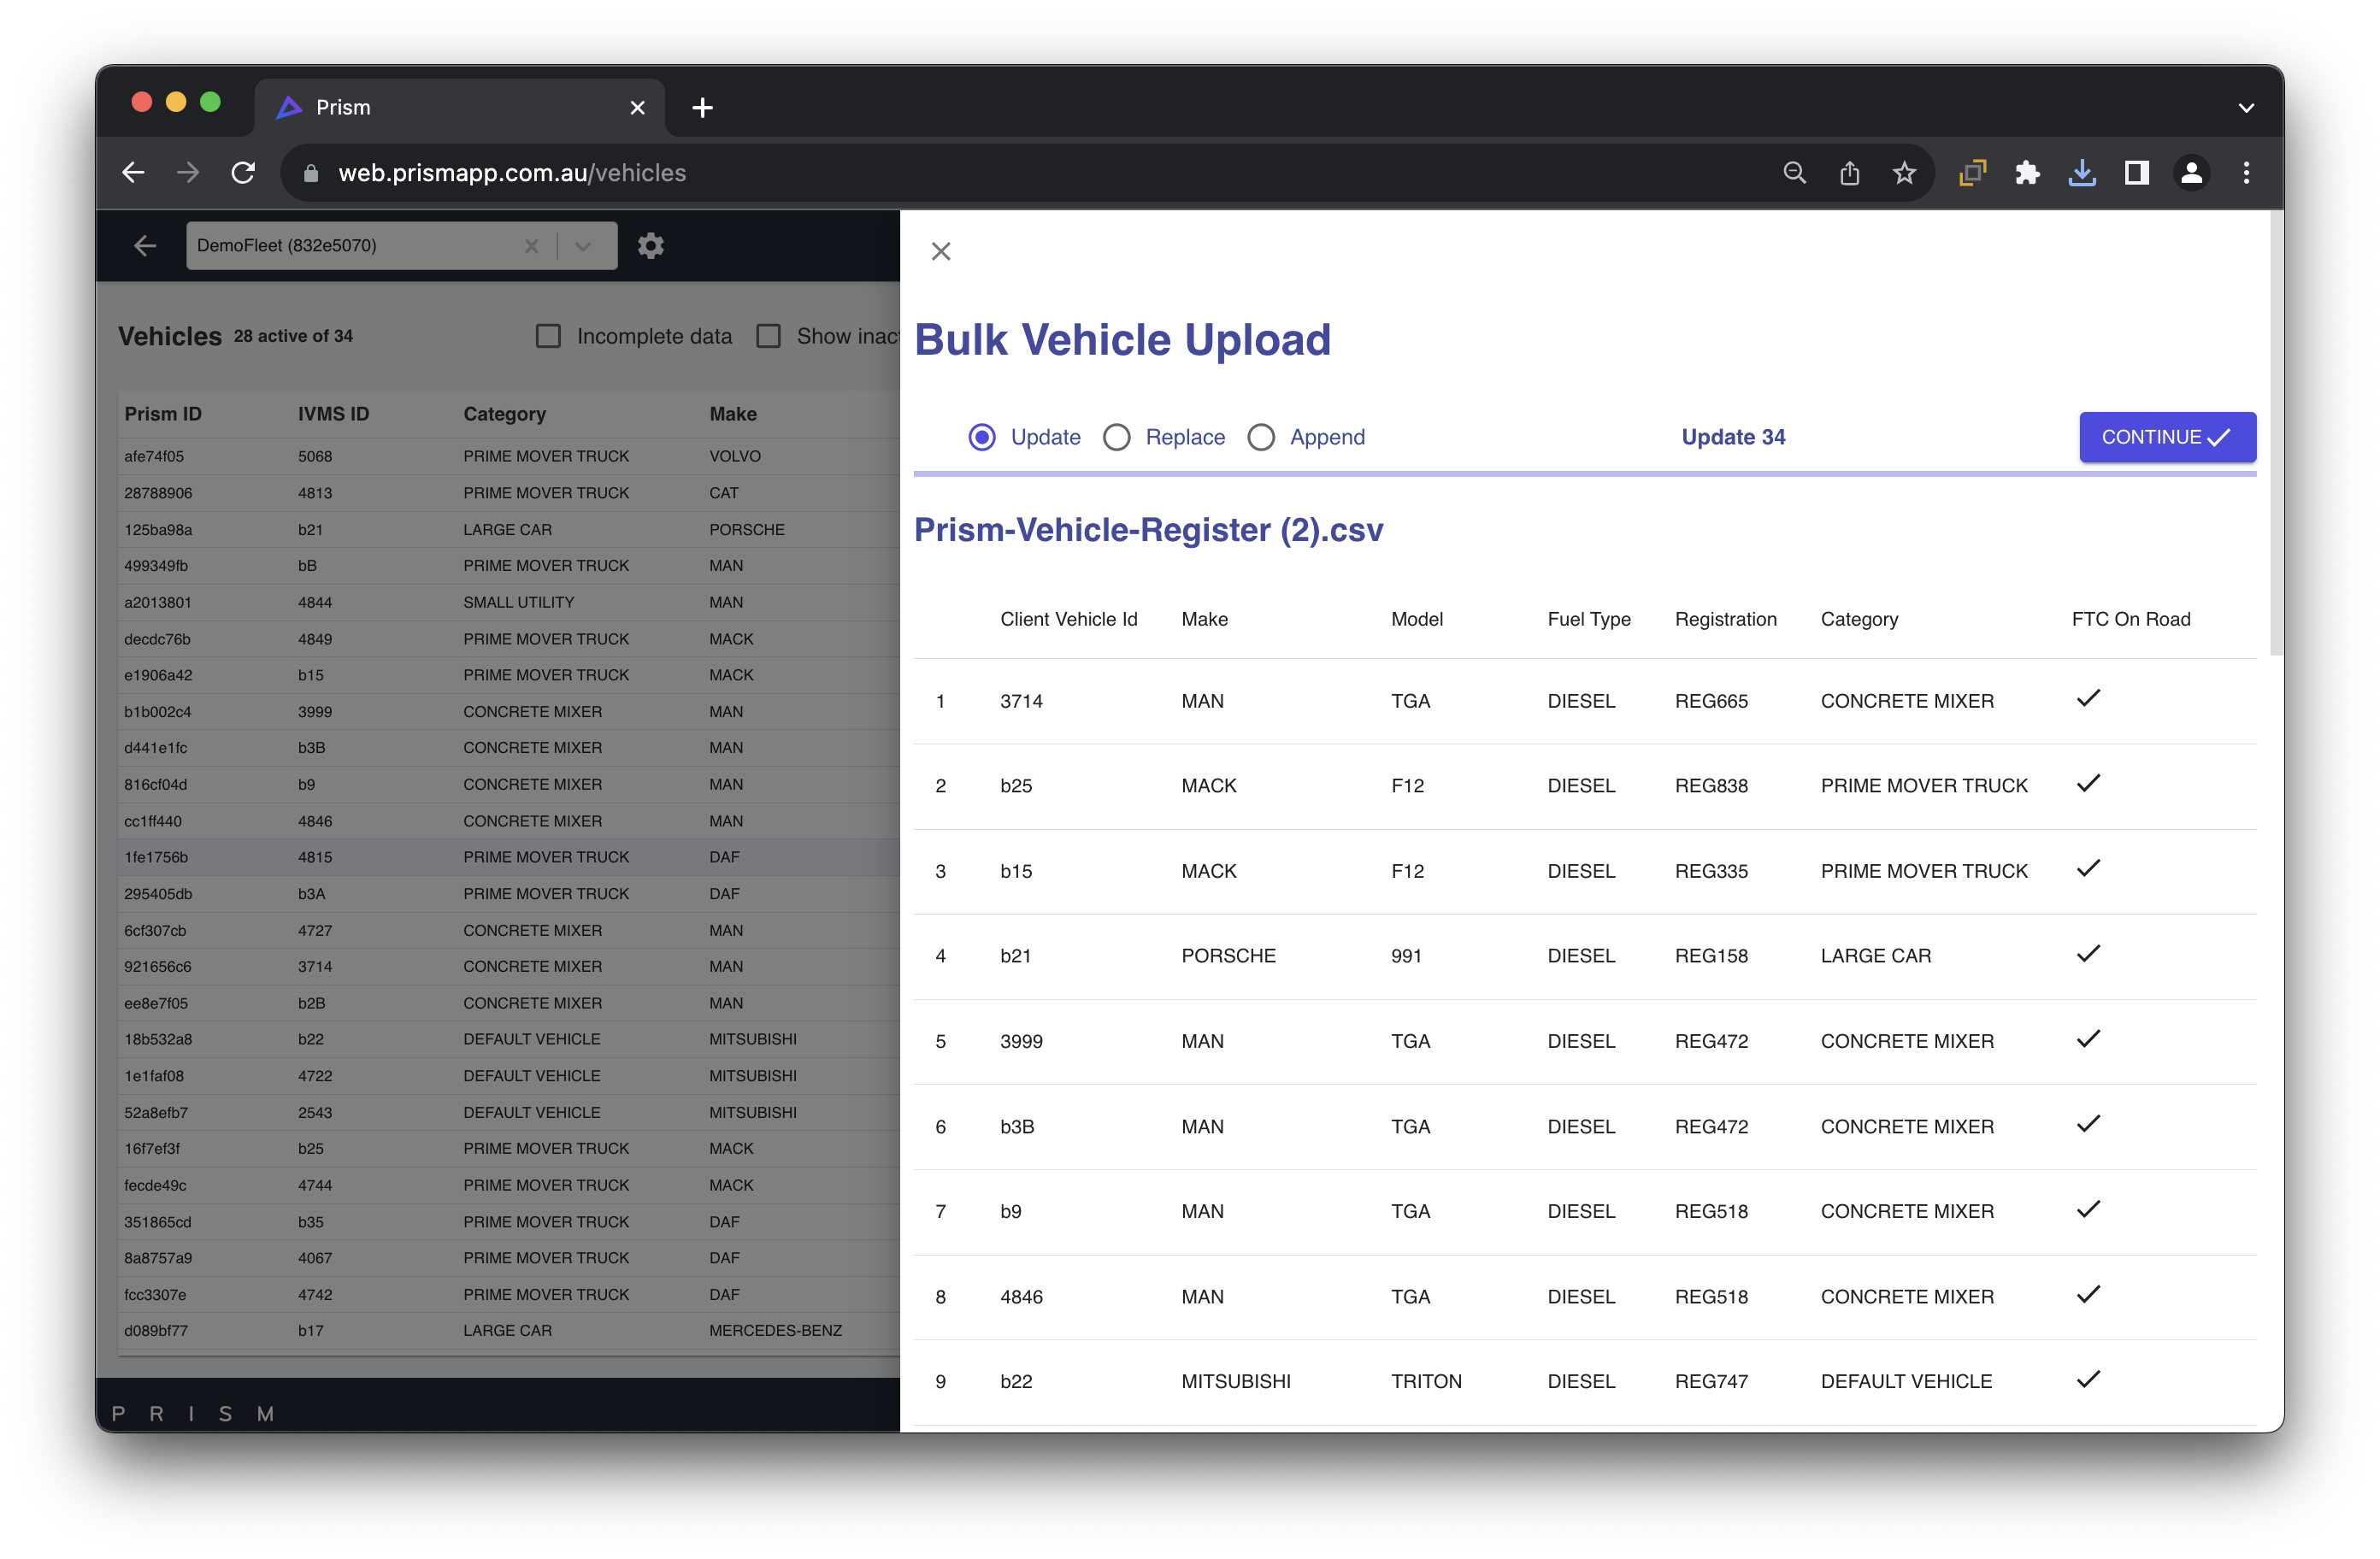
Image 7 - Bulk Vehicle Upload
Next Step: You have received your first FTC report